


we are just hours away from december.
and i know i’m not the only one wondering where the hell twenty-eighteen went.
but whether we are ready or not, it is racing to an end. and the next month will be jam packed with festive events and holiday parties. we will all be short on time and in need of quick and easy tricks up our sleeves that impress.
walnuts are a hearty, meaty nut that lends itself perfectly to a little sugar and spice. they are a great addition to any charcuterie board are amazing in a salad and are quite tasty all by themselves.
sweet & spicy walnuts
serves: 2 cups
prep time: 2 minutes
cook time: 5-8 minutes
total time: 10 minutes
ingredients: 2 cups walnuts. 4 tbs butter. .5 cup brown sugar. 1 tbs pink salt. 1 tsp cayenne pepper. parchment paper.

start by preheating a large pan over medium high heat. combine all your ingredients in the pan and toss well. cook over medium hight heat until the sugar start to caramelized. stir everything well so the walnuts are evenly coated. be careful once the sugars start to caramelize as it can burn quickly.

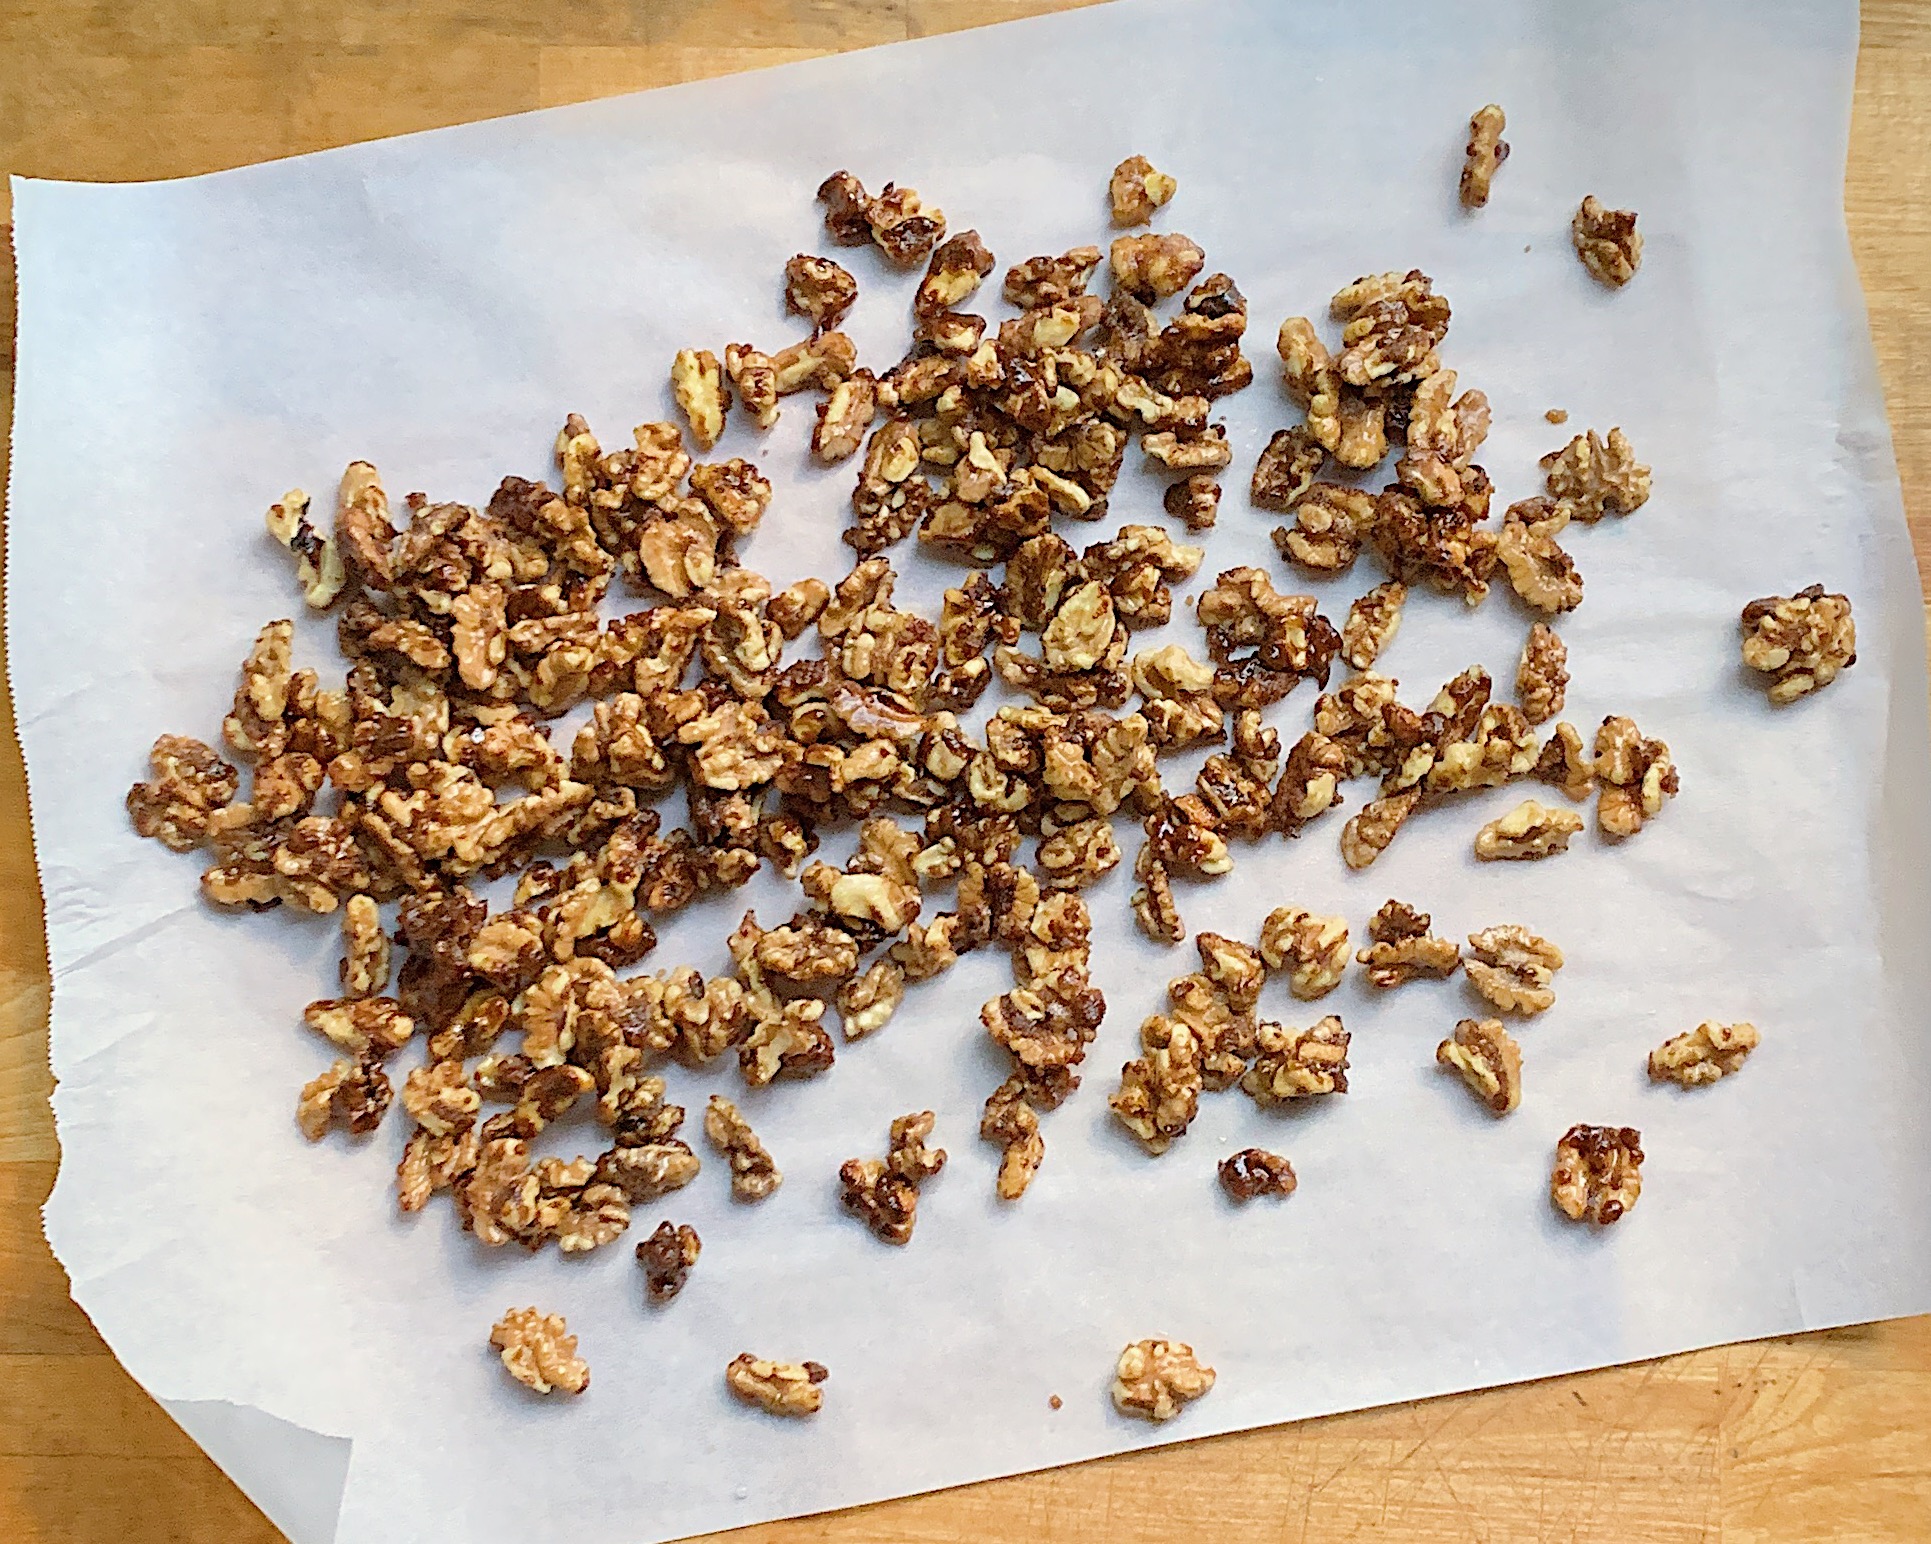
once all the walnuts are coated, pour them out onto the parchment paper in a nice even layer so they don’t stick.
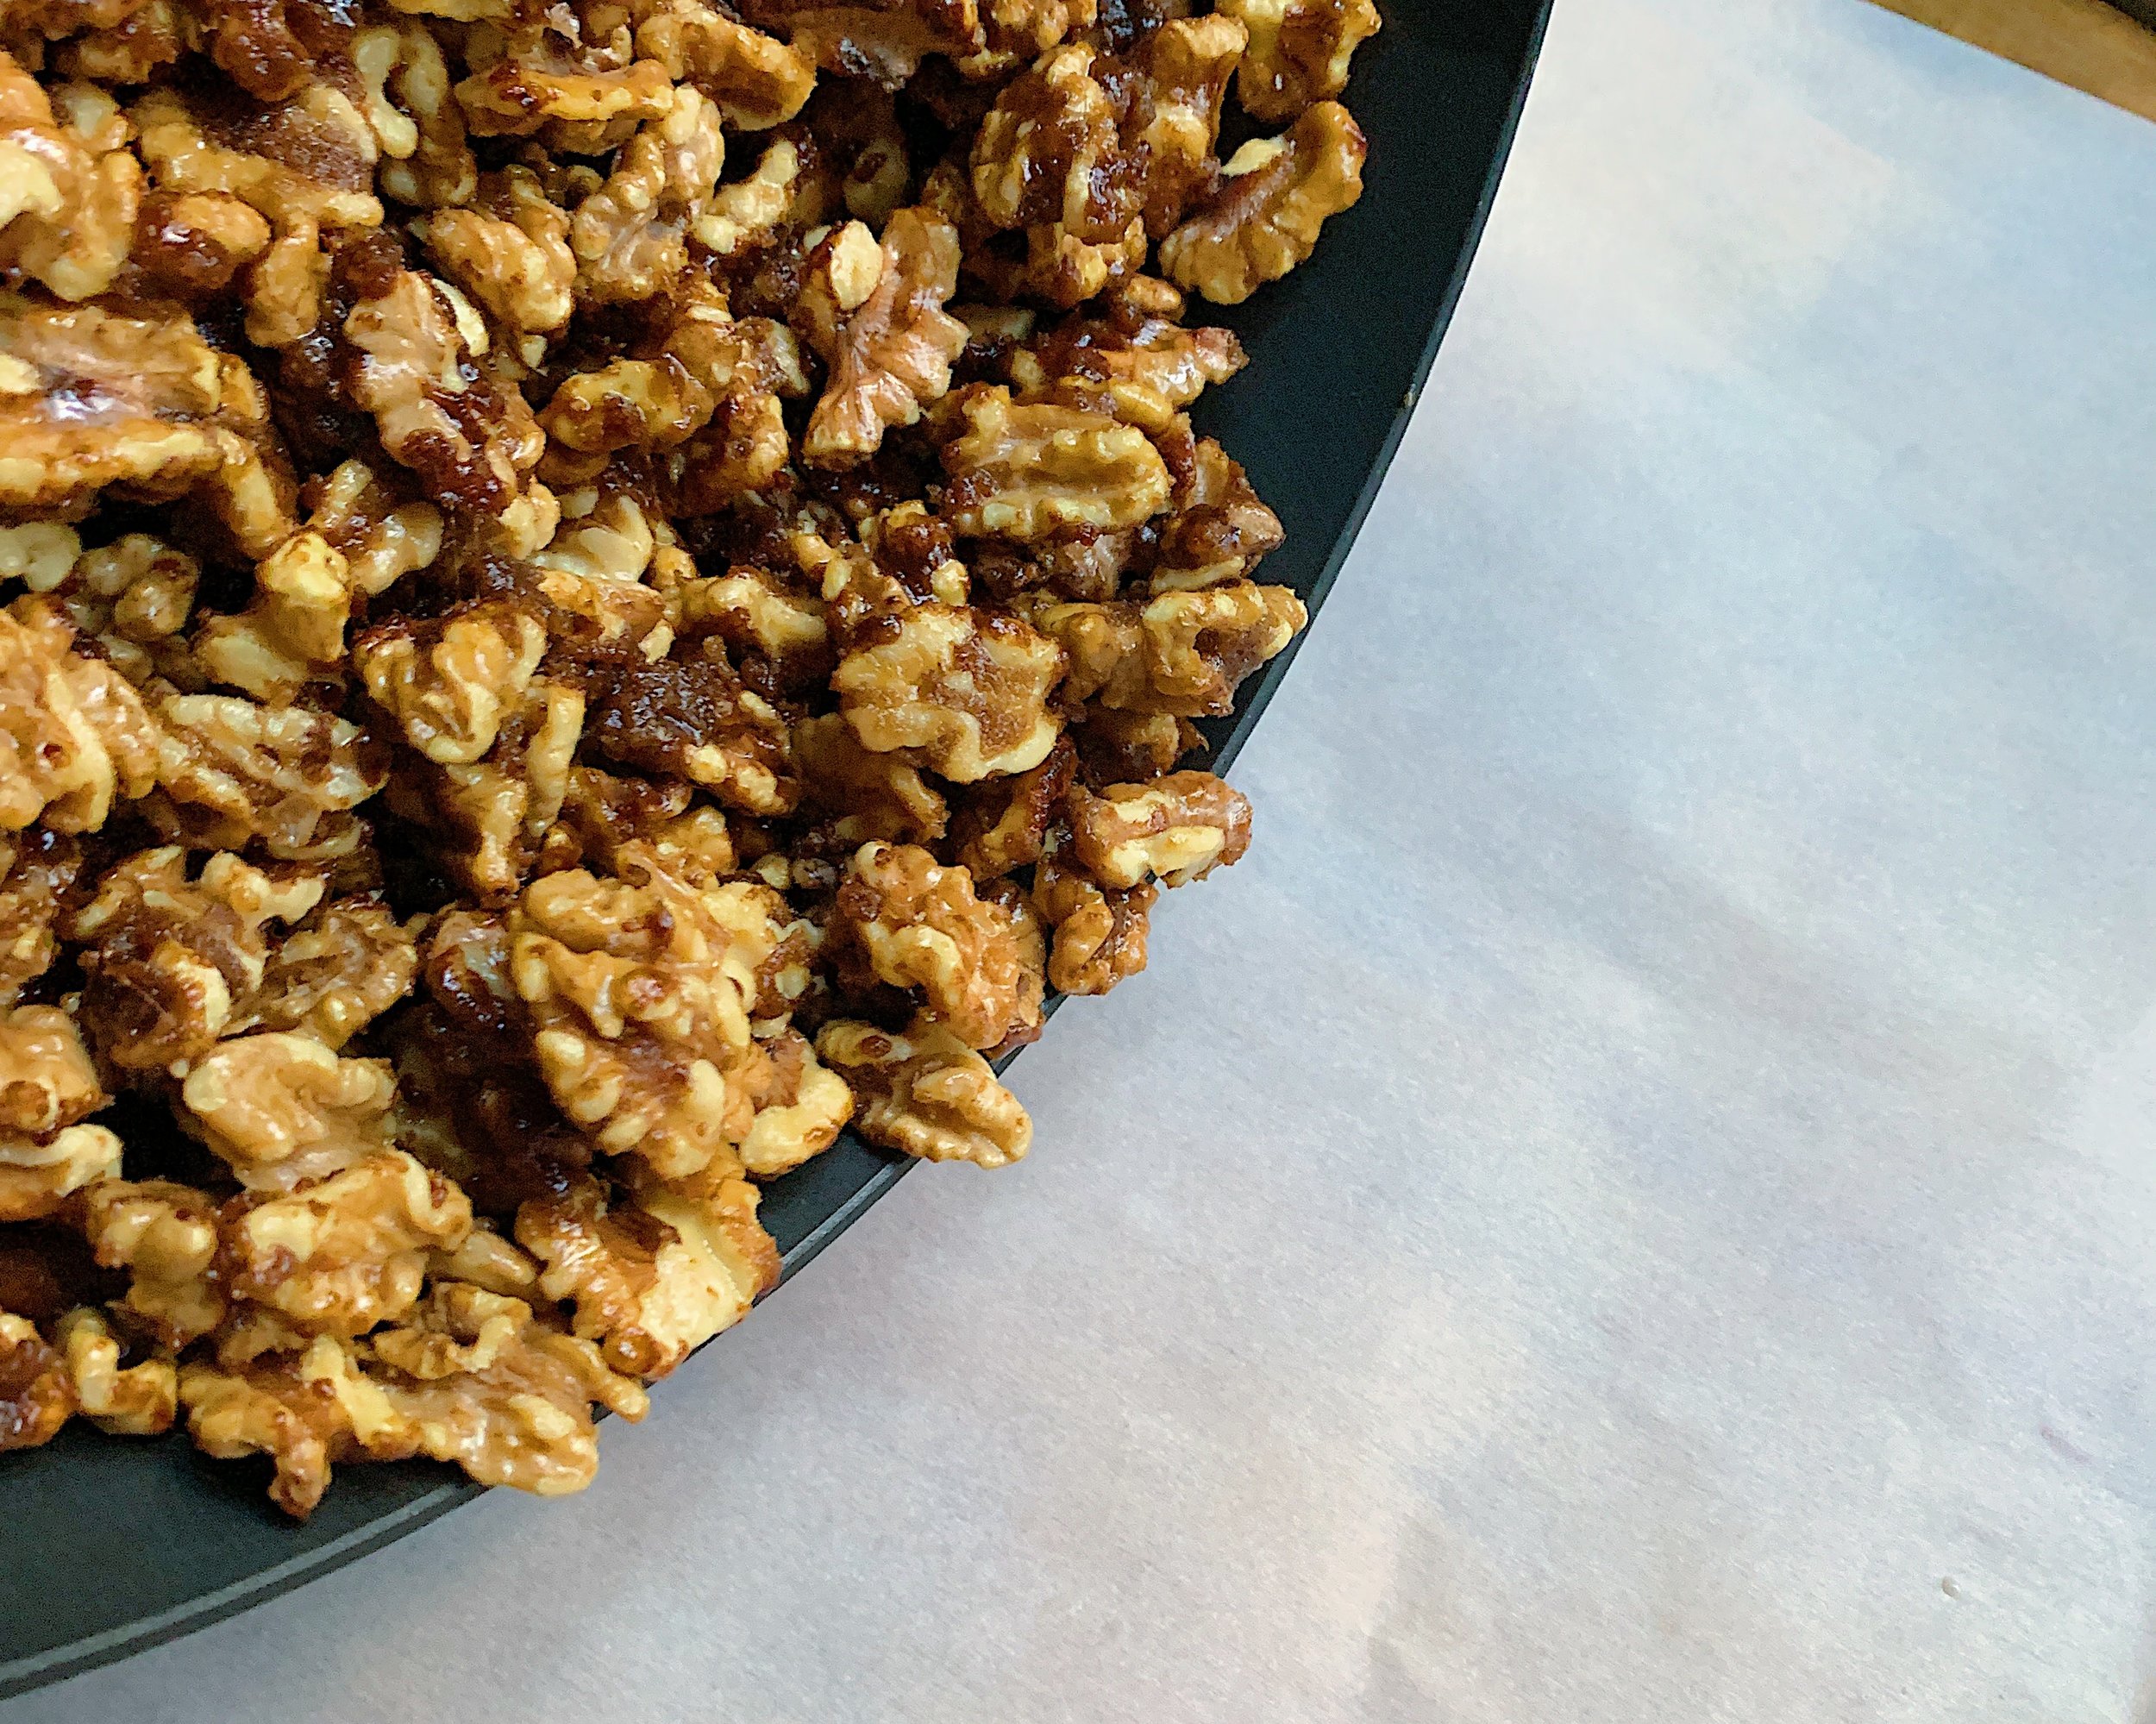
enjoy warm or store in an airtight container until you are ready to use.

xo, a
sweet & spicy walnuts
serves: 2 cups
prep time: 2 minutes
cook time: 5-8 minutes
total time: 10 minutes
ingredients: 2 cups walnuts. 4 tbs butter. .5 cup brown sugar. 1 tbs pink salt. 1 tsp cayenne pepper. parchment paper.
start by preheating a large pan over medium high heat. combine all your ingredients in the pan and toss well. cook over medium hight heat until the sugar start to caramelized. stir everything well so the walnuts are evenly coated. be careful once the sugars start to caramelize as it can burn quickly. once all the walnuts are coated, pour them out onto the parchment paper in a nice even layer so they don’t stick. enjoy warm or store in an airtight container until you are ready to use.