i know what you are thinking. what IS whitefish exactly? is it a specific fish? does it represent a group of fish? the answer is yes. and yes. whitefish can both represent a group of fish (fish with white flesh including halibut, cod, haddock, bream, fluke, etc.) and actual whitefish. even the actual whitefish has different versions. confused? let me clear it up for you. the description whitefish describes any fish (fresh or saltwater) with white flesh. they are mild in flavor and usually nice and flakey in texture. they can range from very delicate to very meaty.
basically, when you go to the store and you are looking for whitefish, look for fish that have very light or white flesh. if you have a fish that fits into that category that you know you like, go with that one. if not, ask the person behind the counter what they have that is best for pan frying. for this recipe, i used a lake superior whitefish.
alright, now the second word that made you go think 'wtf?'. skin. yes, i want you to cook the fish with the skin on. on purpose. i say on purpose because when i first started cooking, the only reason i bought fish with skin on it was because i couldn't find what the recipe called for with out the skin on. and i didn't have the skill, or tools to properly remove skin. but now, i understand and appreciate the beauty of crispy fish skin. and it is EASY. once you know how to do it, you will get fool proof, crispy goodness every time.
whitefish with crispy skin & white wine "caper" sauce
serves: 4
prep time: 1 hour
active time: 20 minutes
total time: 1 hour 20 minutes
ingredients: 4 6 oz whitefish fillets (skin on). 4 tbs olive oil. 2 tbs garlic herb butter. .75 cup dry white wine. zest of 1 lemon. 2 tbs lemon juice. 2 tsp nasturtium capers, rinsed and roughly chopped (you can sub regular capers if you do not have nasturtium capers on hand. 1 tbs minced garlic. 2 tbs fresh chopped parsley. 1 tbs kosher salt. 1 tsp fresh ground pepper. 1 tsp sugar. fish turner. large stainless steal or enamel skillet (avoid using nonstick). aluminum foil.
cooks note: in order to get the skin of your fish really crispy, there are two important things to note. first, moisture is the killer of crisp. in order to get nice crisp skin, you want to pat your fish with a paper towel and let it dry out uncovered in the fridge on a rack for an hour before cooking. this time is crucial so that you do not steam the skin. second, it is important that your oil get really hot before you add the fish. you are looking to essentially fry the skin, so the oil needs to be hot hot hot. and oil temperature drops when food is added, so you need to start hot. before the fish goes in, make sure the oil is shiny and starting to smoke. keep your fan on so you don't smoke yourself out.
once your fish has dried out in the fridge and you are ready to cook, start by getting your pan really hot. place it over a high flame with nothing in it for two minutes to get it nice and hot. if you do not have a large pan, and it might be very full with four pieces of fish, you may want to cook it in two pans. if so, place two tablespoons of olive oil in each pan. if you are using one pan, use 3 tbs of olive oil and keep one on hand incase your oil burns up.
while your oil is heating up, combine half the salt and pepper with the tsp of sugar. sugars help fish get that nice brown crispy goodness when cooking.
use the sugar, salt and pepper mix to season both sides of your fish well.
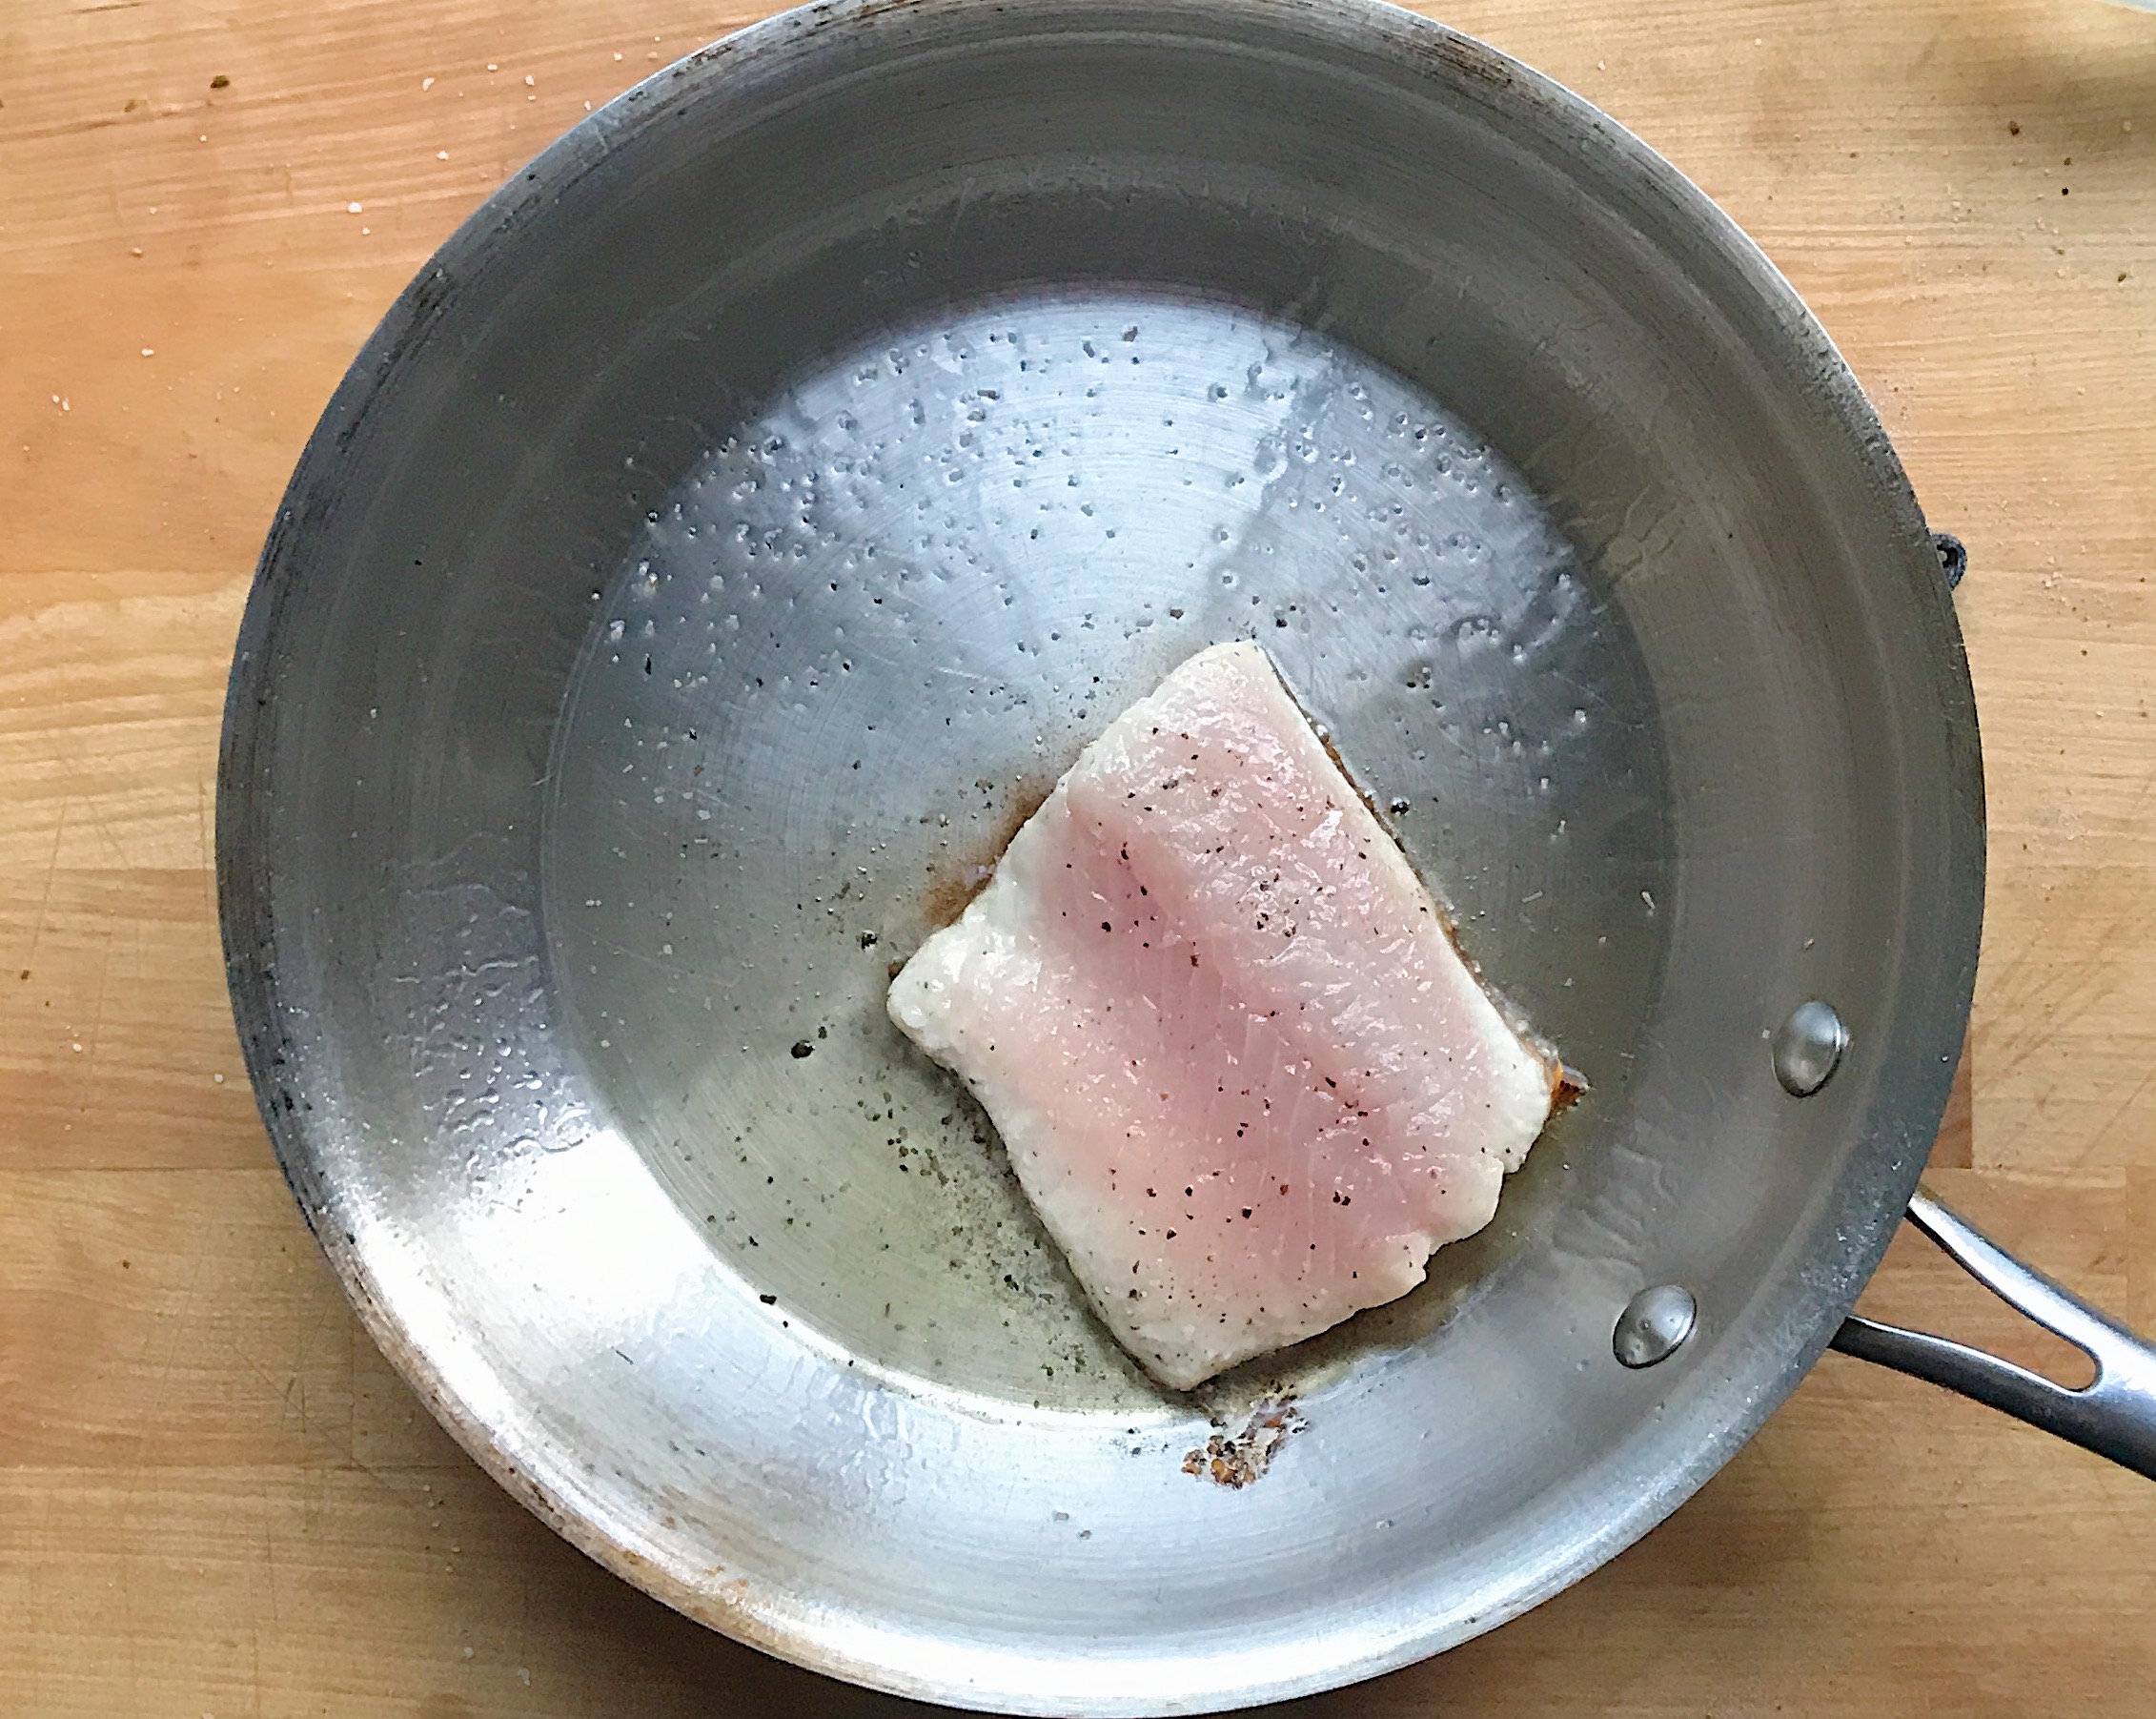
gently place your fish, skin side down, into the pan of hot oil. when you place it in the oil, make sure to gently place it away from you so that you don't splatter yourself with hot oil. now here is where you need to be ready. if the edges of your fish skin starts to pop up, use your fish turner to press the edges down for about thirty seconds, until it gets nice and stuck. then allow your fish to fry, over high heat until the you can see the line of cooked flesh and it's 75% of the way to the top of the fish. depending on the size of your fish, 3-8 minutes. now, here is the very important part so that you do not break the skin or leave some of the fish in the pan. when you are ready to flip, make sure that the fish releases easily, if it does not, give the fish a little bit longer. it should easily release. gently, flip your fish and cook the flesh side of the fish just until browned. about 1-2 minutes. once again, the fish should release easily. if it is not releasing easily, be patient.
once the fish easily releases, remove the fish to a platter and loosely cover with foil to keep it warm, but not letting it steam.
reduce the heat to medium and add in the butter, any remaining oil and the garlic.
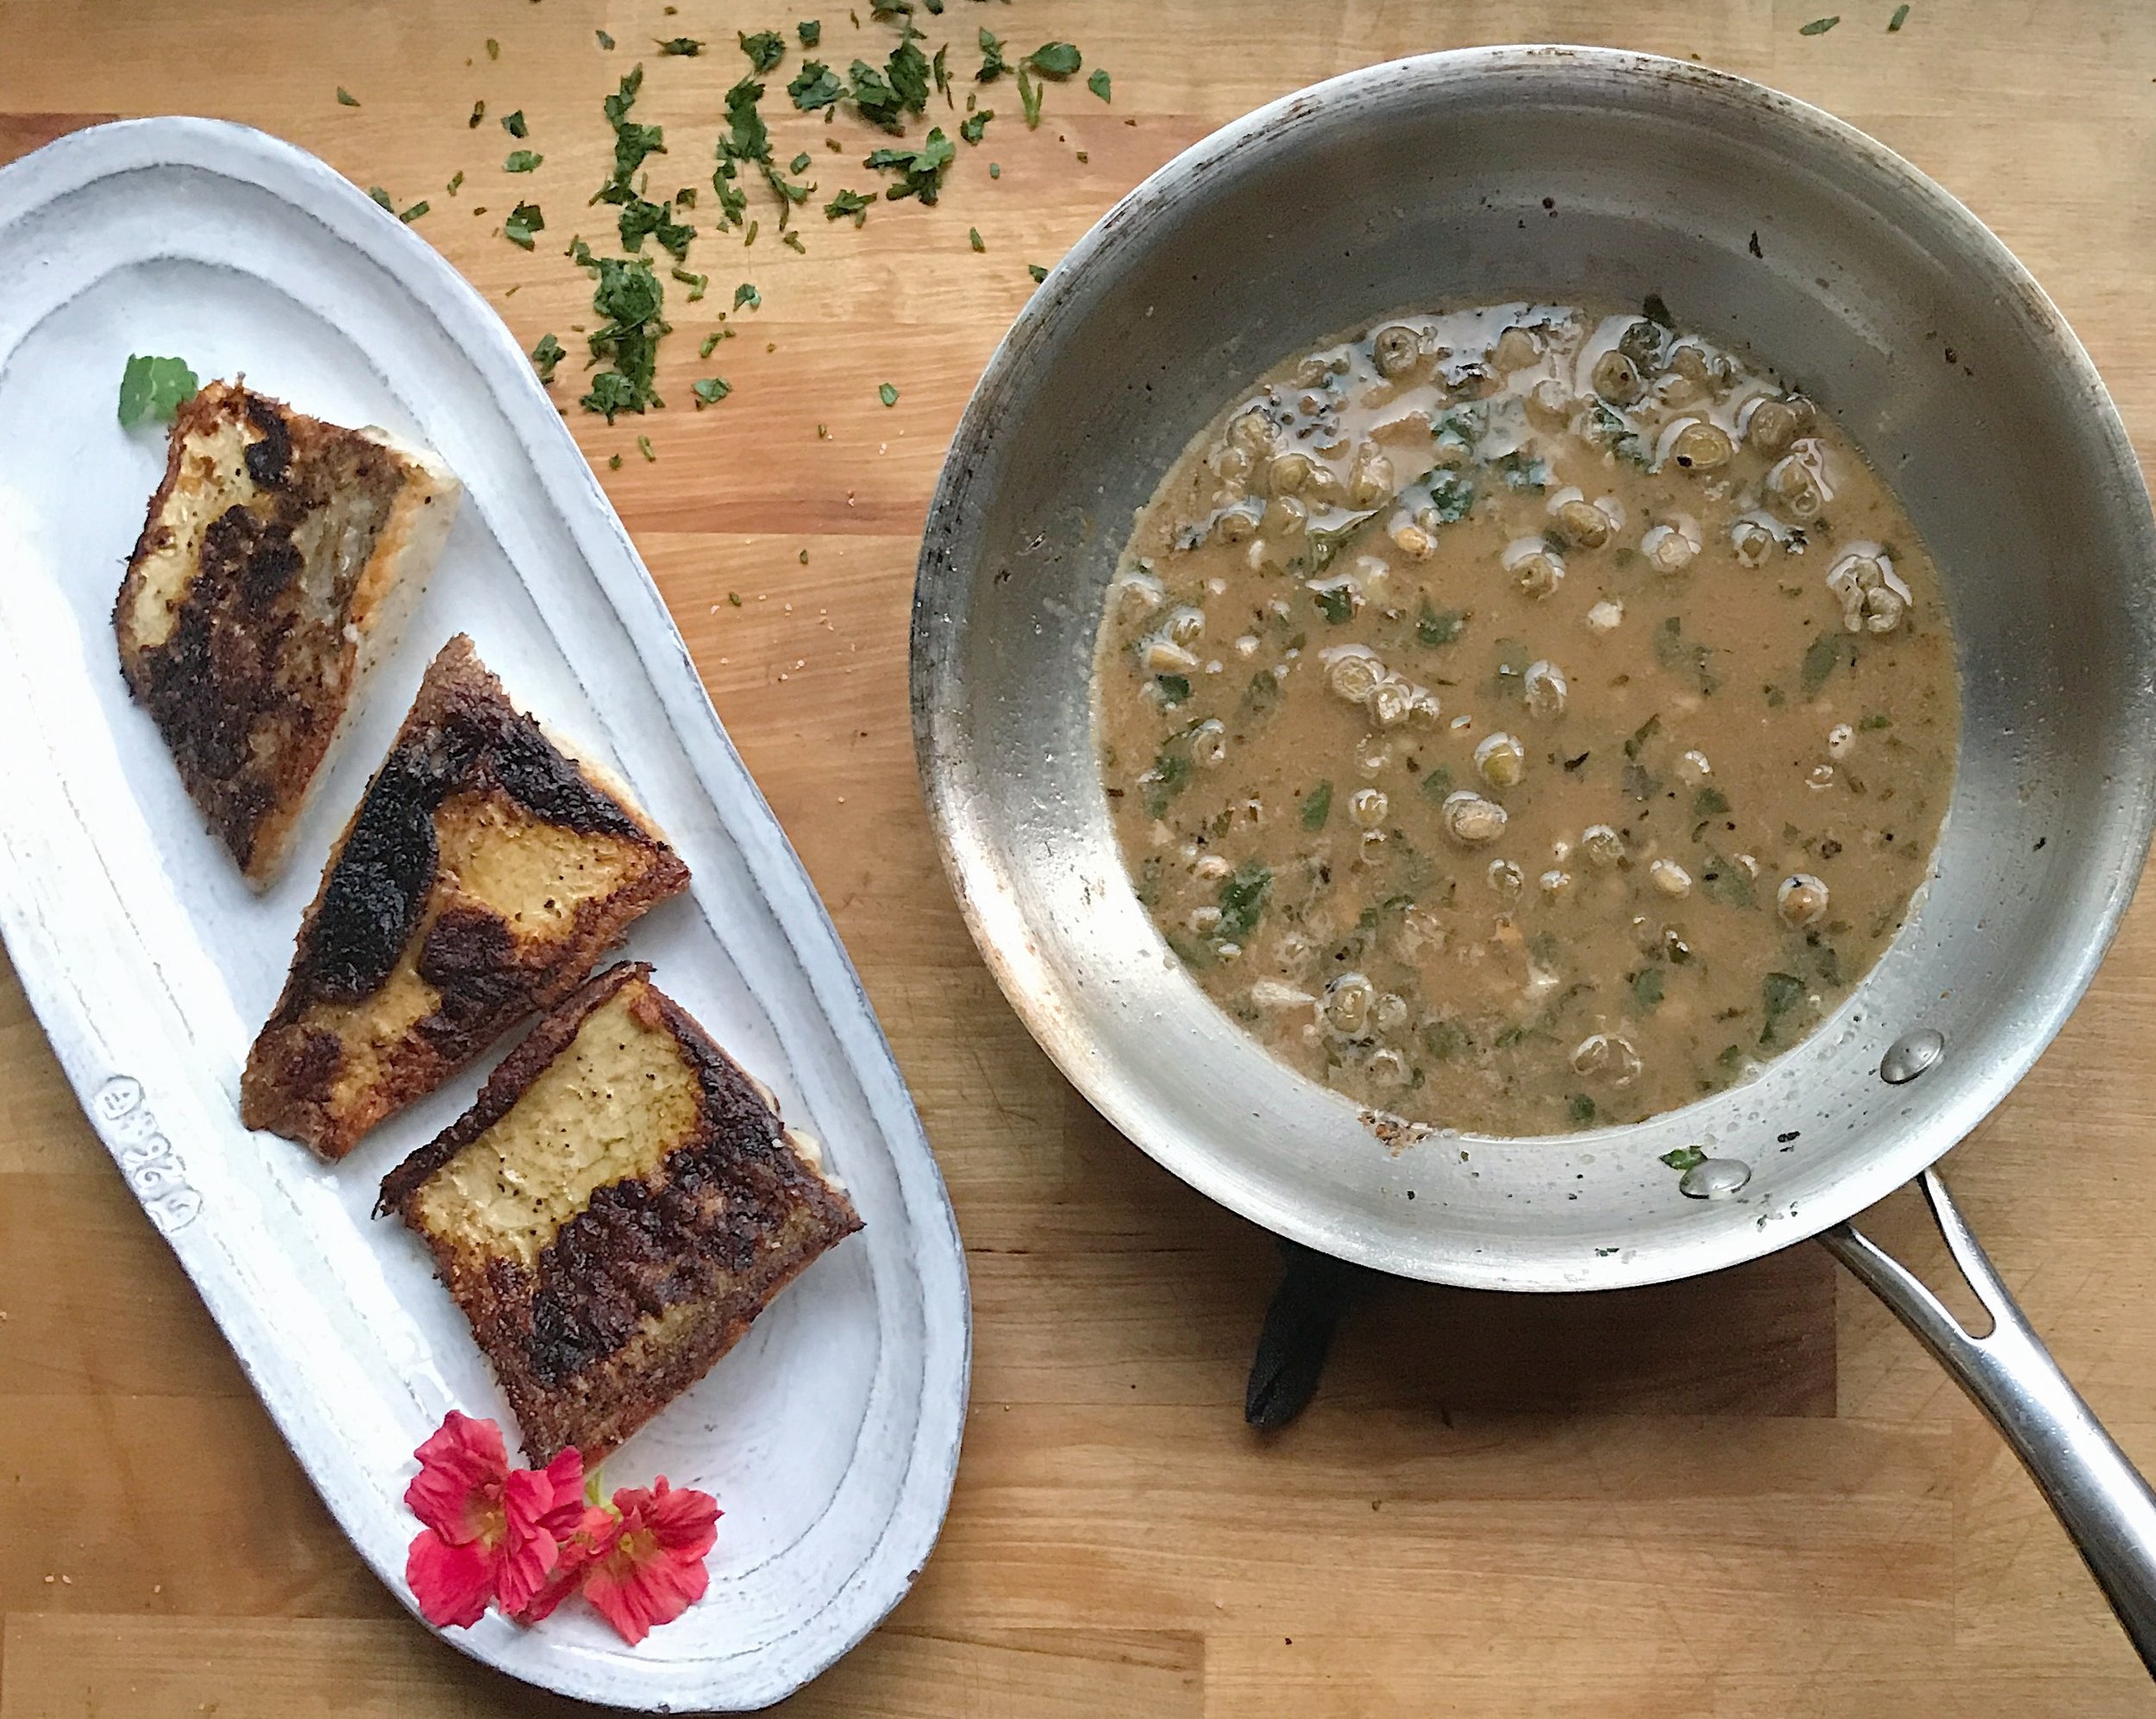
cook until the butter is sizzling and the garlic is fragrant. about 30 seconds. pour in the lemon juice and white wine and the remaining salt and pepper. simmer the sauce till it begins to thicken. about 3-5 minutes. add in the capers, zest and half the parsley. stir well to combine and let simmer for an additional minute. remove the sauce from the heat. pour the sauce over your fish. garnish with the remaining parsley and serve.
remove the sauce from the heat. pour the sauce over your fish.
garnish with the remaining parsley and serve.
xo, a
whitefish with crispy skin & white wine "caper" sauce
serves: 4
prep time: 1 hour
active time: 20 minutes
total time: 1 hour 20 minutes
ingredients: 4 6 oz whitefish fillets (skin on). 4 tbs olive oil. 2 tbs garlic herb butter. .75 cup dry white wine. zest of 1 lemon. 2 tbs lemon juice. 2 tsp nasturtium capers, rinsed and roughly chopped (you can sub regular capers if you do not have nasturtium capers on hand. 1 tbs minced garlic. 2 tbs fresh chopped parsley. 1 tbs kosher salt. 1 tsp fresh ground pepper. 1 tsp sugar. fish turner. large stainless steal or enamel skillet (avoid using nonstick). aluminum foil. cooks note: in order to get the skin of your fish really crispy, there are two important things to note. first, moisture is the killer of crisp. in order to get nice crisp skin, you want to pat your fish with a paper towel and let it dry out uncovered in the fridge on a rack for an hour before cooking. this time is crucial so that you do not steam the skin. second, it is important that your oil get really hot before you add the fish. you are looking to essentially fry the skin, so the oil needs to be hot hot hot. and oil temperature drops when food is added, so you need to start hot. before the fish goes in, make sure the oil is shiny and starting to smoke. keep your fan on so you don't smoke yourself out.
once your fish has dried out in the fridge and you are ready to cook, start by getting your pan really hot. place it over a high flame with nothing in it for two minutes to get it nice and hot. if you do not have a large pan, and it might be very full with four pieces of fish, you may want to cook it in two pans. if so, place two tablespoons of olive oil in each pan. if you are using one pan, use 3 tbs of olive oil and keep one on hand incase your oil burns up. while your oil is heating up, combine half the salt and pepper with the tsp of sugar. sugars help fish get that nice brown crispy goodness when cooking. use the sugar, salt and pepper mix to season both sides of your fish well. gently place your fish, skin side down, into the pan of hot oil. when you place it in the oil, make sure to gently place it away from you so that you don't splatter yourself with hot oil. now here is where you need to be ready. if the edges of your fish skin starts to pop up, use your fish turner to press the edges down for about thirty seconds, until it gets nice and stuck. then allow your fish to fry, over high heat until the you can see the line of cooked flesh and it's 75% of the way to the top of the fish. depending on the size of your fish, 3-8 minutes. now, here is the very important part so that you do not break the skin or leave some of the fish in the pan. when you are ready to flip, make sure that the fish releases easily, if it does not, give the fish a little bit longer. it should easily release. gently, flip your fish and cook the flesh side of the fish just until browned. about 1-2 minutes. once again, the fish should release easily. if it is not releasing easily, be patient. once the fish easily releases, remove the fish to a platter and loosely cover with foil to keep it warm, but not letting it steam.


