i am a BIG fan of garlic. i won’t deny it. when i cook with garlic and i still have that smell under my finger nails, i love it. there are very few things that i don’t add more than the recommended amount of garlic. i think you are getting the picture. i’m into garlic.
but one of the best ways to eat garlic, is roasted. roasting garlic cuts out that spicy taste you get from raw garlic and just gives you a smooth, deep, garlic flavor. there are tons of great uses for roasted garlic, but here is one of my favorites!
roasted garlic butter
serves: 2 cups butter
total time: 1 hour 30 minutes
ingredients: 1 head of garlic. 2 cups of room temperature butter. 1 tsp olive oil. .5 tsp kosher salt. aluminum foil. whisk.
start by preheating your oven to 400 degrees f. while your oven heats, chop the top off of your head of garlic and place the garlic in the middle of a square of aluminum foil. drizzle the garlic with olive oil and sprinkle with a couple pinches of salt.
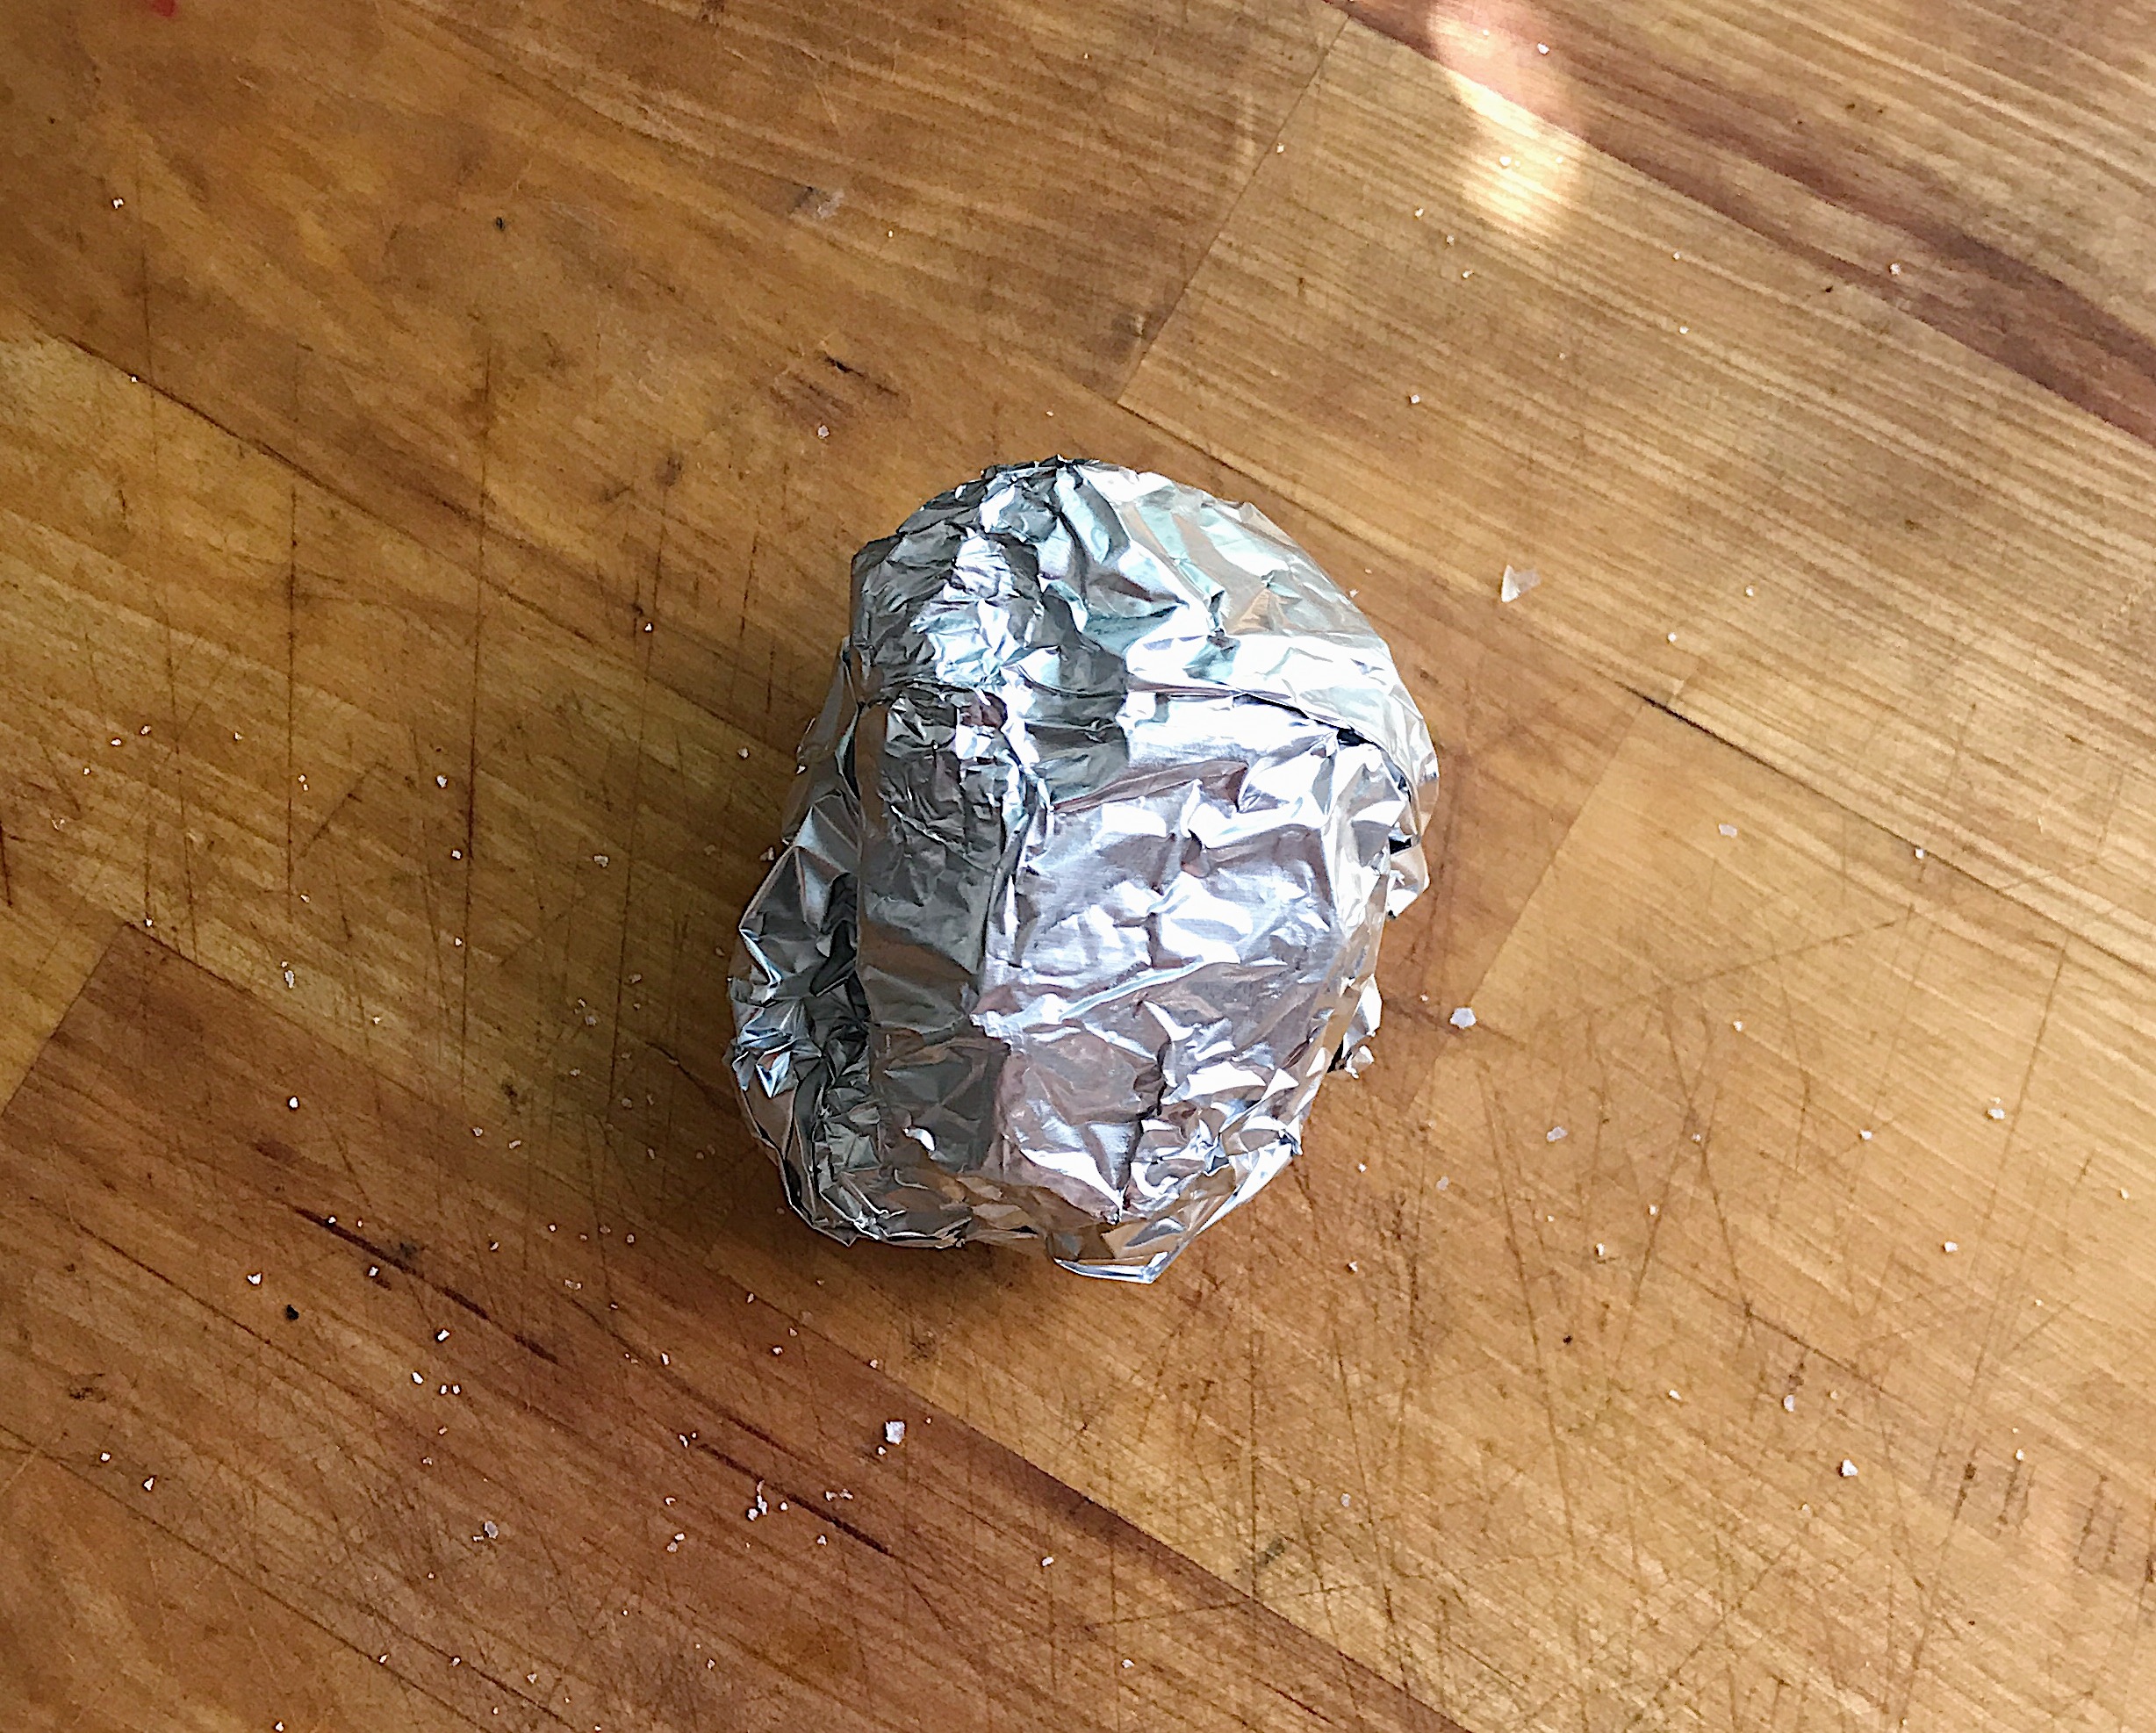
wrap the garlic up in the foil till it looks like you might toss it out.
then roast it in the oven for 50-60 minutes until completely soft in the middle. pull your garlic out and allow it to cool to room temperature. now that your garlic is roasted it should be a very mushy consistency.
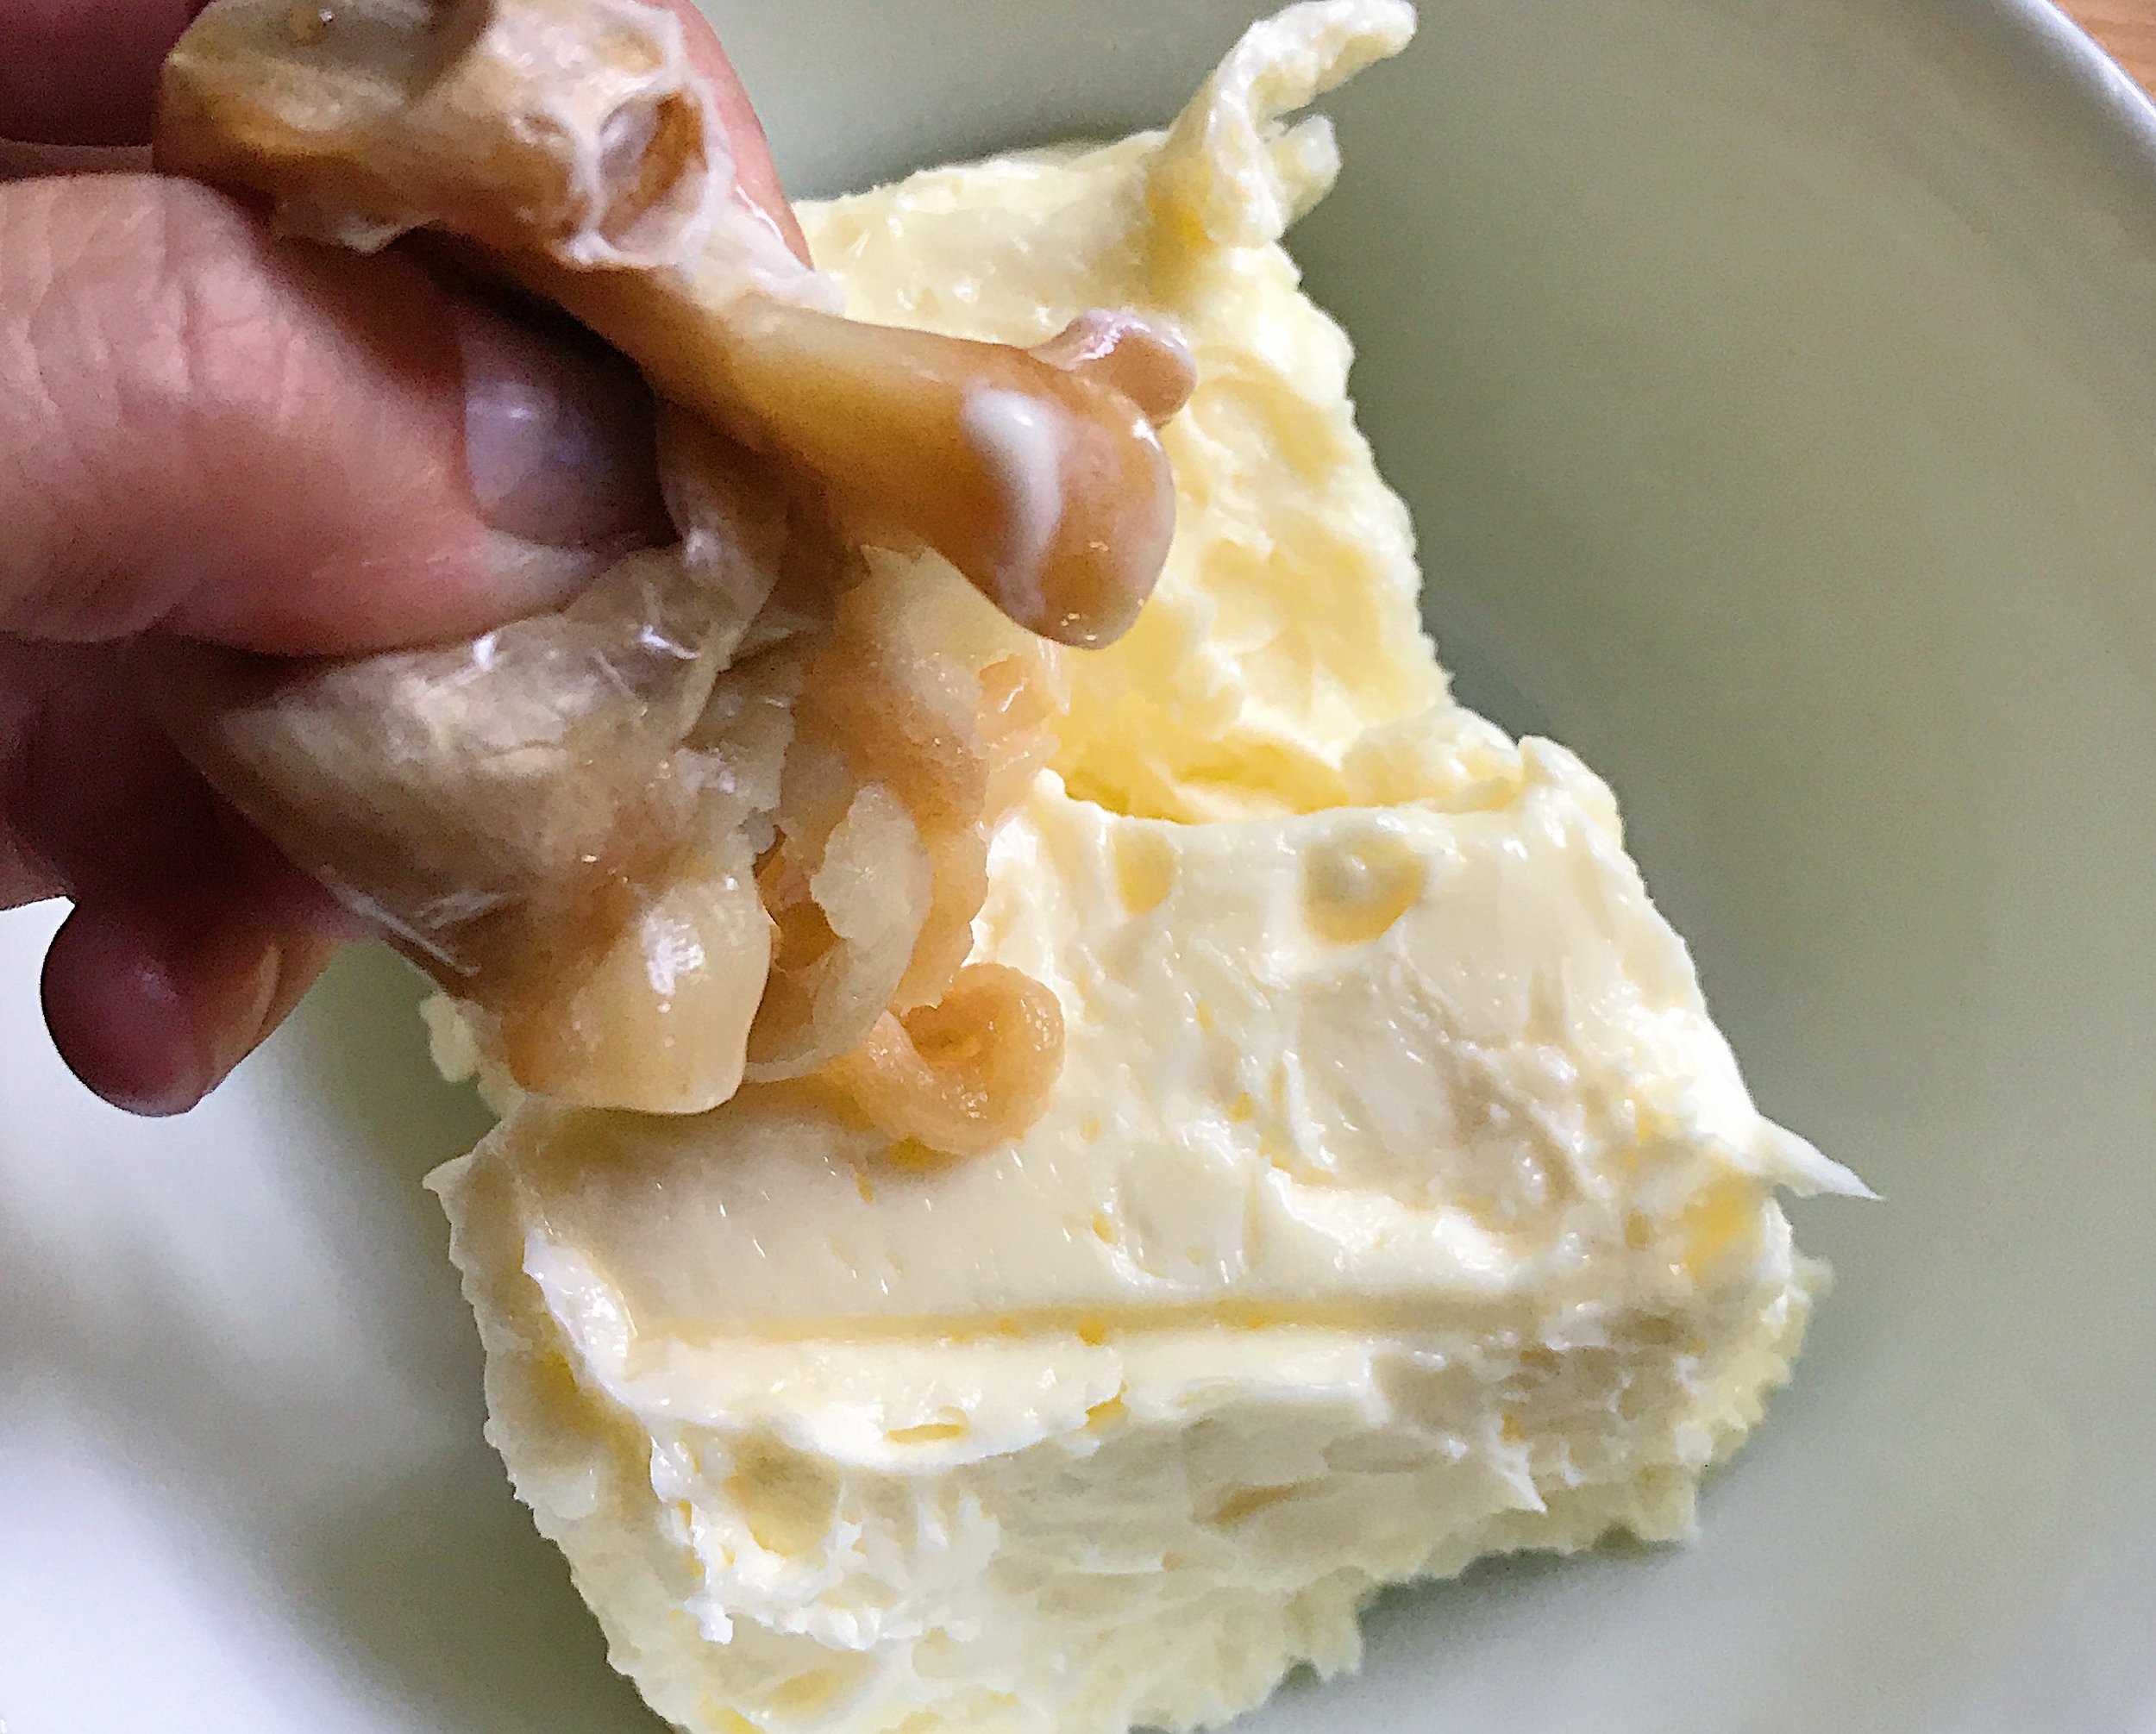
when you squeeze the uncut bottom of the head of garlic, the individual cloves should just squeeze right out the cut open tops.
once in the butter, season with the remaining salt and whisk well until all the garlic is combined into the butter. about 30 seconds.
serve spread on some of your favorite fresh bread or store on hand for roasting chickens, potatoes, or to use for your morning eggs.
xo, a
roasted garlic butter
serves: 2 cups butter
total time: 1 hour 30 minutes
ingredients: 1 head of garlic. 2 cups of room temperature butter. 1 tsp olive oil. .5 tsp kosher salt. aluminum foil. whisk.
start by preheating your oven to 400 degrees f. while your oven heats, chop the top off of your head of garlic and place the garlic in the middle of a square of aluminum foil. drizzle the garlic with olive oil and sprinkle with a couple pinches of salt. wrap the garlic up in the foil till it looks like you might toss it out. then roast it in the oven for 50-60 minutes until completely soft in the middle. pull your garlic out and allow it to cool to room temperature. now that your garlic is roasted it should be a very mushy consistency. when you squeeze the uncut bottom of the head of garlic, the individual cloves should just squeeze right out the cut open tops. once in the butter, season with the remaining salt and whisk well until all the garlic is combined into the butter. about 30 seconds. serve spread on some of your favorite fresh bread or store on hand for roasting chickens, potatoes, or to use for your morning eggs.


