Posts in tips & tricks
tips & tricks: pomegranate

let me start by bursting your bubble. while i am about to give you my tips on how to seed a pomegranate efficiently and with out making a huge mess, it is still not easy. it is not hard, just takes a few minutes. however, it is very much worth it. one pomegranate yields about 2 cups of beautiful, versatile seeds. pomegranates are great on salads, on top of baked goods or in a tasty cocktail. 

now, i've watched all kinds of videos of all the quick and easy tricks for removing the seeds. however, i have found that most of them are a bunch of bologna. i find that the most important thing is the way you cut the pomegranate. cutting it into smaller pieces enables you to easily break it apart with your hands. 

you will need 1 pomegranate, your favorite knife, a glass bowl and some water. 

IMG_9300.JPG

start by slicing your pomegranate in half. 

IMG_9301.JPG

then into fourths. 

IMG_9302.JPG

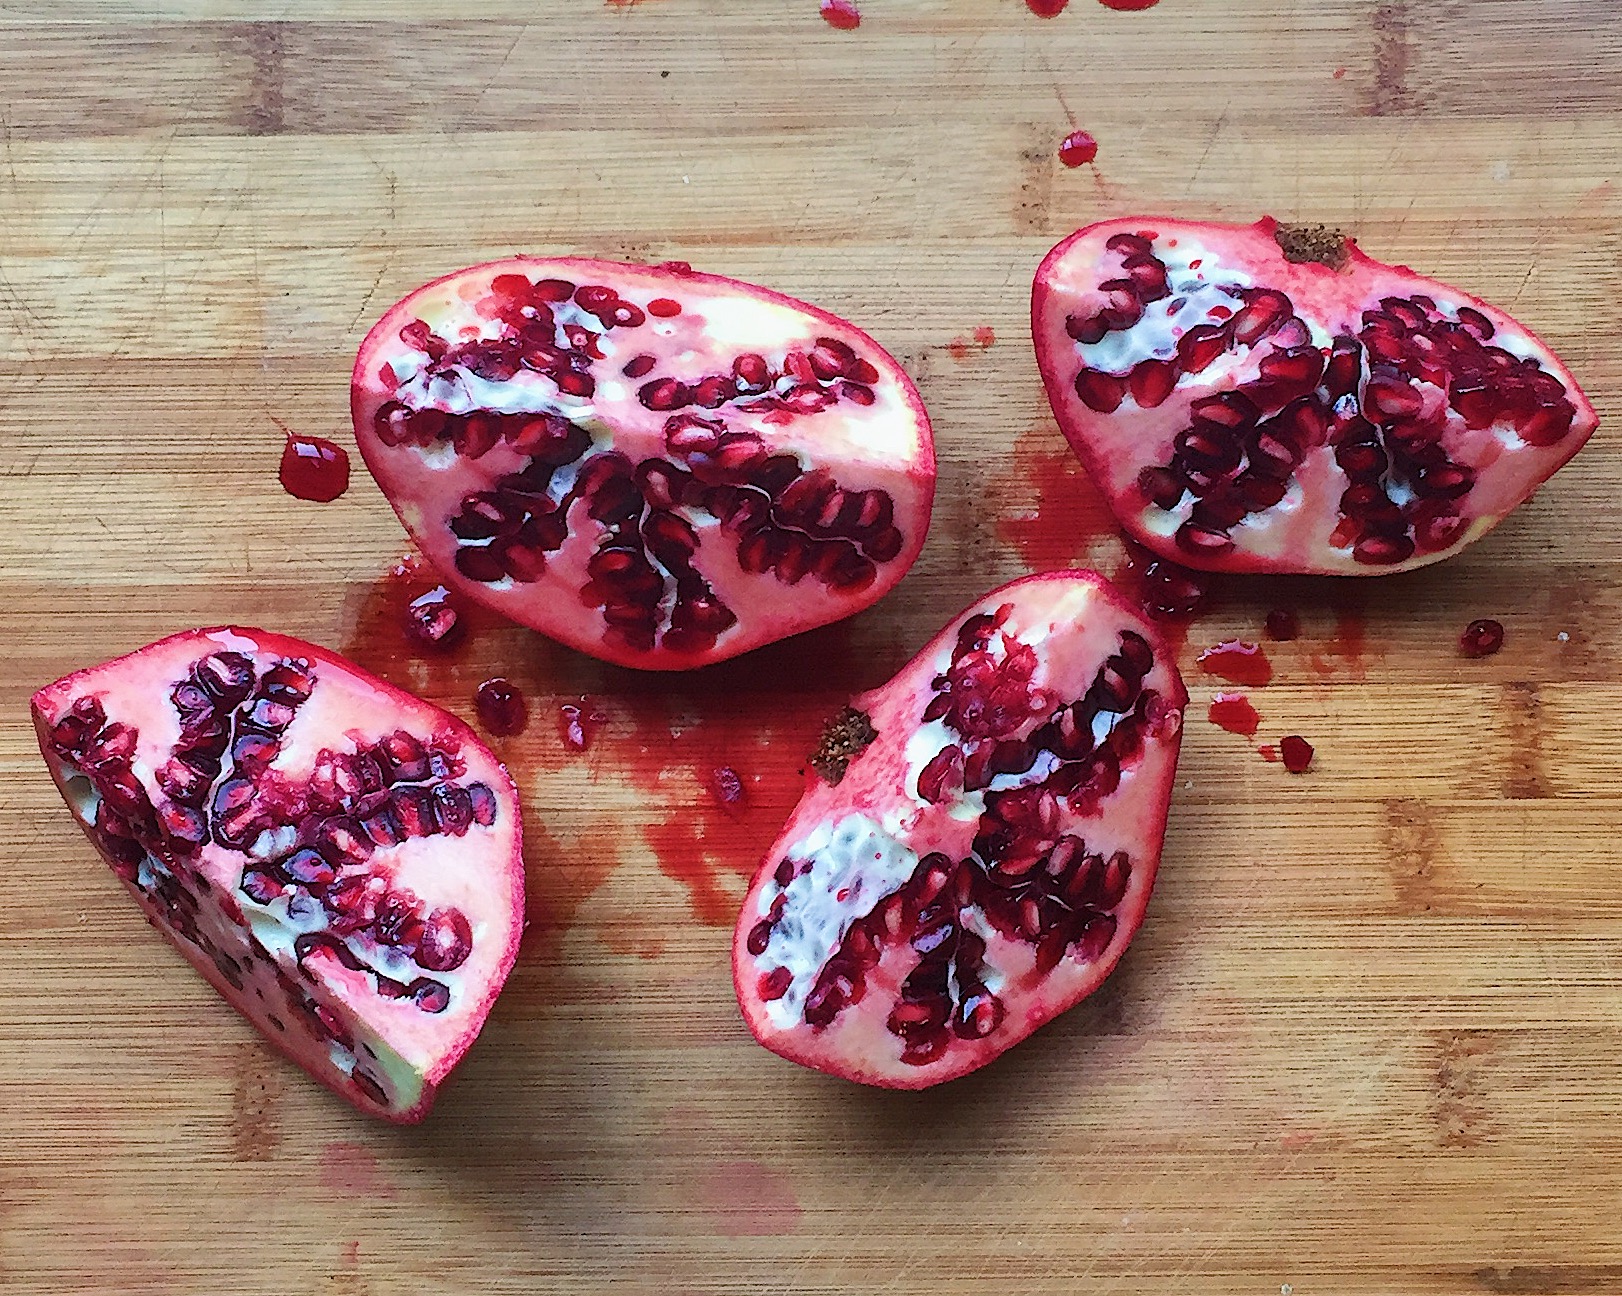
and finally into eighths. 

IMG_9309.JPG

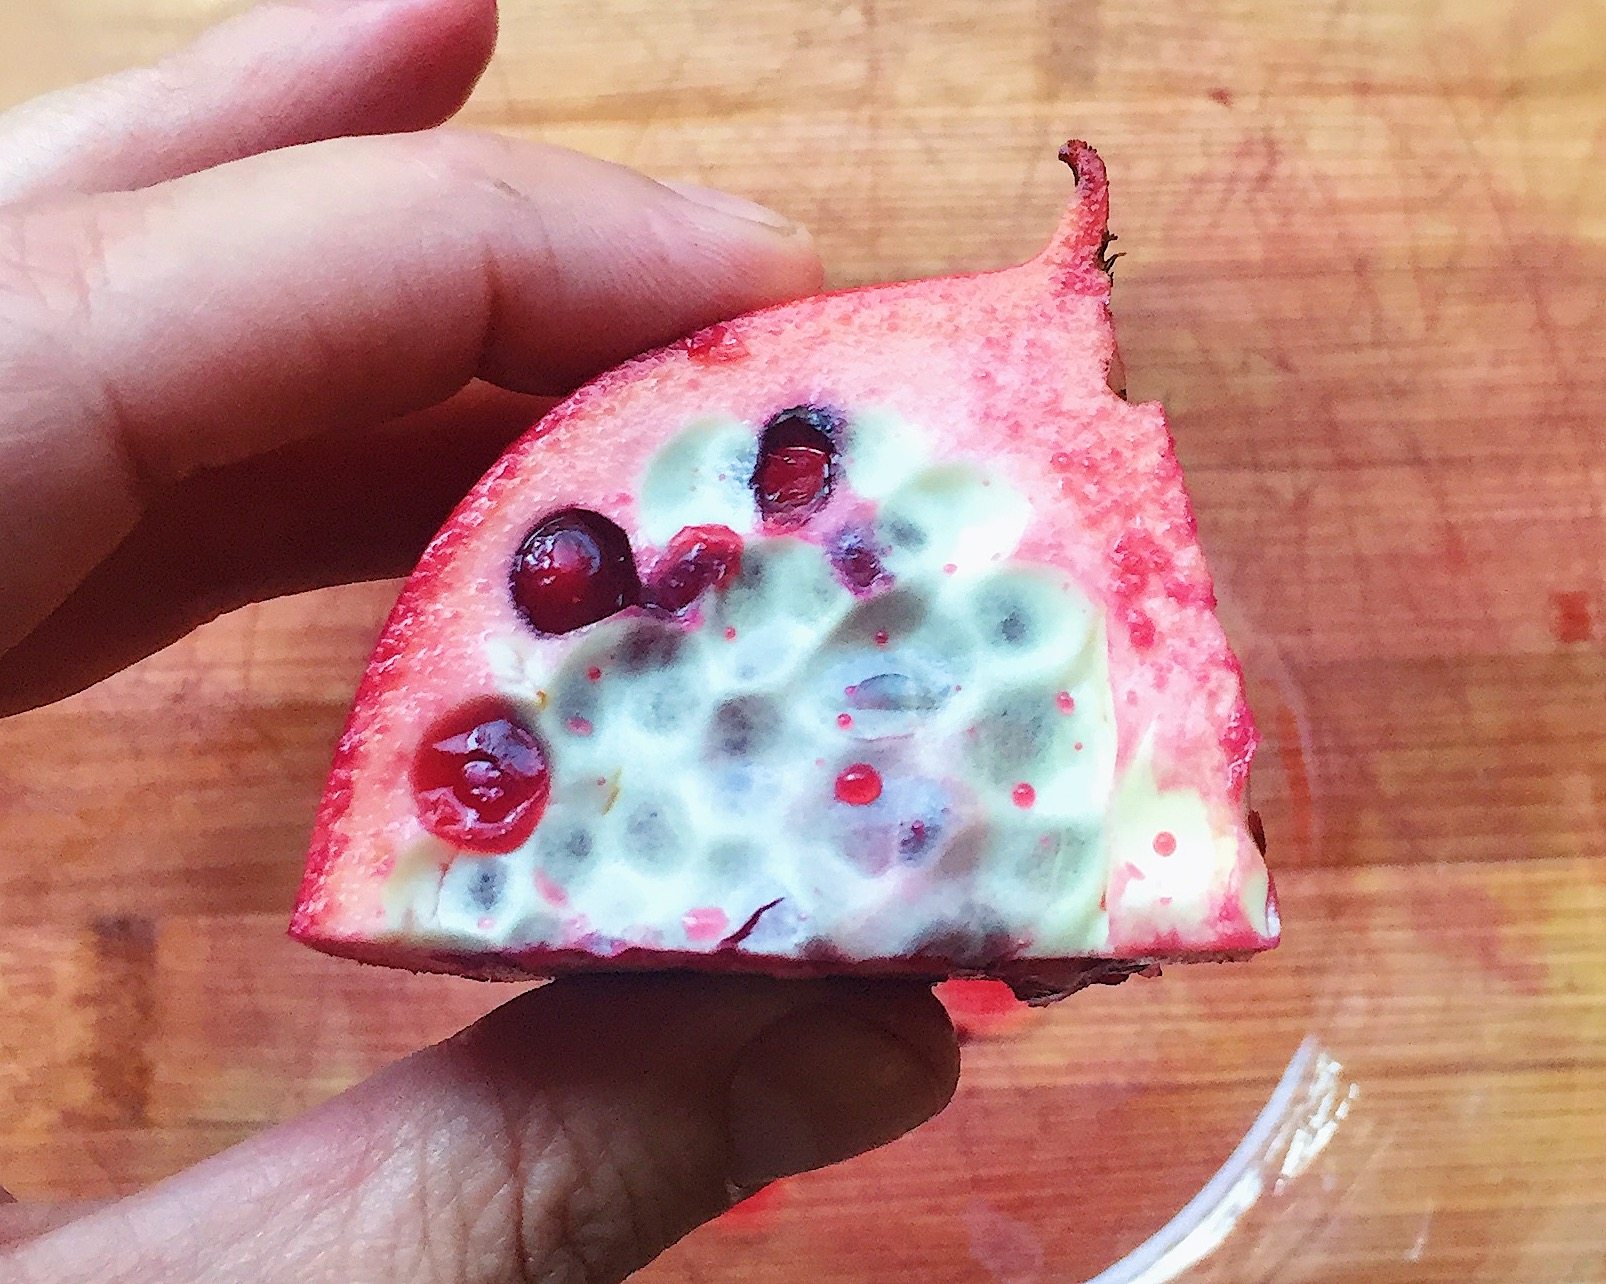
you will find that there is a thin membrane covering most of the seeds. you can gently peal this back to expose the seeds. 

IMG_9304.JPG

once the membrane is removed, use your hands to flatten out the wedge of pomegranate. 

working over you bowl, gently use your fingers to break the seeds loose from walls of the pomegranate. it should take you about 5 minutes for the whole pom. 

IMG_9305.JPG

the membrane can be a sticky little bugger so even after you have removed all the seeds, there is usually some still floating around. fill your bowl of seeds with water and run your fingers through the seeds to release them from any remaining membrane. let the seeds settle and the remaining membrane will float to the top. 

IMG_9306.JPG

use a spoon to remove the floating membrane from the water. once it is all removed, strain your seeds and you are ready to use them. 

IMG_9307.JPG
IMG_9308.JPG

enjoy your delicious rubies of flavor and if you have tips and tricks of your own, please send them my way!
xo, a

tips & tricks: garlic 101

while i may now look like a culinary goddess. oh wait, that is only in my own mind? ok, well while i may not be a culinary goddess, at this state in the game i know a thing or two.

when i started cooking and writing six years ago, there wasn't really a game plan. i just did it. no real reason other than, why not? i didn't expect that it would result in falling in love with food and feeding people, or that i would inadvertanley teach myself how to cook. and i had no clue it would ultimately result in a career change.

but what i do know, is that i wish i didn't have to learn SO MUCH by trial and fire. sure, blogs were giving me recipes and the various mainstream food outlets offered hundreds of takes on the same damn thing. but no one was giving me telling me that if i smashed the garlic the skin would come right off. of that if i'm making something that's being blended there is no reason to waste a bunch of time mincing garlic. i wish someone had given me all the tips and trick that made me look and feel like a pro in the kitchen. you know, that gourmet at home shit.

o i'm brining you garlic 101. the things i WISH i had known when i was embarking on my cooking journey. maybe you know them, maybe you don't. it is always good to brush up on your skills. after all, we are always learning. 

garlic 101:
on the left is a head of garlic. on the right are five cloves of garlic. a head of garlic is made up of a bunch of cloves of garlic. not going to lie, if i'm going to be using a lot of garlic, i buy pealed garlic. i keep both on hand in my kitchen at all times. sometimes you need to roast a whole head of garlic, or stuff some up the backend of the bird, but keeping the pealed stuff on hand can really cut down on your time. 

IMG_9219.JPG
IMG_9221.JPG

one of the first mind blowing tip i learned in the kitchen was how to quickly peal garlic. i use a TON of garlic. sometimes, you can't get your hands on pealed garlic. and when you are pealing 20 cloves a time, it can be tedious.
to smash your garlic, you will want to use the thickest part of either a chef's knife (top) or santoku knife (bottom). 

IMG_9220.JPG

place the thick part of the blade on a garlic clove. using the heal of your palm, press the knife into the garlic until you feel it smash beneath you. if you are feeling a little frustrated, you could also whack it with your fist (but be a bit more careful here). 

IMG_9222.JPG

remove the knife and gently remove the crushed skin. 

IMG_9223.JPG

if a recipe calls for roughly chopped, just chop up your crushed garlic. 

IMG_9224.JPG

if you need to slice a clove, keep the clove as whole as possible when smashing.

IMG_9225.JPG

to mince, just keep going on your roughly chopped. 

IMG_9226.JPG

there you go. a bunch of things you needed to know about. now i bet you are wondering what to do with all your garlic. 

IMG_9227.JPG

i love to keep garlic oil on hand. it lasts for a few days and is the base for many great dressings, marinades or croutons.

IMG_9229.JPG

combine 5 cloves of garlic with .25 cup olive oil. 

IMG_9230.JPG

store for up three to four days. 

xo, a