Posts in tips & tricks
tips & tricks: citrus segments

it's here. IT'S HERE!!!!

citrus season my friends. not going to lie, winter is not my favorite. i am a warm weather, endless summer kind of lady. BUT. i love that it brings all the gorgeous citrus fruits.

i'm not just talking the standard lemon, limes and oranges. i'm talking about kumquats and blood oranges and pomelos! oh my. and citrus fruit are so versatile. not only are they sweet and delicious, they are BEAUTIFUL. they come in half the colors of the rainbow, all sizes and add amazing acid (a key component to most good food and drink) to any dish. 

one of my favorite ways to utilize citrus fruit is segmenting and using the segments for everything from dessert decor to ingredients in a salad. but learning to segment fruit can be a bit intimidating. but with a sharp knife and a steady hand, it is as easy as 1, 2, 3. 

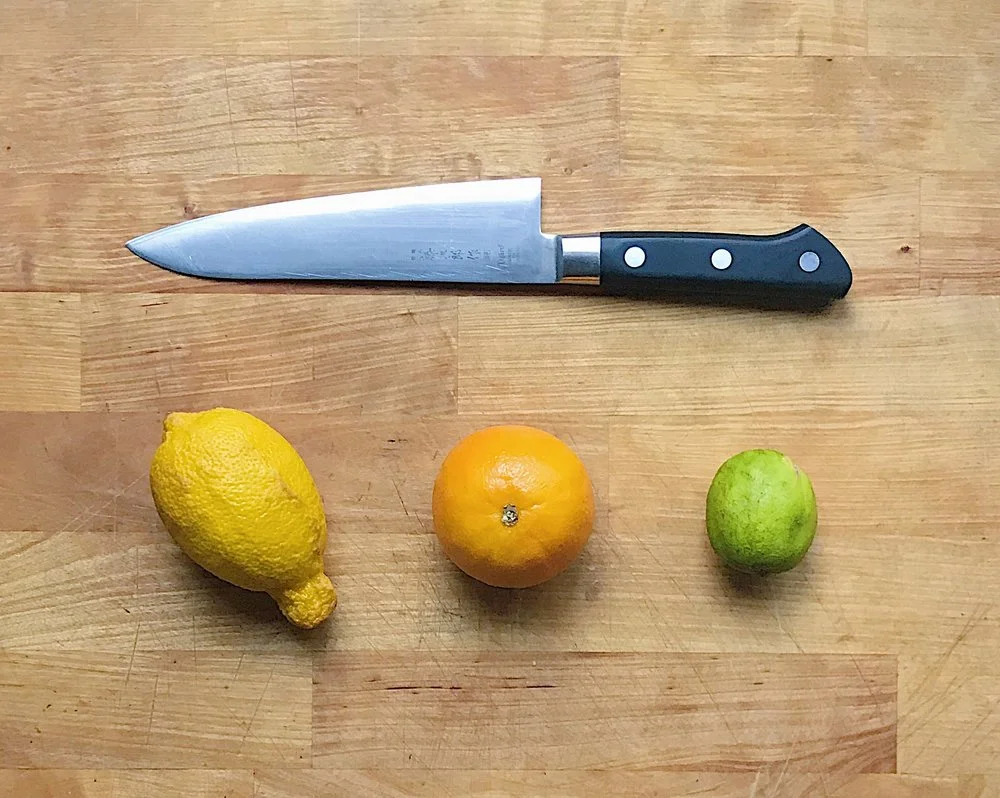
you will need a citrus fruit of your choice and a sharp knife. i can not express the importance of having at least one good, sharp knife. more people cut themselves with dull knives because they have to push SOOO hard to get them to work. christmas is coming, use THIS GUIDE to get yourself the perfect knife this holiday. 


IMG_2231.JPG

1. start by carefully slicing off the top (the part where the stem is or was connected) and the bottom. this gives you a nice flat surface to work on and shows you where your fruit and your pith (white part of the citrus) are. 

IMG_2230.JPG

2. starting with a small section, slice the pith from the fruit as you make a curved slice from top to bottom. once you have finished one section, work you way around the fruit to no pith and peel are left. 

IMG_2227.JPG
IMG_2228.JPG

3. holding the fruit in the palm of your non dominant hand (the hand you don't hold the knife with) over a bowl so you can catch the juice to use for cocktails, dressings or sauces. you will see each individual segment of the fruit (divided by very thin layers). gently, make two slices , one at each side of the segment, releasing it from its skin. the segment should pull away easily. continue this step all the way around your fruit till all segments are removed. squeeze any juice from the remaining skin and flesh of the fruit and then discard. use segments as desired. 

IMG_2229.JPG
IMG_2232.JPG
IMG_2233.JPG

xo, a

tips & tricks: candied pecans

lately, i haven't had an awful lot of extra time. the great news is, both my yoga and food businesses are growing. the bad news is, there is only one me. and only so many hours in a day. i mean, that one bonus hour i got a couple weekends ago was pretty great, but other than that, it's been a grind. 

now, i'm not complaining. i promise there is a point. the point is, i'm swamped. catering season is here and cake orders have increased AND i had two styled shoots back to back this week. one of which involved a coffee bar. 

IMG_1956.JPG

the whole idea was centered around making beautiful biscotti. but, i had never actually made biscotti before. so i went to one of the few references i really trust. joy the baker

i do not read many other food blogs (or blogs in general). not for lack of interest, just for lack of time. but instagram makes it easy to keep up with the happenings of close friends, family and other creatives i admire  (especially now that there are stories). and joy is my favorite to watch and i've been dying to make a recipe of hers. i had a hunch she would have some good biscotti options and no surprise, she had a few. i made her candied pecan biscotti which leads me to today's tip and trick.

much like these spiced pistachios, candied pecans are a fantastic snack on their own, but are also great in baked goods, salads, chopped up in pasta dishes or even scattered about on a beautiful holiday meat and cheese plate. they are VERY easy to make and store fabulously in an airtight container.  well, what are you waiting for? hop to it. 

candied pecans (adapted from joy the baker)
serves: 2 cups
prep time: 5 minutes
bake time: 35 minutes
total time: 40 minutes
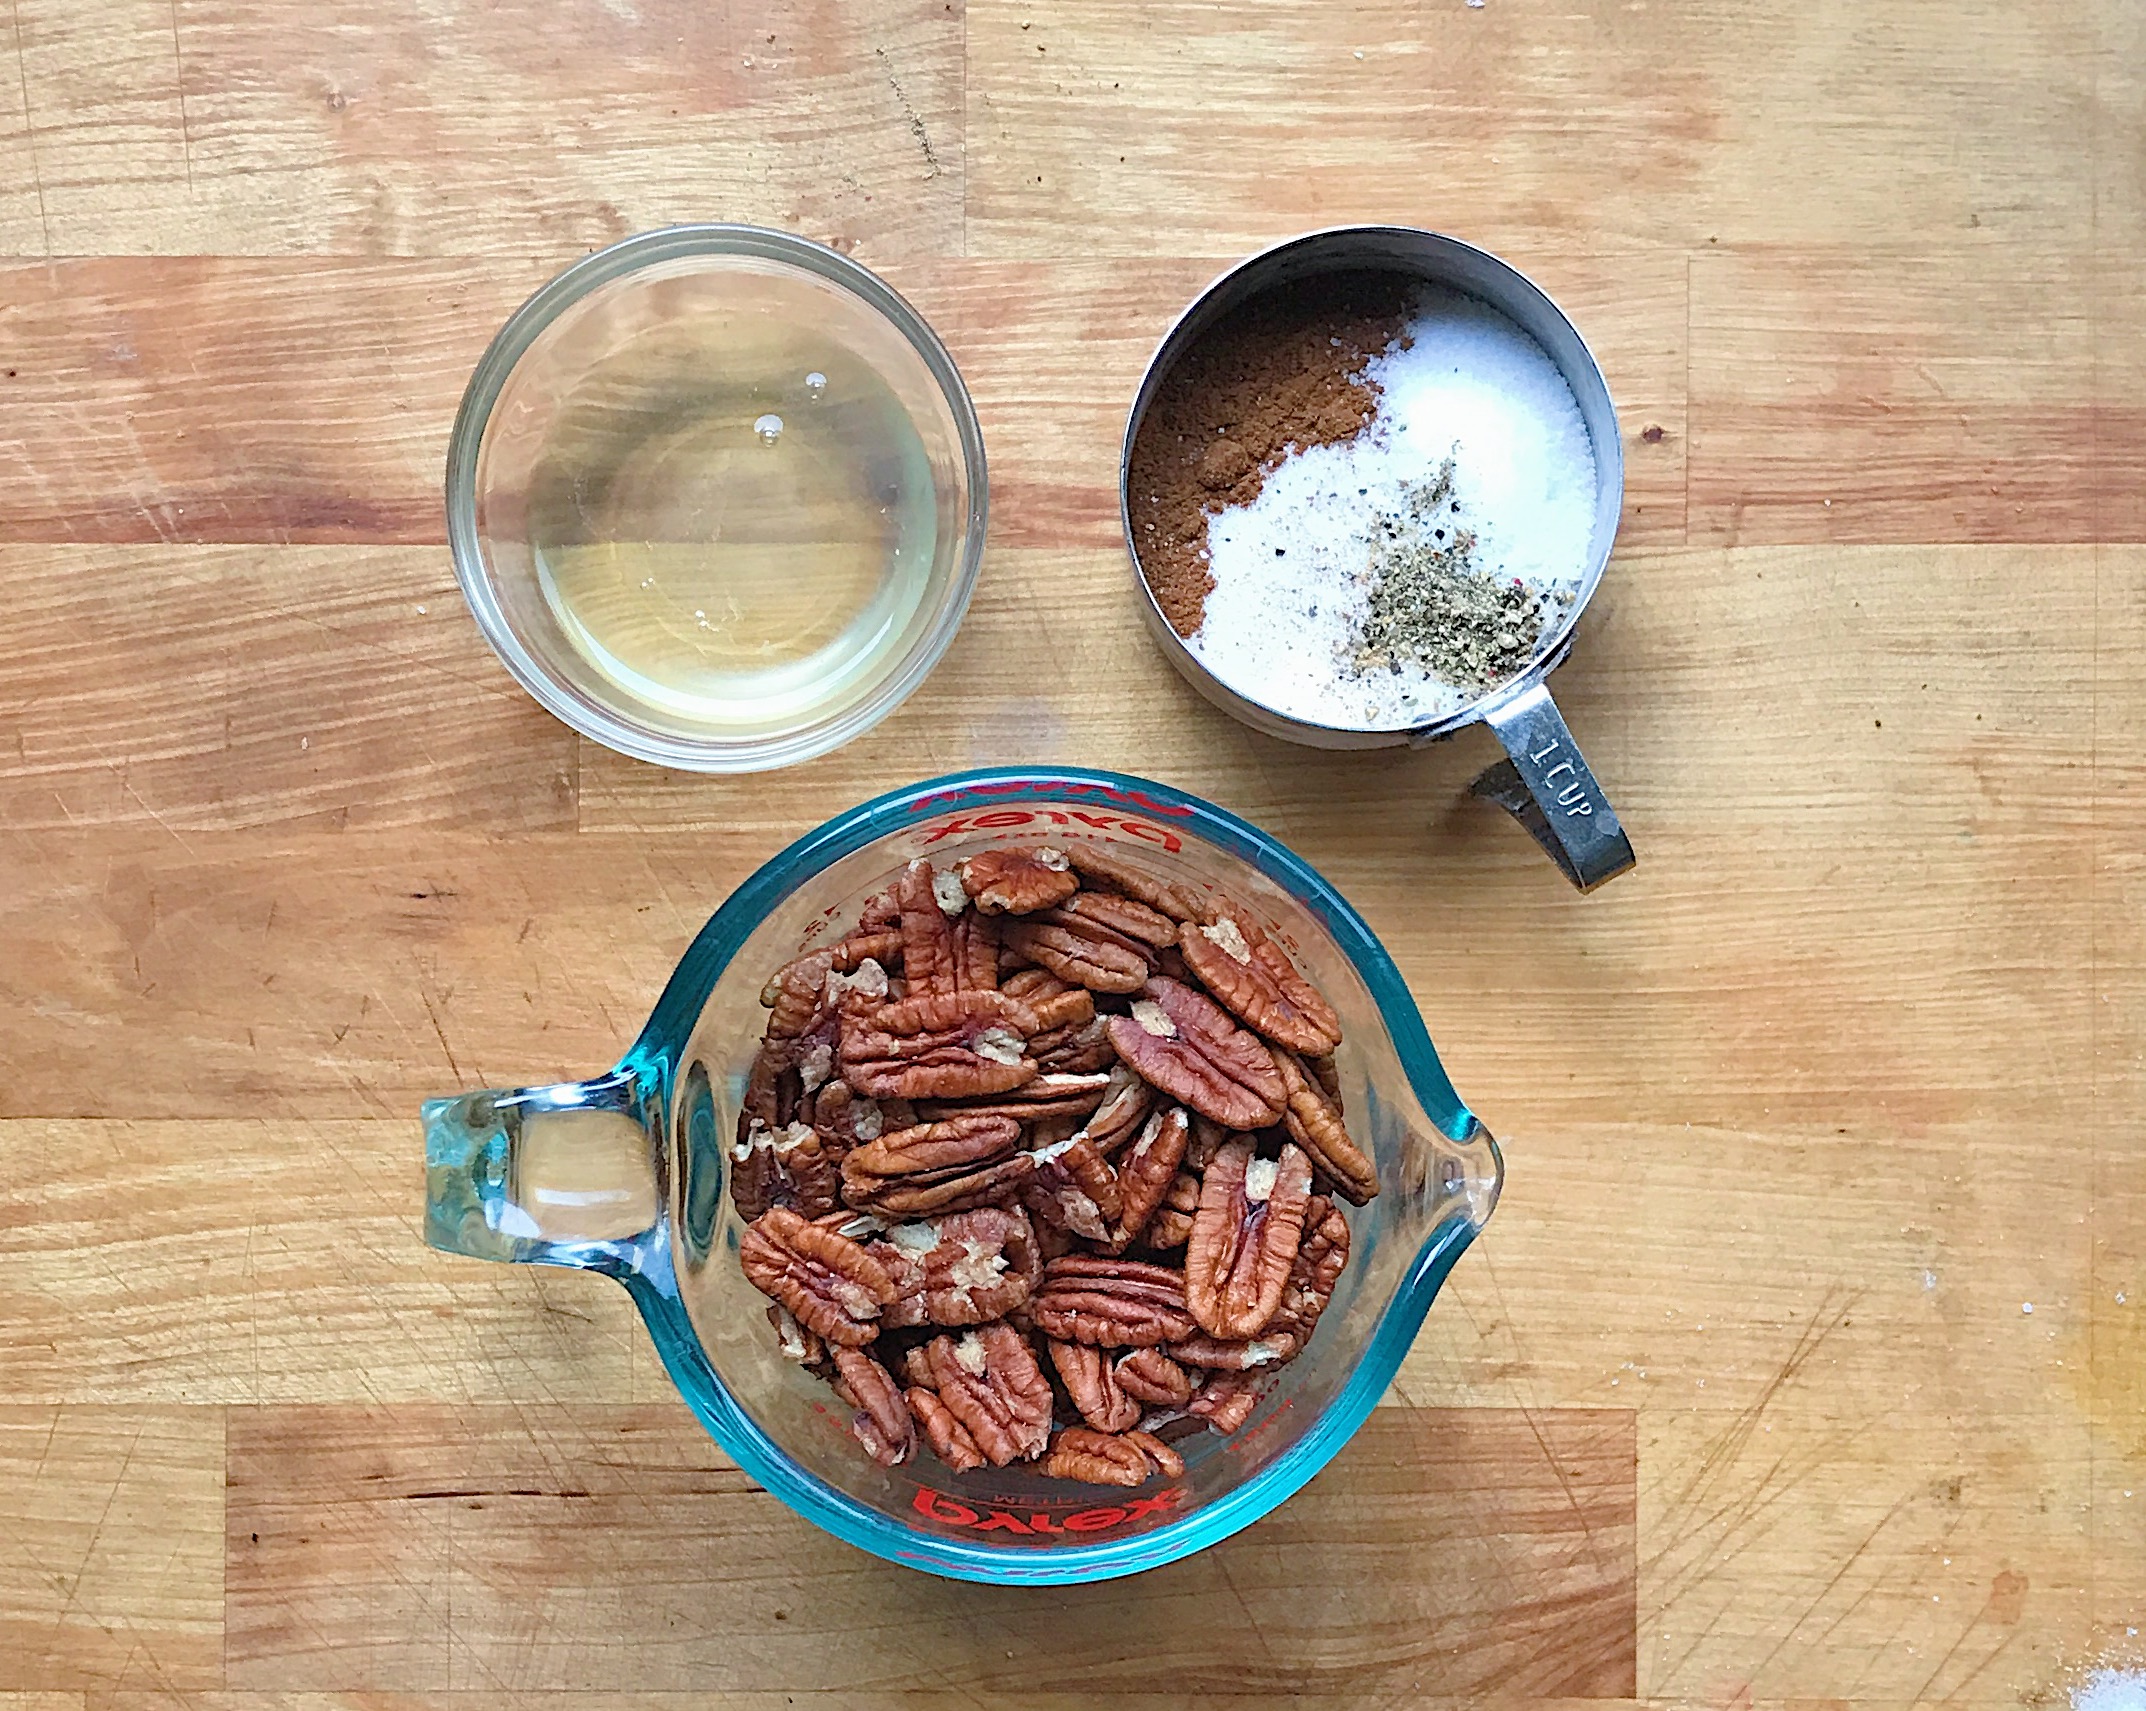
ingredients: 2 cups raw pecan halves. 1 large egg white. .5 cup granulated sugar. 1 tsp ground cinnamon. 1 tsp ground nutmeg. 1 tsp dried sage leaves .5 tsp kosher salt. .25 tsp fresh ground pepper. baking sheet lined with parchment or disposable aluminum pan (i use these fore easy clean up when i already have a lot going on... like thanksgiving day). 

IMG_1975.JPG

start by preheating your oven to 300 degrees f. while the oven preheats, whisk your egg white until it forms some bubbles. 

add all your dry ingredients in a bowl and add in the bubbly egg white and whisk till the mixture is completely combined. 

IMG_1976.JPG
IMG_1978.JPG
IMG_1979.JPG

lay your pecans in a flat layer on your baking sheet or pan. 

IMG_1980.JPG

drizzle the sugar mixture over the pecans and use a spoon or spatula to make sure all the nuts are coated. 

IMG_1981.JPG

bake for 30-35 minutes until the nuts smell delicious and are golden brown. 

IMG_1982.JPG

remove from the oven and allow them to cool to room temp. enjoy warm, or cool and store for future use. 

IMG_1983.JPG

xo, a