when i tell people that i am a cook, they naturally assume that i'm eating like a king. and when people come over to our house for dinner and we make them a decadent meal, i often receive comments of disbelief that we eat that way every night.
well guess what? i surely do not eat like a king every day and daily dinner's at my house look a lot more like a combo of left over food made for others and reheated trader joe's meals.
even the cook has a busy life and has a hard time getting in tasty, satisfying meals.
so i try to do the little extra things when i have some down time that will make my meal prepping easier when i'm really in a pinch.
one of my go to items to have in the house is caramelized onions. they can be added to pasta, burgers, sandwiches, eggs and you get the point. caramelized onions are versatile. they are easy to make ahead and will keep through out the week in the fridge for quick and easy use.
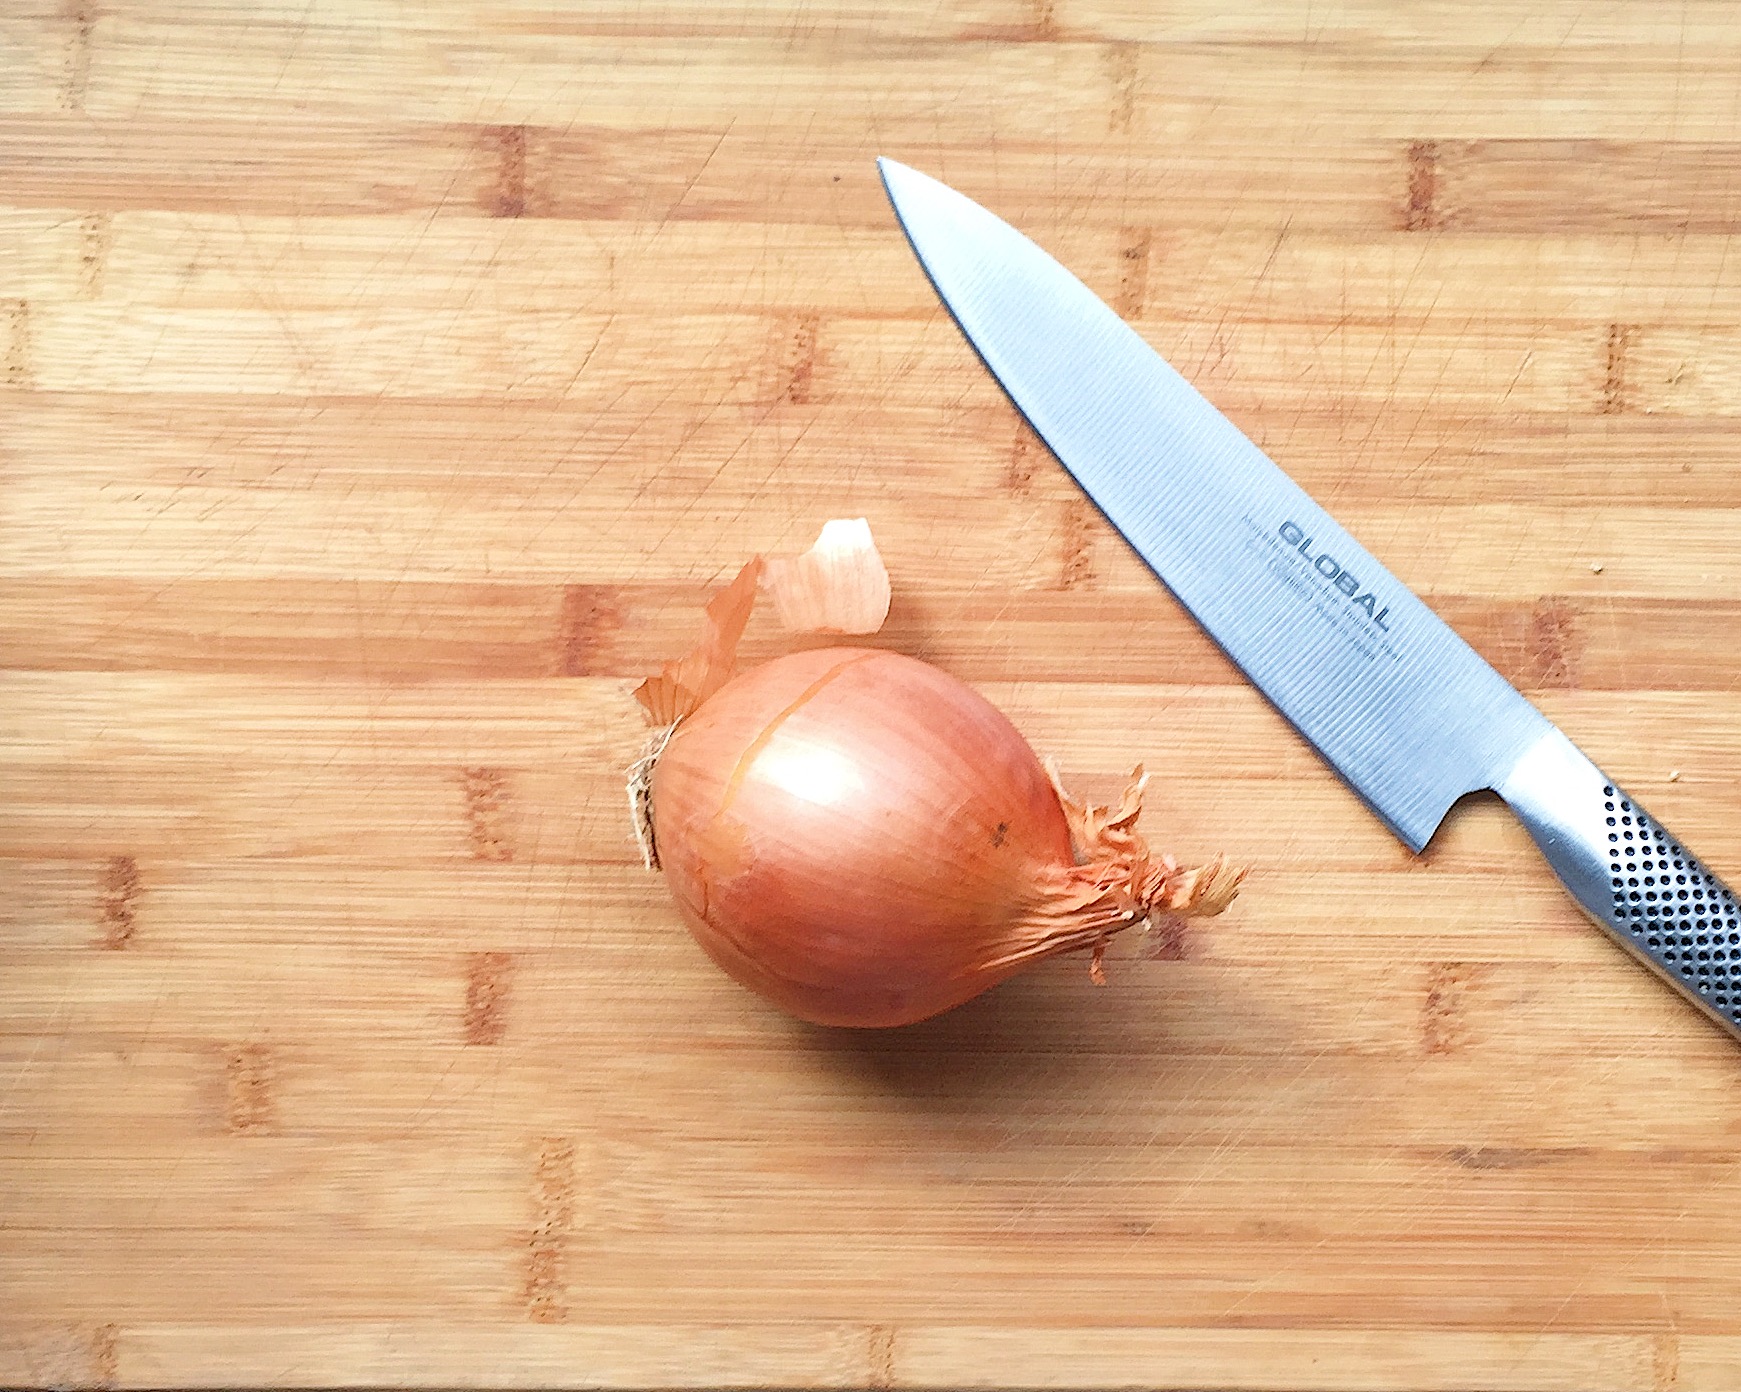
many people will give you different trips and tricks on how to best caramelize onions, but here is what i think is the easiest way to get the most flavor and bang for your buck. the major key in my mind is the type of onion you select. yellow or brown onions are often lower in price then their white or red friends and they have a higher sugar content so you don't need to add sugar to them to get them to caramelize.
caramelized onion
serves: about .5 cup caramelized onion
prep time: 1 minute
cook time: 30 minutes
total time: 31 minutes
ingredients: 1 yellow (some stores will call them brown) or spanish onion. 2 tbs olive oil. .5 tsp salt. .25 tsp fresh pepper.
start by slicing your onion in half, and then cutting it into .25 inch strips.
add all your ingredients together in a large pan. toss well till the onions are lightly coated with olive oil, salt and pepper.
now here is the key... patience.
cook your onions, stirring every few minutes till they are caramelized. this will take 20-30 minutes.
first they will become translucent.
then they will start to brown.
and before you know it, they will be nice and caramelized.
enjoy however you like, but i highly recommend this grilled cheese as a good place to start.
xo, a
caramelized onion
serves: about .5 cup caramelized onion
prep time: 1 minute
cook time: 30 minutes
total time: 31 minutes
ingredients: 1 yellow (some stores will call them brown) or spanish onion. 2 tbs olive oil. .5 tsp salt. .25 tsp fresh pepper.
start by slicing your onion in half, and then cutting it into .25 inch strips.
add all your ingredients together in a large pan. toss well till the onions are lightly coated with olive oil, salt and pepper.
now here is the key... patience.
cook your onions, stirring every few minutes till they are caramelized. this will take 20-30 minutes.
first they will become translucent.
then they will start to brown.
and before you know it, they will be nice and caramelized.
enjoy however you like, but i highly recommend this grilled cheese as a good place to start.


