


despite basically being a cake pusher, i would much rather eat a pie. every birthday of my childhood i requested strawberry pie and when it comes down to it, i will ALWAYS pick a fruity pie over a slice of cake.
BUT i will admit, i’ve spent so much of my cooking career making cake, that i am not a great pie baker. so i am trying to step up my game. enter this gem of a summer dessert.
now, i understand the pureness of only using one fruit for a pie. but i’m a more the merrier kind of gal. so this pie offers up some of my favorite summer flavors.
peach + berry pie
serves: 8-10
prep time: 30 minutes
bake time: 45 minutes - 1 hour
total time: 1 hour 30 minutes
ingredients: 2 pie crusts (i used the store bought one from trader joes. while i do think homemade is way better and worth the time if you have it, this pie crust works in a pinch. when you are super pregnant, it’s perfect). 2 cups chopped peaches. 2 cups blueberries. 2 cups chopped strawberries. zest of 1 lemon + 1 tbs lemon juice. 1 tsp chopped fresh sage. .5 cup turbinado sugar. 1 tbs corn starch. 1 tsp kosher salt. 2 tbs butter. .5 cup flour for dusting. rolling pin. pie dish. vanilla ice cream or whipped cream optional for serving.

start by preheating your oven to 425 degrees f. in a large bowl, combine all your fruit, the sugar, salt, cornstarch, lemon juice, lemon zest and sage. stir well to combine and set it aside.

lightly dust your working surface and your rolling pin with flour. roll out the bottom crust layer about an eighth of an inch thick.
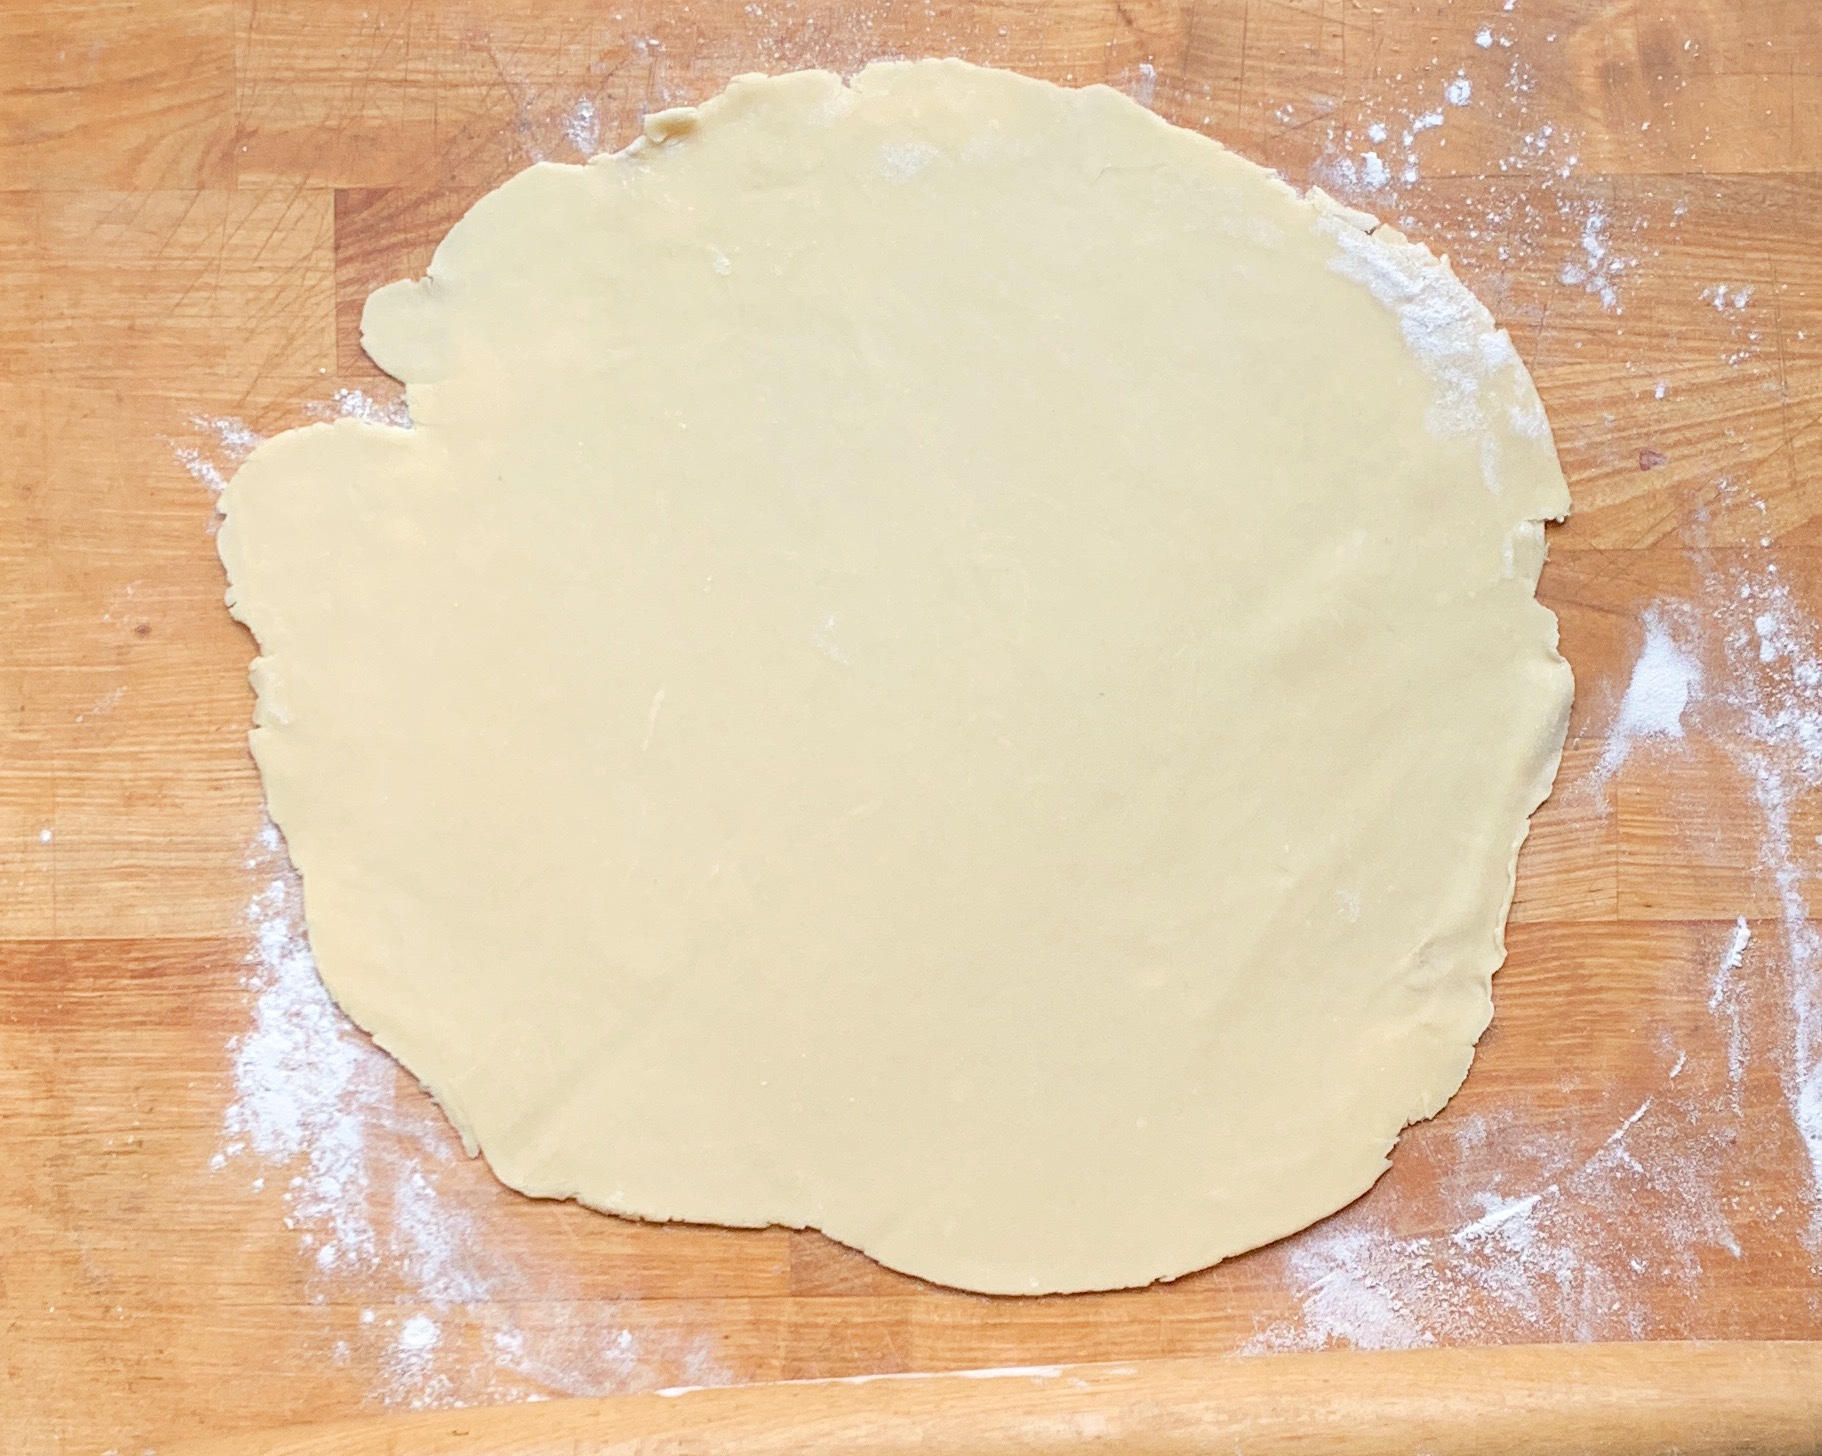
lay the crust in your pie dish and push any excess dough back onto the top edge of your crust, using your fingers to form a smooth crust edge. prick the bottom of your pie crust all over with a fork.

use a slotted spoon to scoop all the fruit filling mixture into the pie dish. discard any excess juices. place the butter in small dollops around the fruit in your pie.

now, you can either use the second pie crust dough to cover the entire pie, OR you can roll it out and slice it into 1 inch thick strips to make a lattice design. if you choose to completely cover the pie, make sure to cut some slits in the top center of the pie so the steam can escape.

bake your pie on a baking sheet in the lower part of the oven (a baking sheet will catch any bubbled up juices) at 425 for 15 minutes. reduce the heat to 350 and continue cooking for another 30-45 minutes, until the crust is golden. remove the pie from the oven and allow it to cool to room temperature. serve topped with ice cream or whipped cream and enjoy.

xo, a
peach + berry pie
serves: 8-10
prep time: 30 minutes
bake time: 45 minutes - 1 hour
total time: 1 hour 30 minutes
ingredients: 2 pie crusts (i used the store bought one from trader joes. while i do think homemade is way better and worth the time if you have it, this pie crust works in a pinch. when you are super pregnant, it’s perfect). 2 cups chopped peaches. 2 cups blueberries. 2 cups chopped strawberries. zest of 1 lemon + 1 tbs lemon juice. 1 tsp chopped fresh sage. .5 cup turbinado sugar. 1 tbs corn starch. 1 tsp kosher salt. 2 tbs butter. .5 cup flour for dusting. rolling pin. pie dish. vanilla ice cream or whipped cream optional for serving.
start by preheating your oven to 425 degrees f. in a large bowl, combine all your fruit, the sugar, salt, cornstarch, lemon juice, lemon zest and sage. stir well to combine and set it aside. lightly dust your working surface and your rolling pin with flour. roll out the bottom crust layer about an eighth of an inch thick. lay the crust in your pie dish and push any excess dough back onto the top edge of your crust, using your fingers to form a smooth crust edge. prick the bottom of your pie crust all over with a fork. use a slotted spoon to scoop all the fruit filling mixture into the pie dish. discard any excess juices. place the butter in small dollops around the fruit in your pie. now, you can either use the second pie crust dough to cover the entire pie, OR you can roll it out and slice it into 1 inch thick strips to make a lattice design. if you choose to completely cover the pie, make sure to cut some slits in the top center of the pie so the steam can escape. bake your pie on a baking sheet in the lower part of the oven (a baking sheet will catch any bubbled up juices) at 425 for 15 minutes. reduce the heat to 350 and continue cooking for another 30-45 minutes, until the crust is golden. remove the pie from the oven and allow it to cool to room temperature. serve topped with ice cream or whipped cream and enjoy.


