
turkey day is just one week away. and you have already learned to beautifully roast a whole chicken. you can apply those same roasting rules to your roasted turkey, you just cook it a little longer (additional time depends on the weight of your bird, click HERE for more info). but the moral of the story is, now what?
sure you could rip it apart like a savage, but what kind of tip would that be?
let’s start with a little pep talk. YOU GOT THIS. breaking down a bird is definitely something not all of us are doing on a daily basis, but you CAN do this. all you need is a sharp knife (helps you keep that delicious skin in tact) and that gorgeous bird.
follow this step by step to easily and quickly get as much of that delicious meat off the bone as you can.
how to break down whole roast chicken
ingredients: whole roast chicken. sharp chefs knife or santoku knife. platter for serving.
start by clearing a work surface and setting your platter near by. the chicken will be juicy when you cut into it, so keep that in mind. allow your chicken to cool for 15-25 minutes so that it is cool enough to handle.

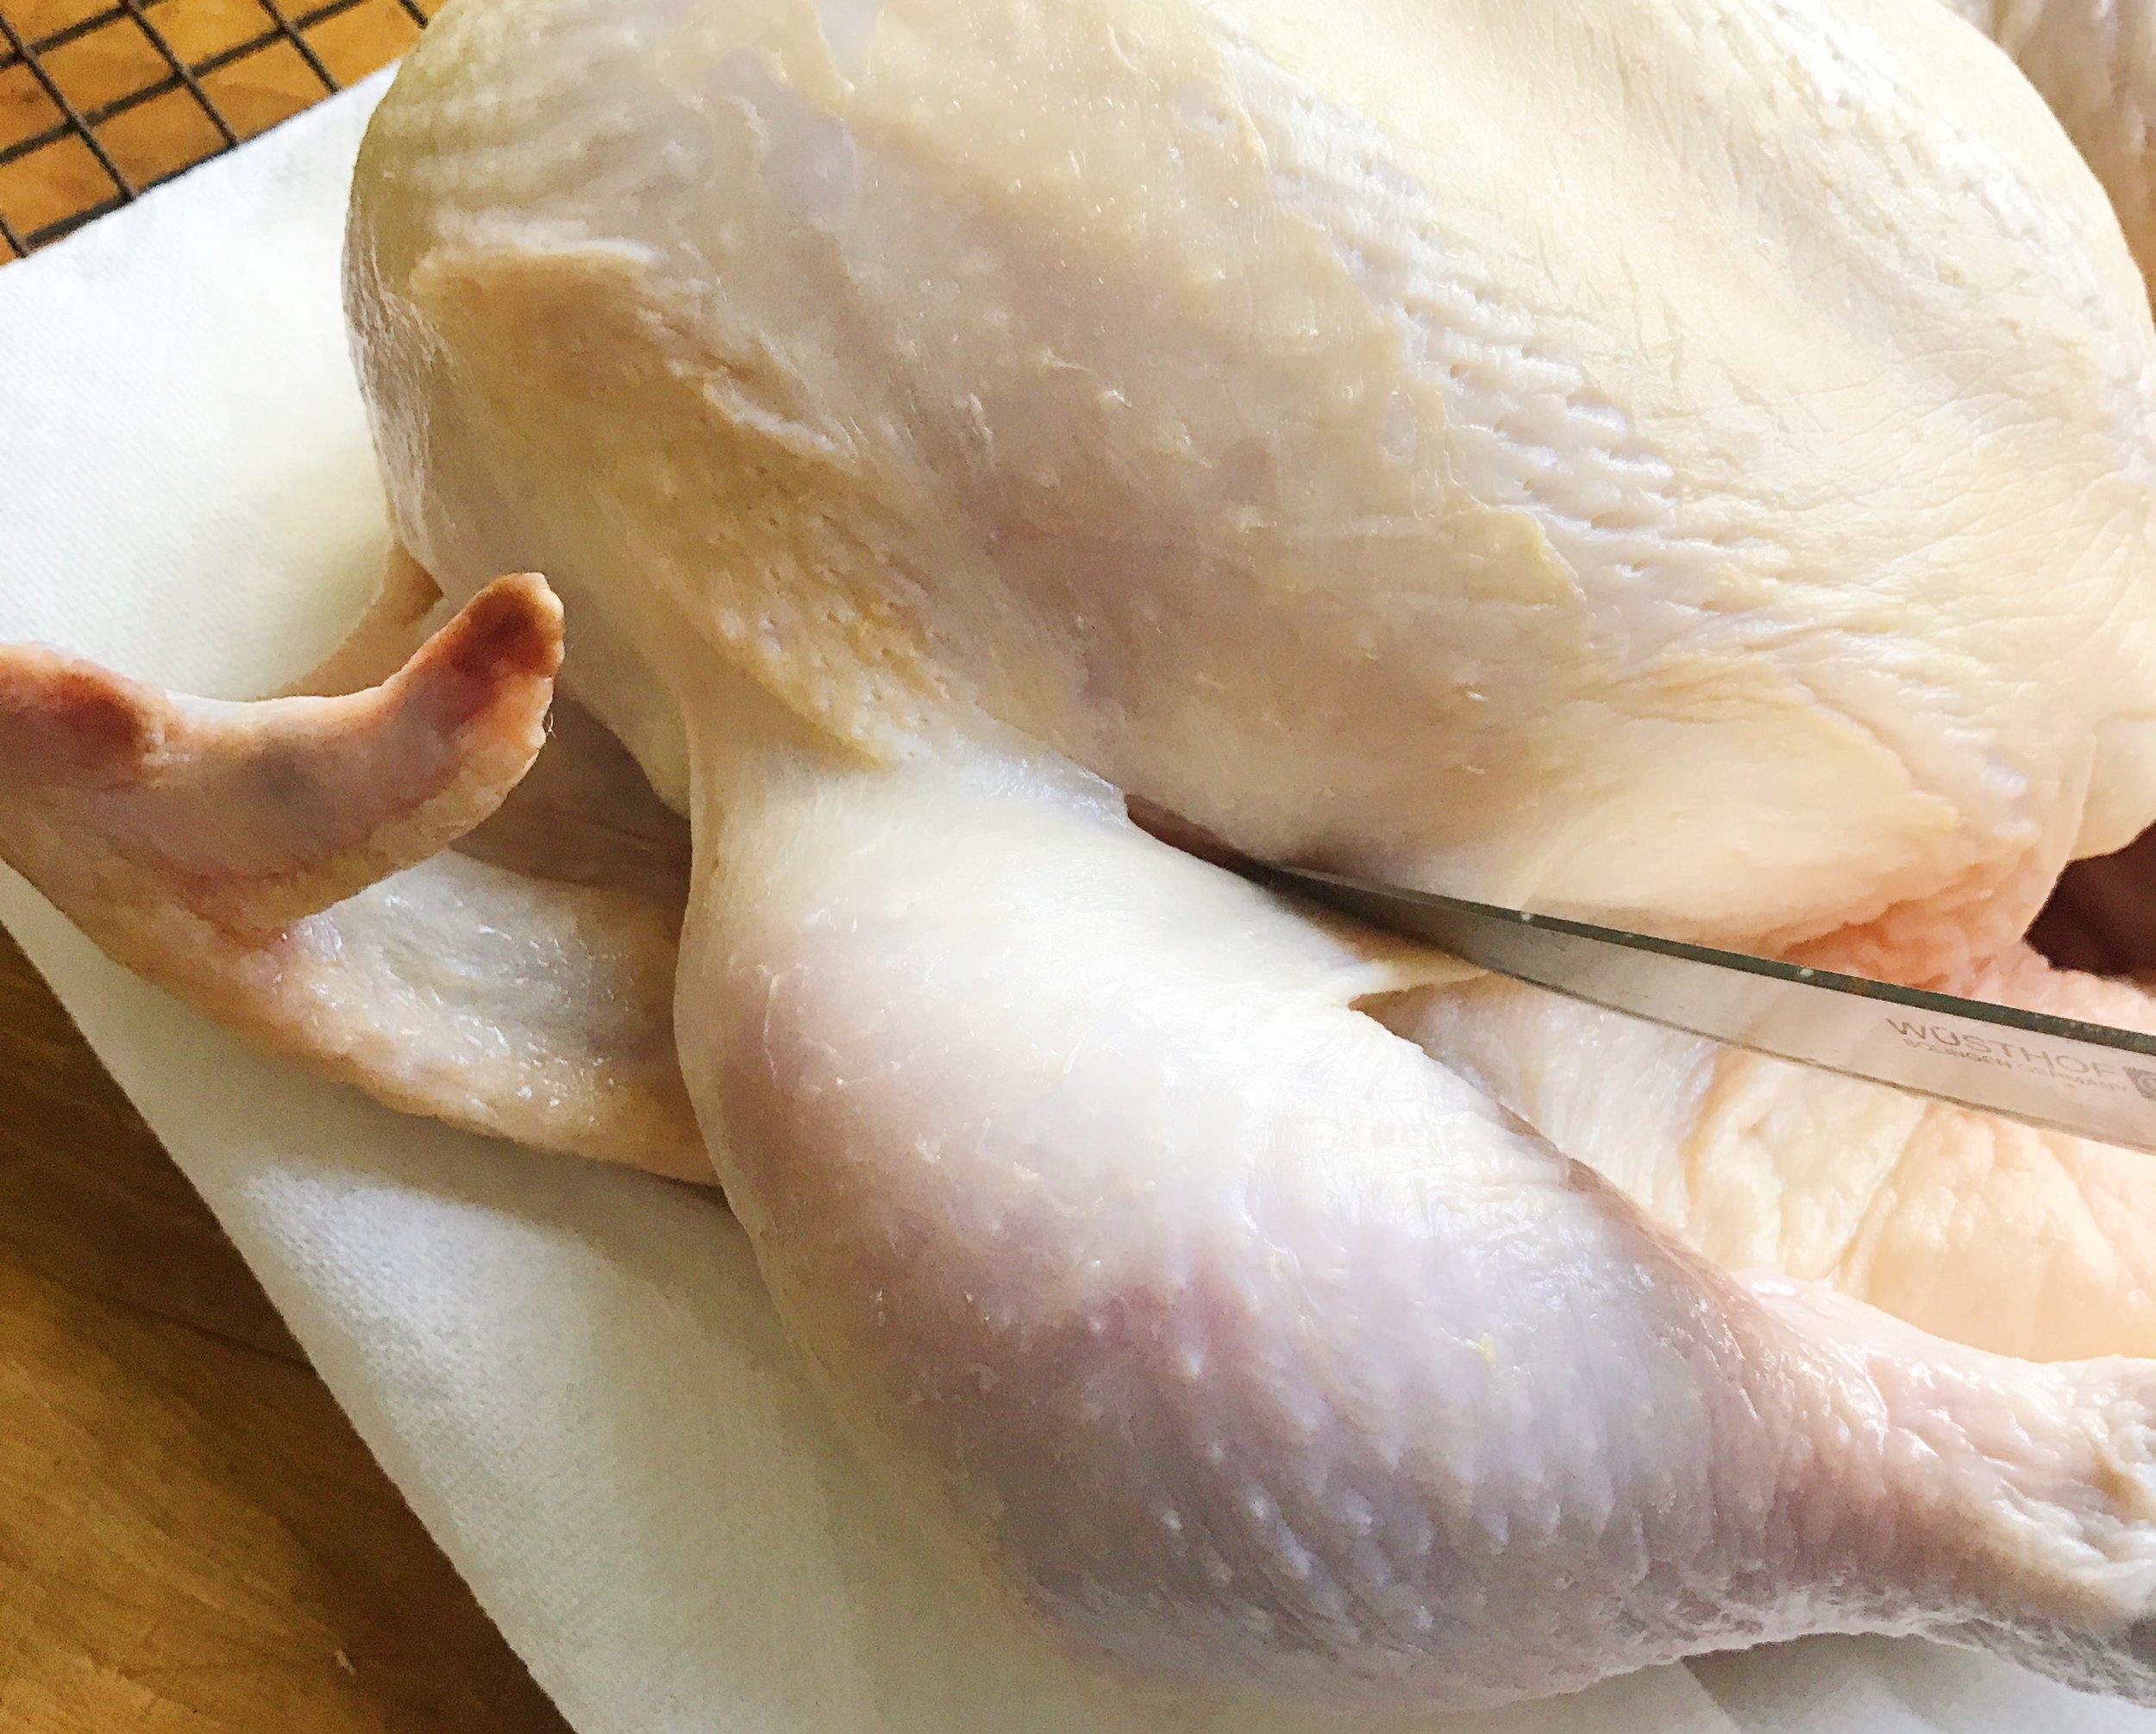
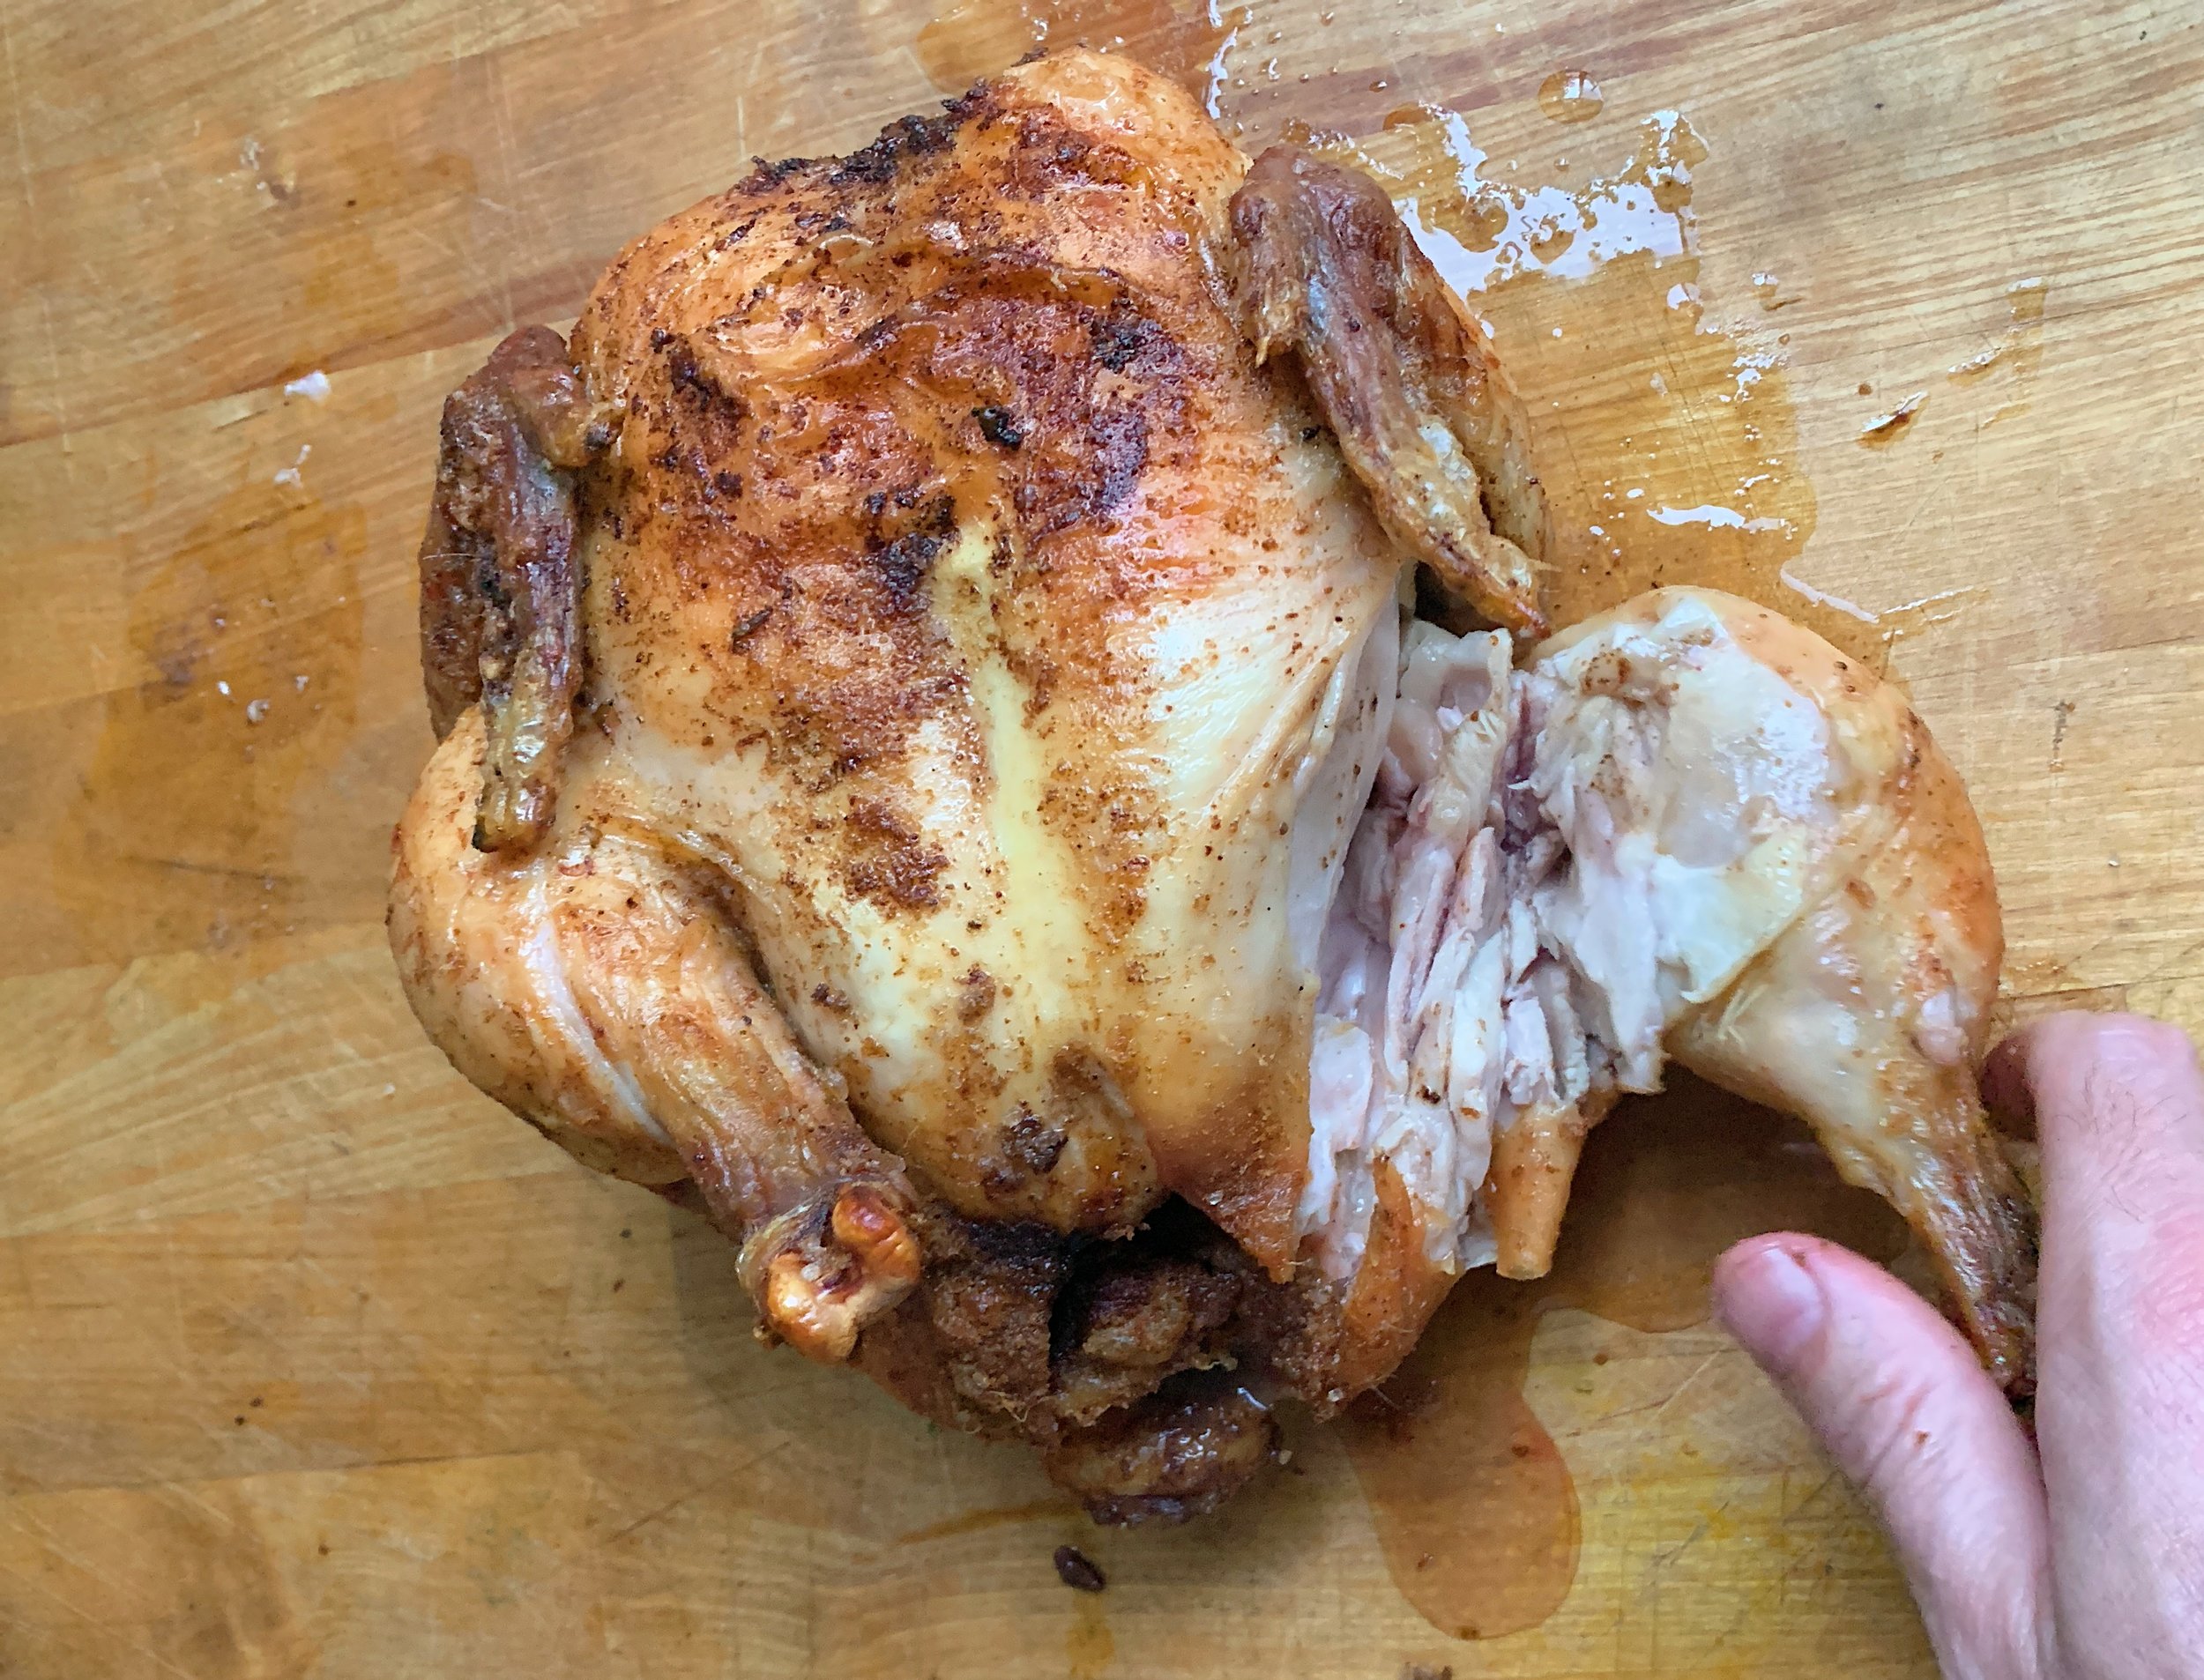
when you are ready to go, start by setting your sights on the drumstick (the leg) and the thigh which are connected.

with your knife, gently cut along the line where the thigh meets the chicken to release the skin and the meat of the thigh from the rest of the chicken.


once you have separated the skin, use your hands to pull the drumstick and thigh out of the joint by pulling it away from the bird.
once you have pulled the bone out of the joint, you should easily be able to cut the thigh from the body. once you have removed the thighs and drumsticks from both sides, work on separating the drumstick and thigh.

flip them over and find that fatty section where the thigh and drumstick meet. slice along that line and separate the two. set them aside on a platter.

then, head over to the wings. pull the wing away from the breasts until you pull the wing out of the joint.

slice the wing from the body. do the same to the other side.

find the breastbone to use as a guide for slicing off your breasts.
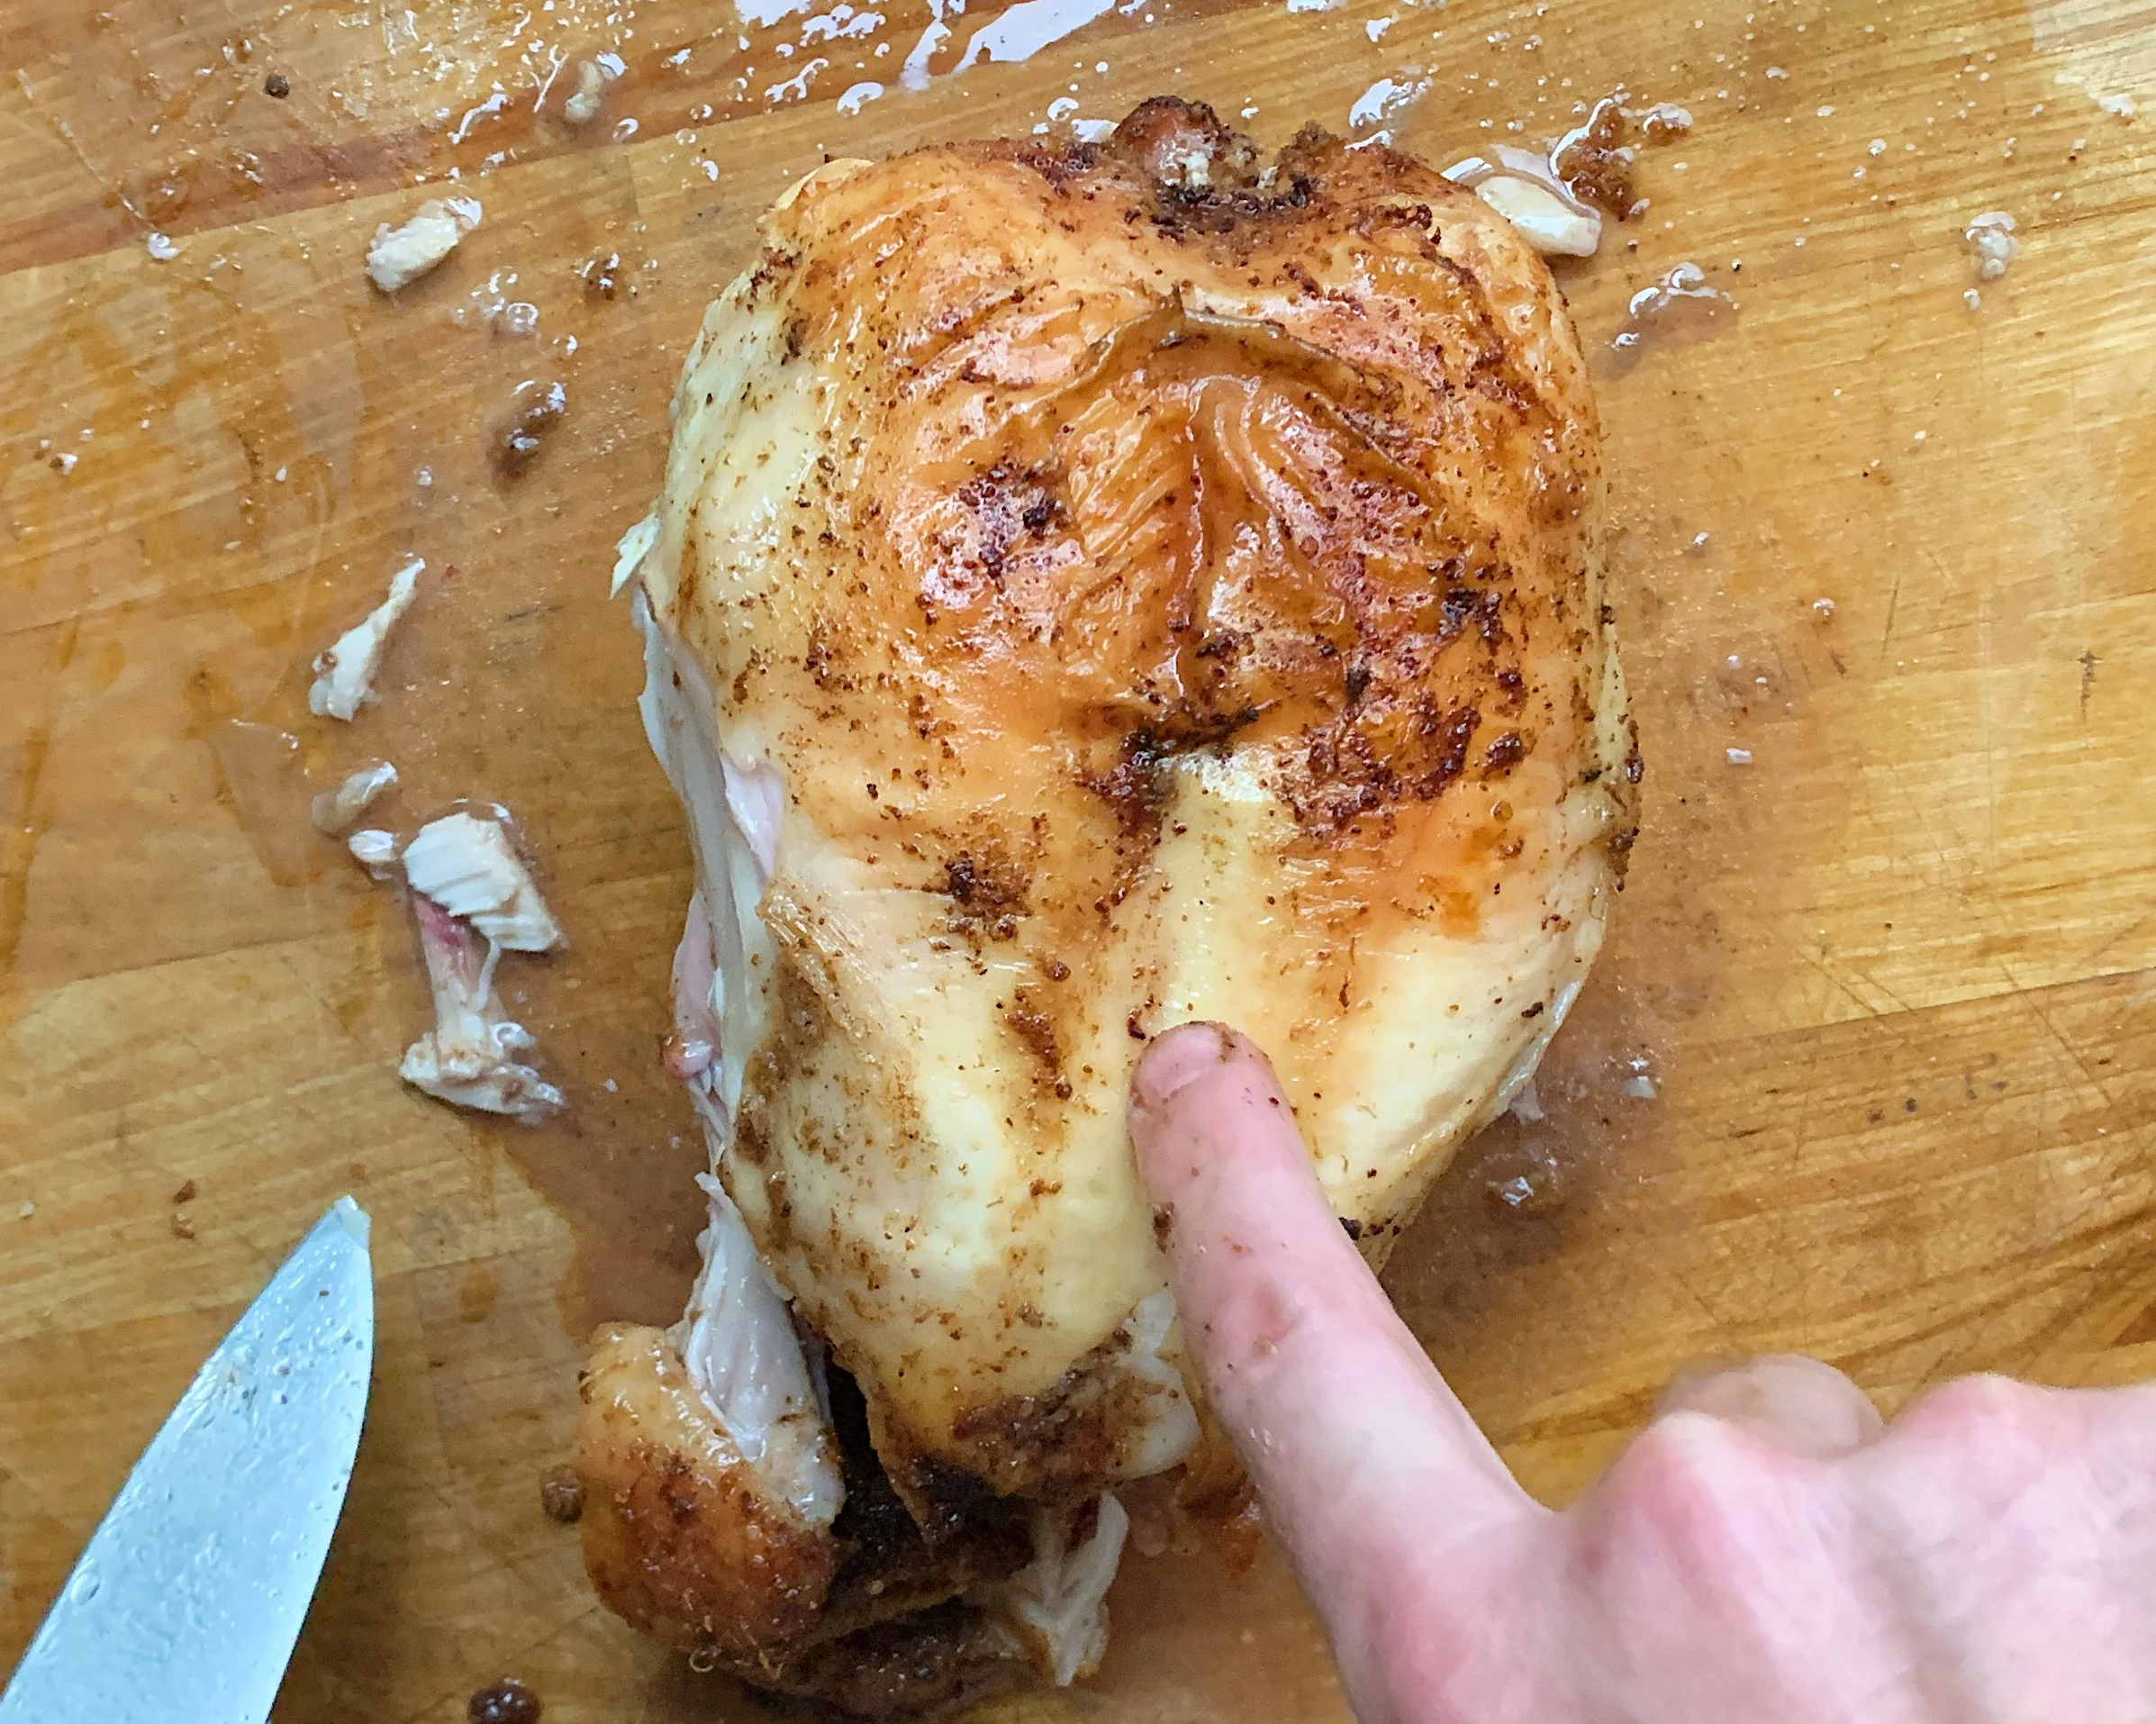
slice from the breast bone, down, separating the breast from the carcass. do the same on the other side.

set all your bits on a platter and serve them up hot. RESERVE your carcass to make THE BEST chicken stock. if you don’t have time to make the stock in the next couple days, put it in the freezer and reserve to make at a later date.

xo, a
how to break down whole roast chicken
ingredients: whole roast chicken. sharp chefs knife or santoku knife. platter for serving.
start by clearing a work surface and setting your platter near by. the chicken will be juicy when you cut into it, so keep that in mind. allow your chicken to cool for 15-25 minutes so that it is cool enough to handle. when you are ready to go, start by setting your sights on the drumstick (the leg) and the thigh which are connected. with your knife, gently cut along the line where the thigh meets the chicken to release the skin and the meat of the thigh from the rest of the chicken. once you have separated the skin, use your hands to pull the drumstick and thigh out of the joint by pulling it away from the bird. once you have pulled the bone out of the joint, you should easily be able to cut the thigh from the body. once you have removed the thighs and drumsticks from both sides, work on separating the drumstick and thigh. flip them over and find that fatty section where the thigh and drumstick meet. slice along that line and separate the two. set them aside on a platter. then, head over to the wings. pull the wing away from the breasts until you pull the wing out of the joint. slice the wing from the body. do the same to the other side. find the breastbone to use as a guide for slicing off your breasts. slice from the breast bone, down, separating the breast from the carcass. do the same on the other side. set all your bits on a platter and serve them up hot. RESERVE your carcass to make THE BEST chicken stock. if you don’t have time to make the stock in the next couple days, put it in the freezer and reserve to make at a later date.