


late summer makes me feel like i'm in a mad dash against time. the tuesday after labor day instils in me this sudden urgency to soak up the last beach days, get all my little swimmers as far as they can go before we break for the cold months and this intense need to cook and gobble up every last bit of summer produce.
seriously, why is it that so many of my favorite fruits are here for a blink and then gone? figs are on the top of my list. i know that come october, they will be impossible to get a hold of. so i will continue to pick up a pack at every store i stop in till the last possible second.
but mass amounts of figs at my house means i have to find lots of uses for them. i was recently having lunch with my friend shireen and she mentioned that she was dying for a fig newton (pregnancy craving) but that when she looked at the nutritional info it was awful. with her in mind, i wanted something that taste just as delicious as that favorite childhood snack, but with way less effort. because ain't nobody got time for that. especially not me.
fig + blackberry galette
serves: 8-10
prep time: 10 minutes
active time: 15 minutes
inactive time: 30 minutes
bake time: 55 minutes
total time: 2 hours
ingredients:
for crust - 1 cup all purpose flour, plus extra for dusting. 1 tsp sugar. 1 pinch kosher salt. 6 tbs cold butter, cubed into .5 inch pieces. .25 cup ice cold water. plastic wrap. rolling pin.
for filling - 12 oz sliced black figs. 12 oz blackberries. 3 tbs melted butter. 3 tbs sugar. 1 tsp lemon zest. pinch of kosher salt. baking sheet. parchment paper or silicone baking mat. plastic pastry cutter (optional).

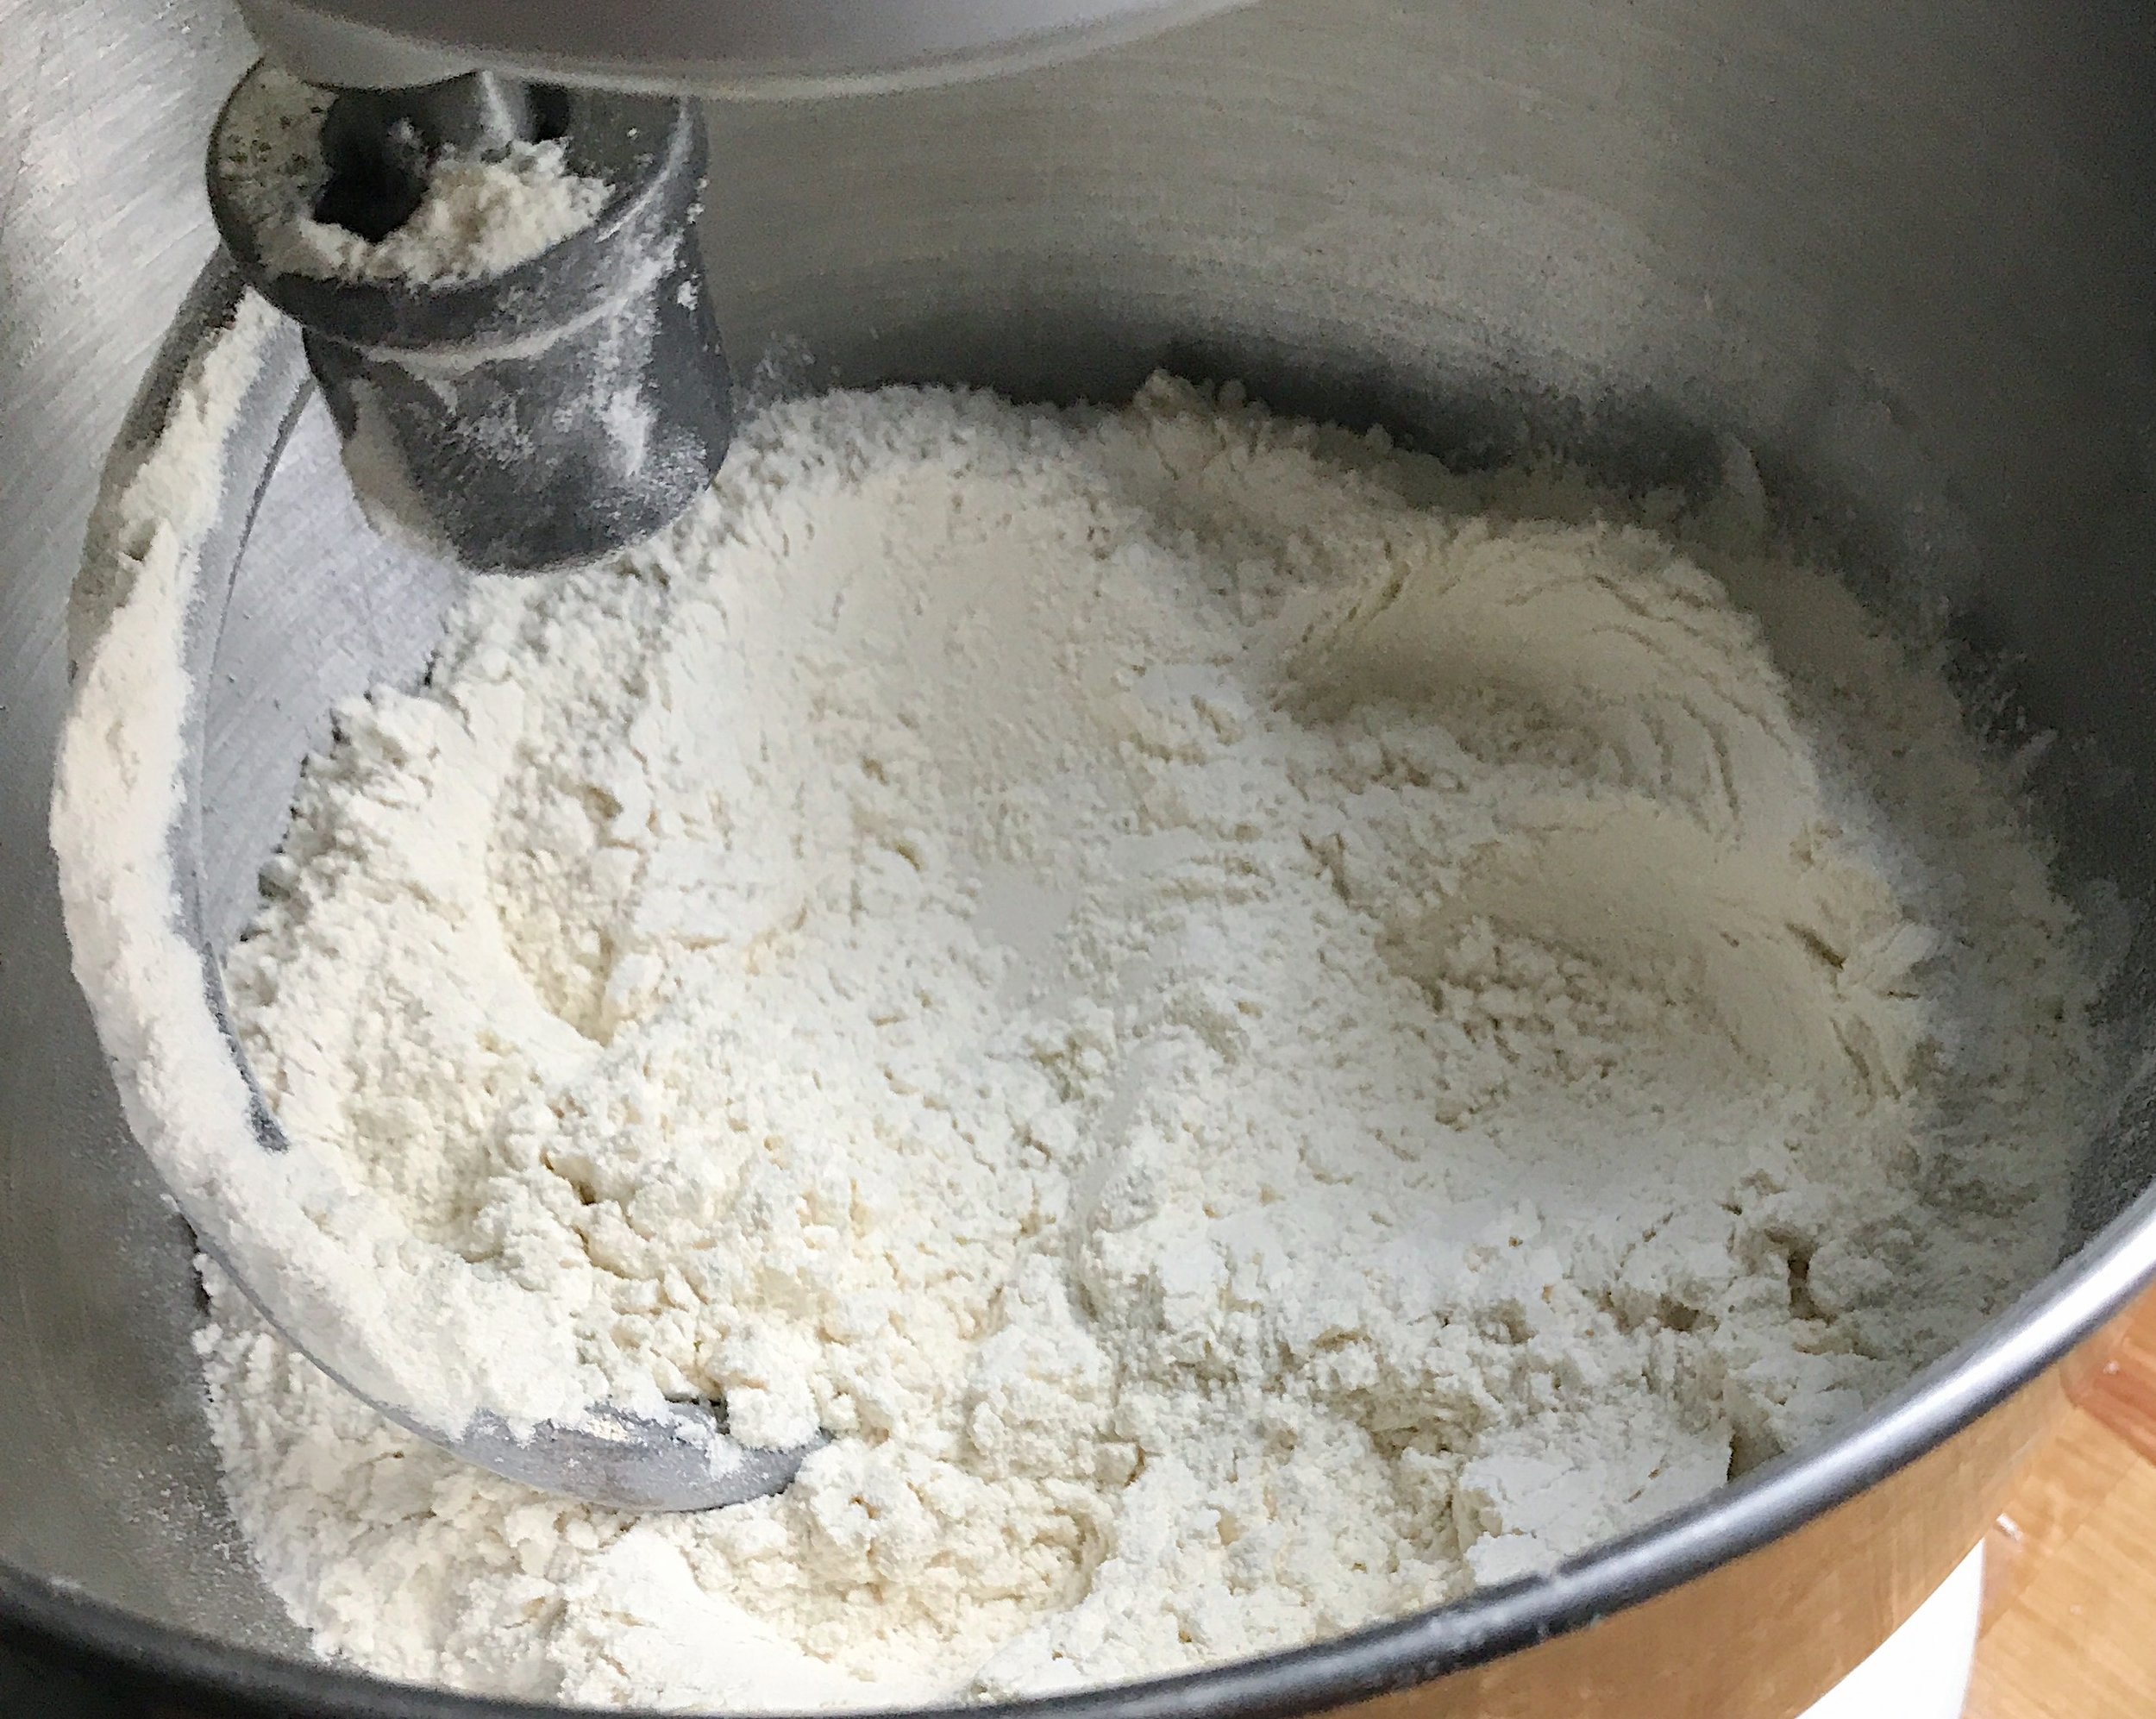
start by making your crust. in a large bowl, combine the flour, sugar and salt. add in half the butter.

use your hands or a pastry cutter.

combine until your mixture starts to turn into pieces the size of a small pea.
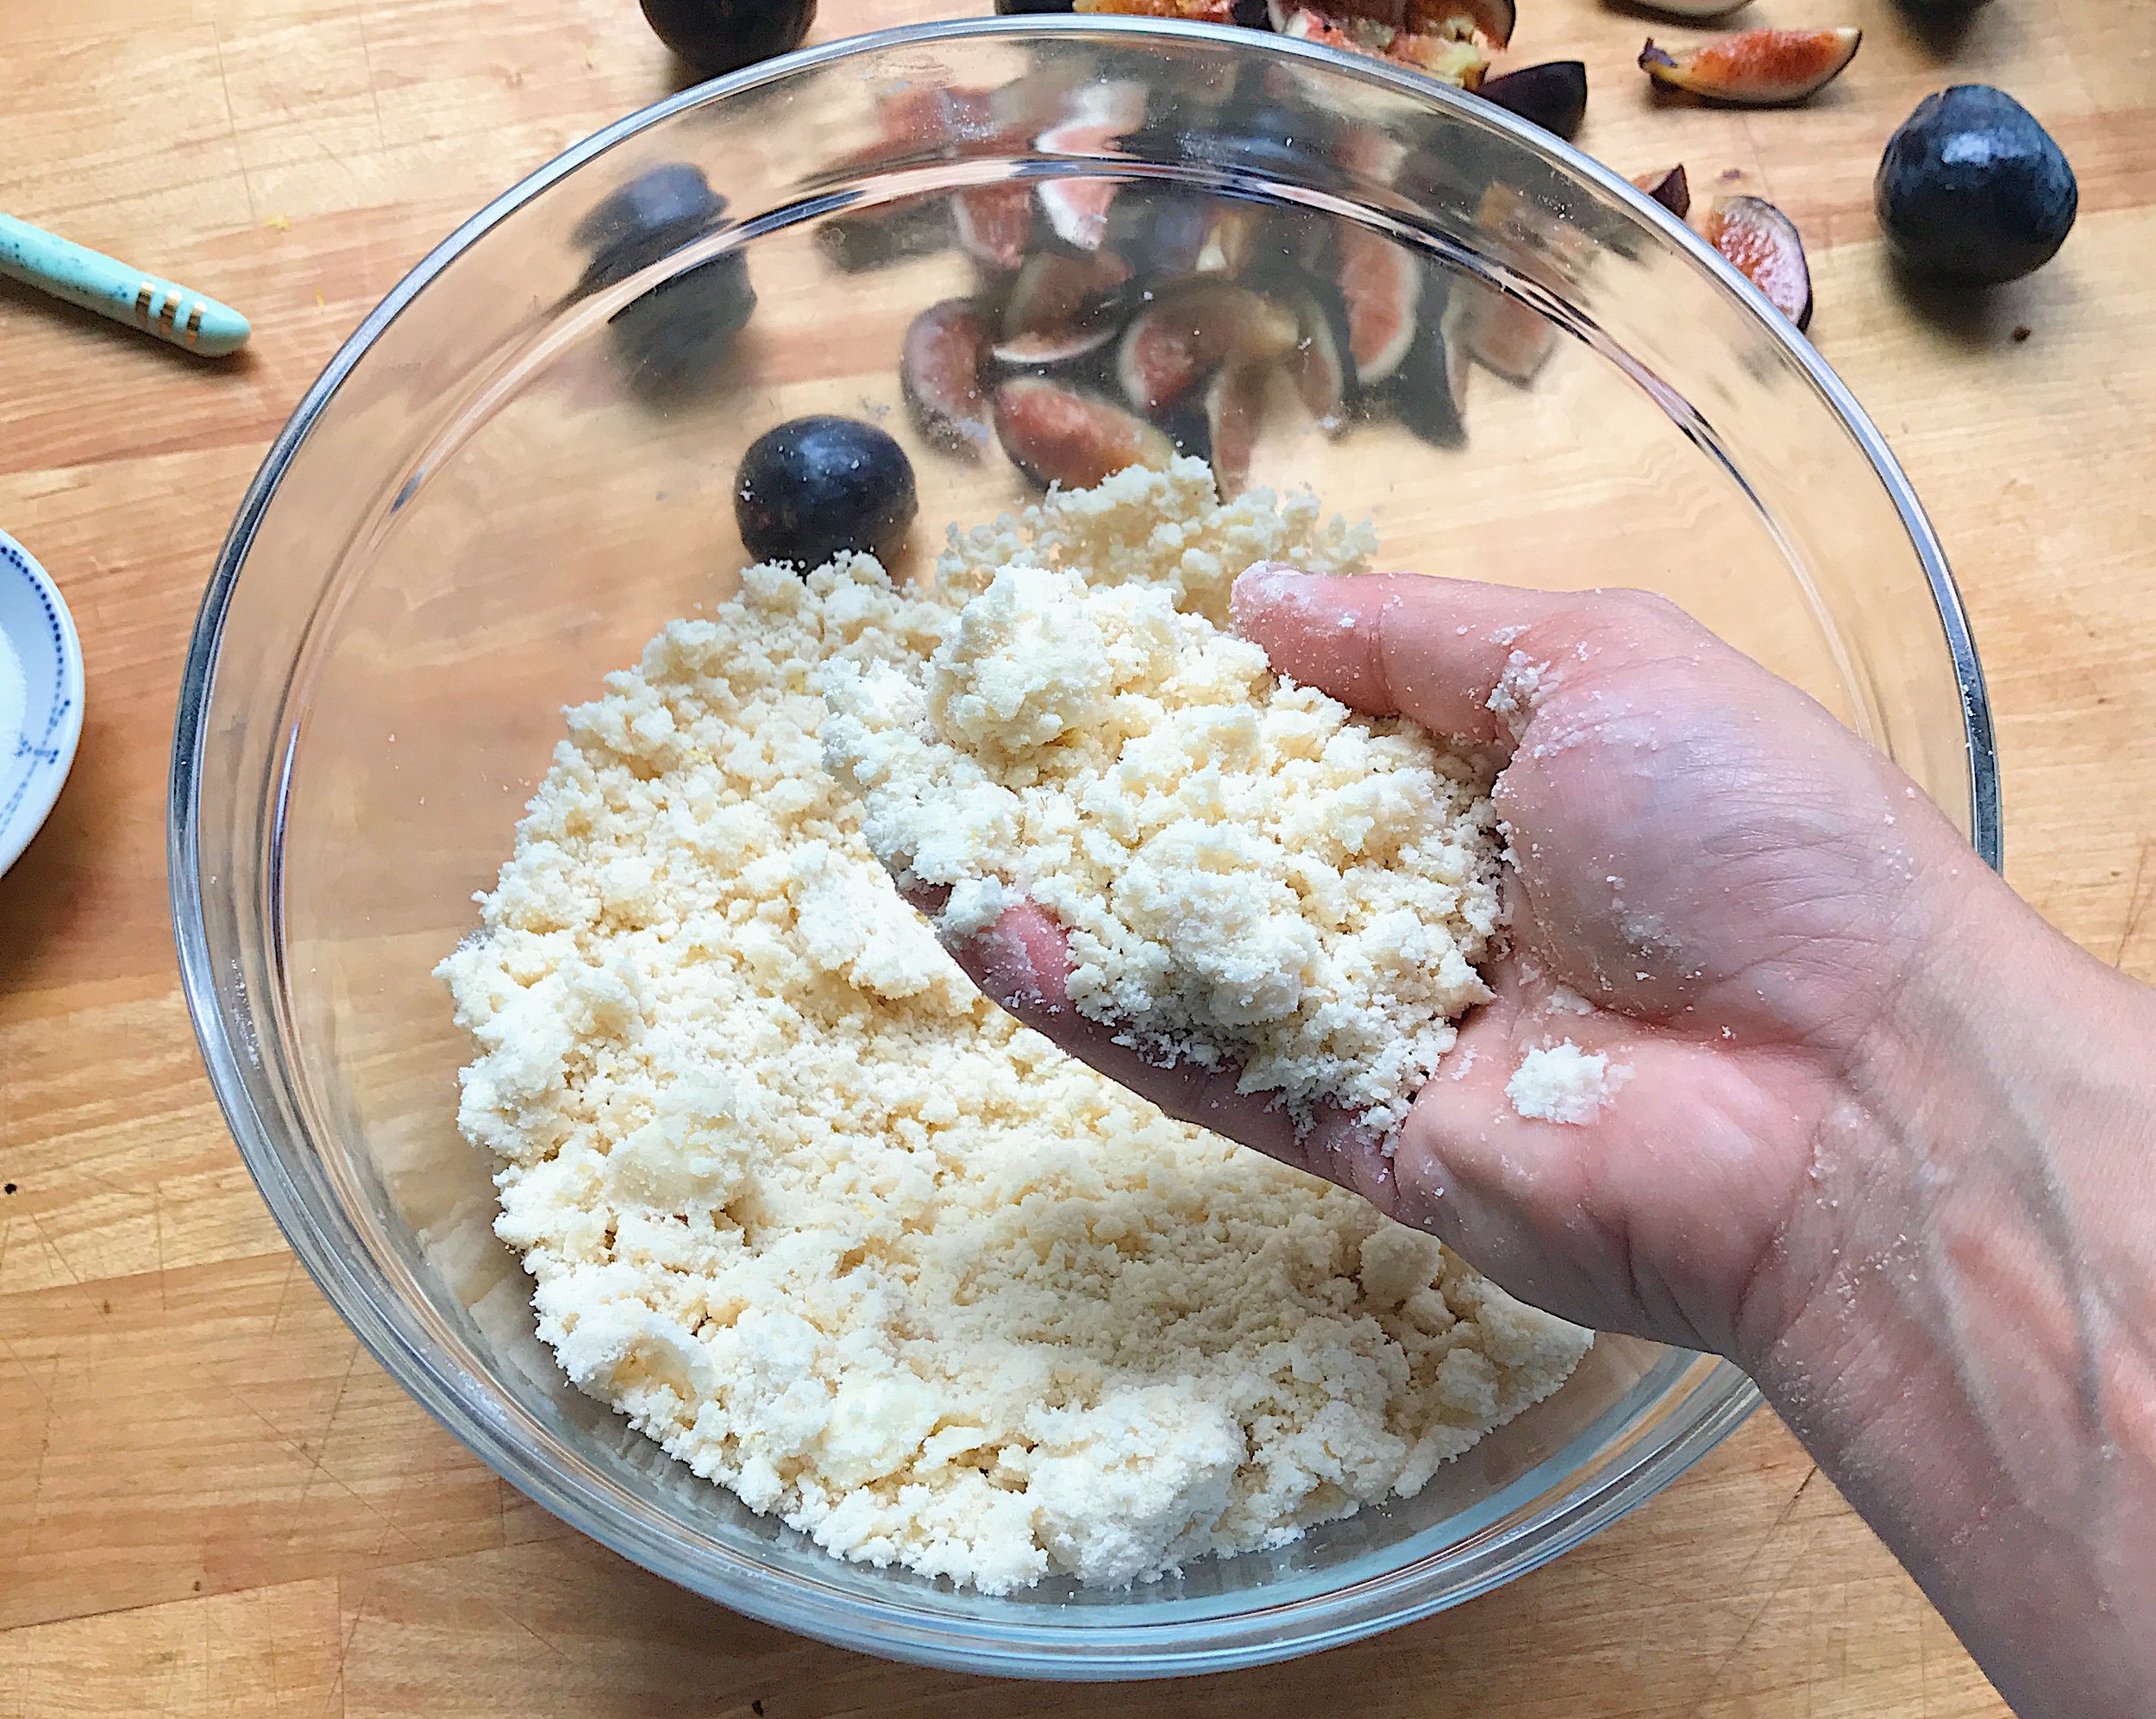
add in the rest of the butter and continue combining with your hands or the cutter till you have bigger chunks. about the size of a larger bean.

pour in your water and mix till completely combined. form the dough into a rough ball.

flatten out the dough, and wrap it up in plastic wrap. refrigerate for 30 minutes. preheating your oven to 400 degrees. once your dough has chilled, flour a clean surface and lightly flour your rolling pin.

roll your dough out till it is about an eighth of an inch thick. transfer your dough to the parchment or silicone mat lined baking sheet.


fill the dough with the fruit and lemon zest, leaving a two inch boarder all the way around.

fold the edges of your galette in. sprinkle the fruit and edges of the dough with the sugar.

drizzle your melted butter over the top and brush the edges of the crust so that the crust is lightly coated with butter.


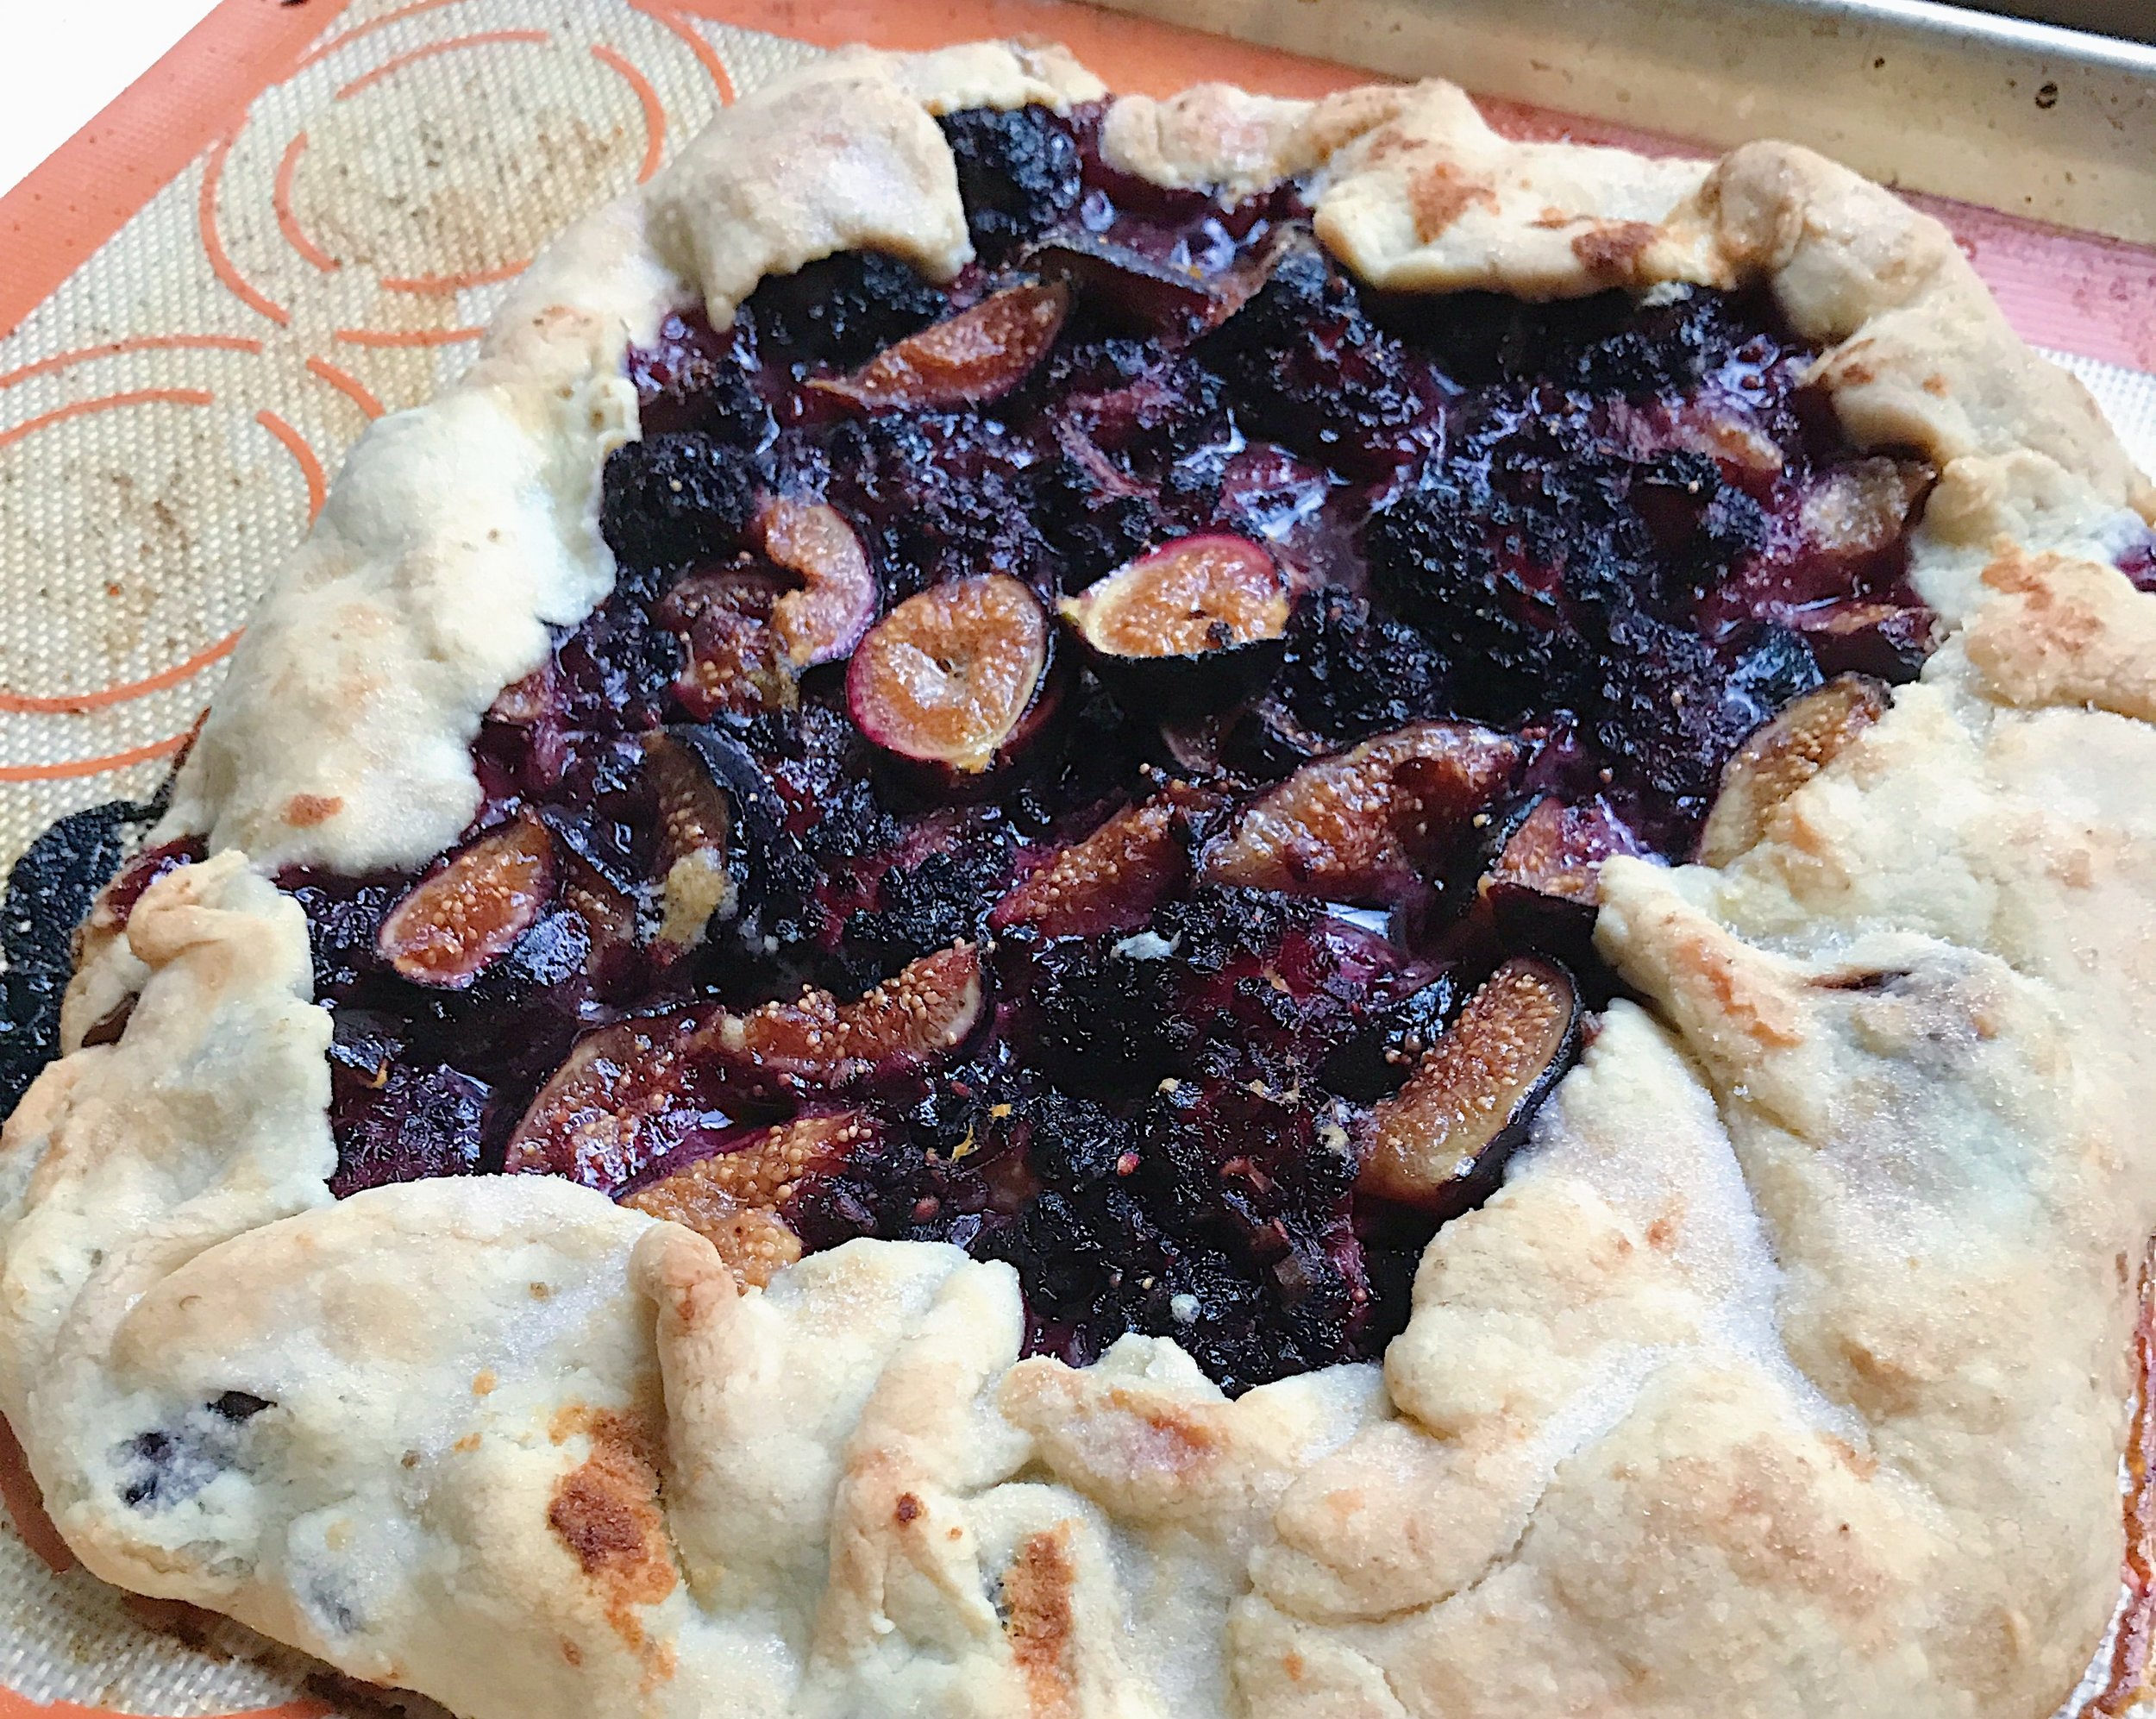
bake for 50-55 minutes till the edges are golden brown. remove from the oven, allow it to cool slightly and serve warm. bonus points if you serve it topped with ice cream or whipped cream.
xo, a
fig + blackberry galette
serves: 8-10
prep time: 10 minutes
active time: 15 minutes
inactive time: 30 minutes
bake time: 55 minutes
total time: 2 hours
ingredients:
for crust - 1 cup all purpose flour, plus extra for dusting. 1 tsp sugar. 1 pinch kosher salt. 6 tbs cold butter, cubed into .5 inch pieces. .25 cup ice cold water. plastic wrap. rolling pin. for filling - 12 oz sliced black figs. 12 oz blackberries. 3 tbs melted butter. 3 tbs sugar. 1 tsp lemon zest. pinch of kosher salt. baking sheet. parchment paper or silicone baking mat. plastic pastry cutter (optional).
start by making your crust. in a large bowl, combine the flour, sugar and salt. add in half the butter. use your hands or a pastry cutter. combine until your mixture starts to turn into pieces the size of a small pea. add in the rest of the butter and continue combining with your hands or the cutter till you have bigger chunks. about the size of a larger bean. pour in your water and mix till completely combined. form the dough into a rough ball. flatten out the dough, and wrap it up in plastic wrap. refrigerate for 30 minutes. preheating your oven to 400 degrees. once your dough has chilled, flour a clean surface and lightly flour your rolling pin. roll your dough out till it is about an eighth of an inch thick. transfer your dough to the parchment or silicone mat lined baking sheet. fill the dough with the fruit and lemon zest, leaving a two inch boarder all the way around. fold the edges of your galette in. sprinkle the fruit and edges of the dough with the sugar. drizzle your melted butter over the top and brush the edges of the crust so that the crust is lightly coated with butter. bake for 50-55 minutes till the edges are golden brown. remove from the oven, allow it to cool slightly and serve warm. bonus points if you serve it topped with ice cream or whipped cream.