um... where is this year going? tomorrow is MARCH? how?
this year is flying by and it is about to get crazier. somehow i managed to pick businesses that all get busy at the same time. now, i am not complaining. in fact, it feels amazing to see my calendar start to fill in after a solid year of struggle. but man, i need more hours in the day.
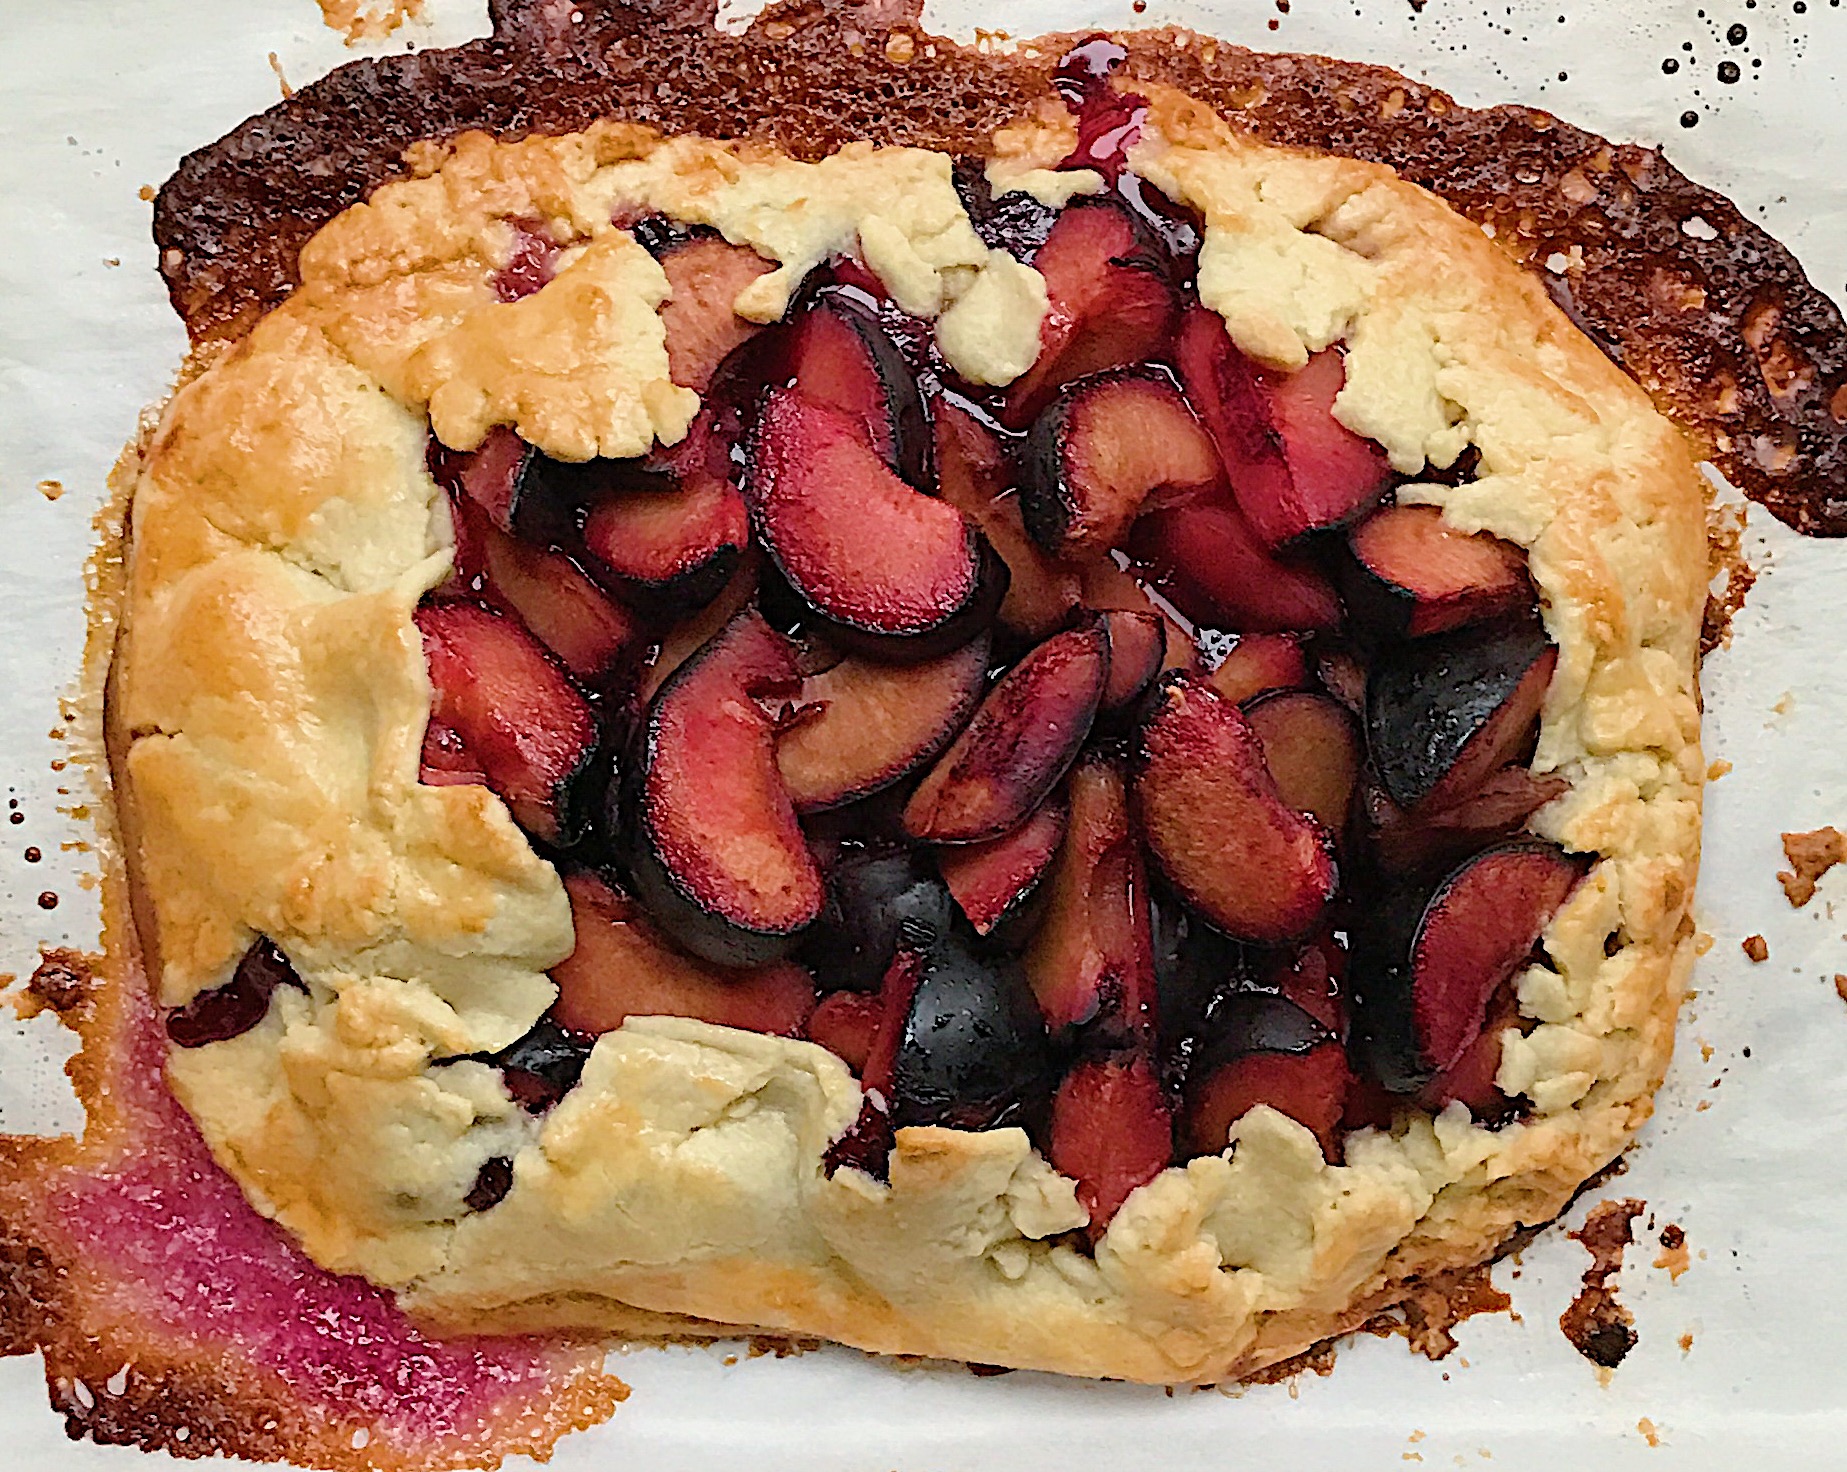
and easier, but equally delicious dishes to fit in when i have a moment. with ease and speed in mind, i've been cooking up some galettes with all the beautiful stone fruit popping up in stores. the beauty of a galette (basically a french, free formed cake) is that it requires few ingredients and is very easy to make. it's relative the pie takes additional time and precision.
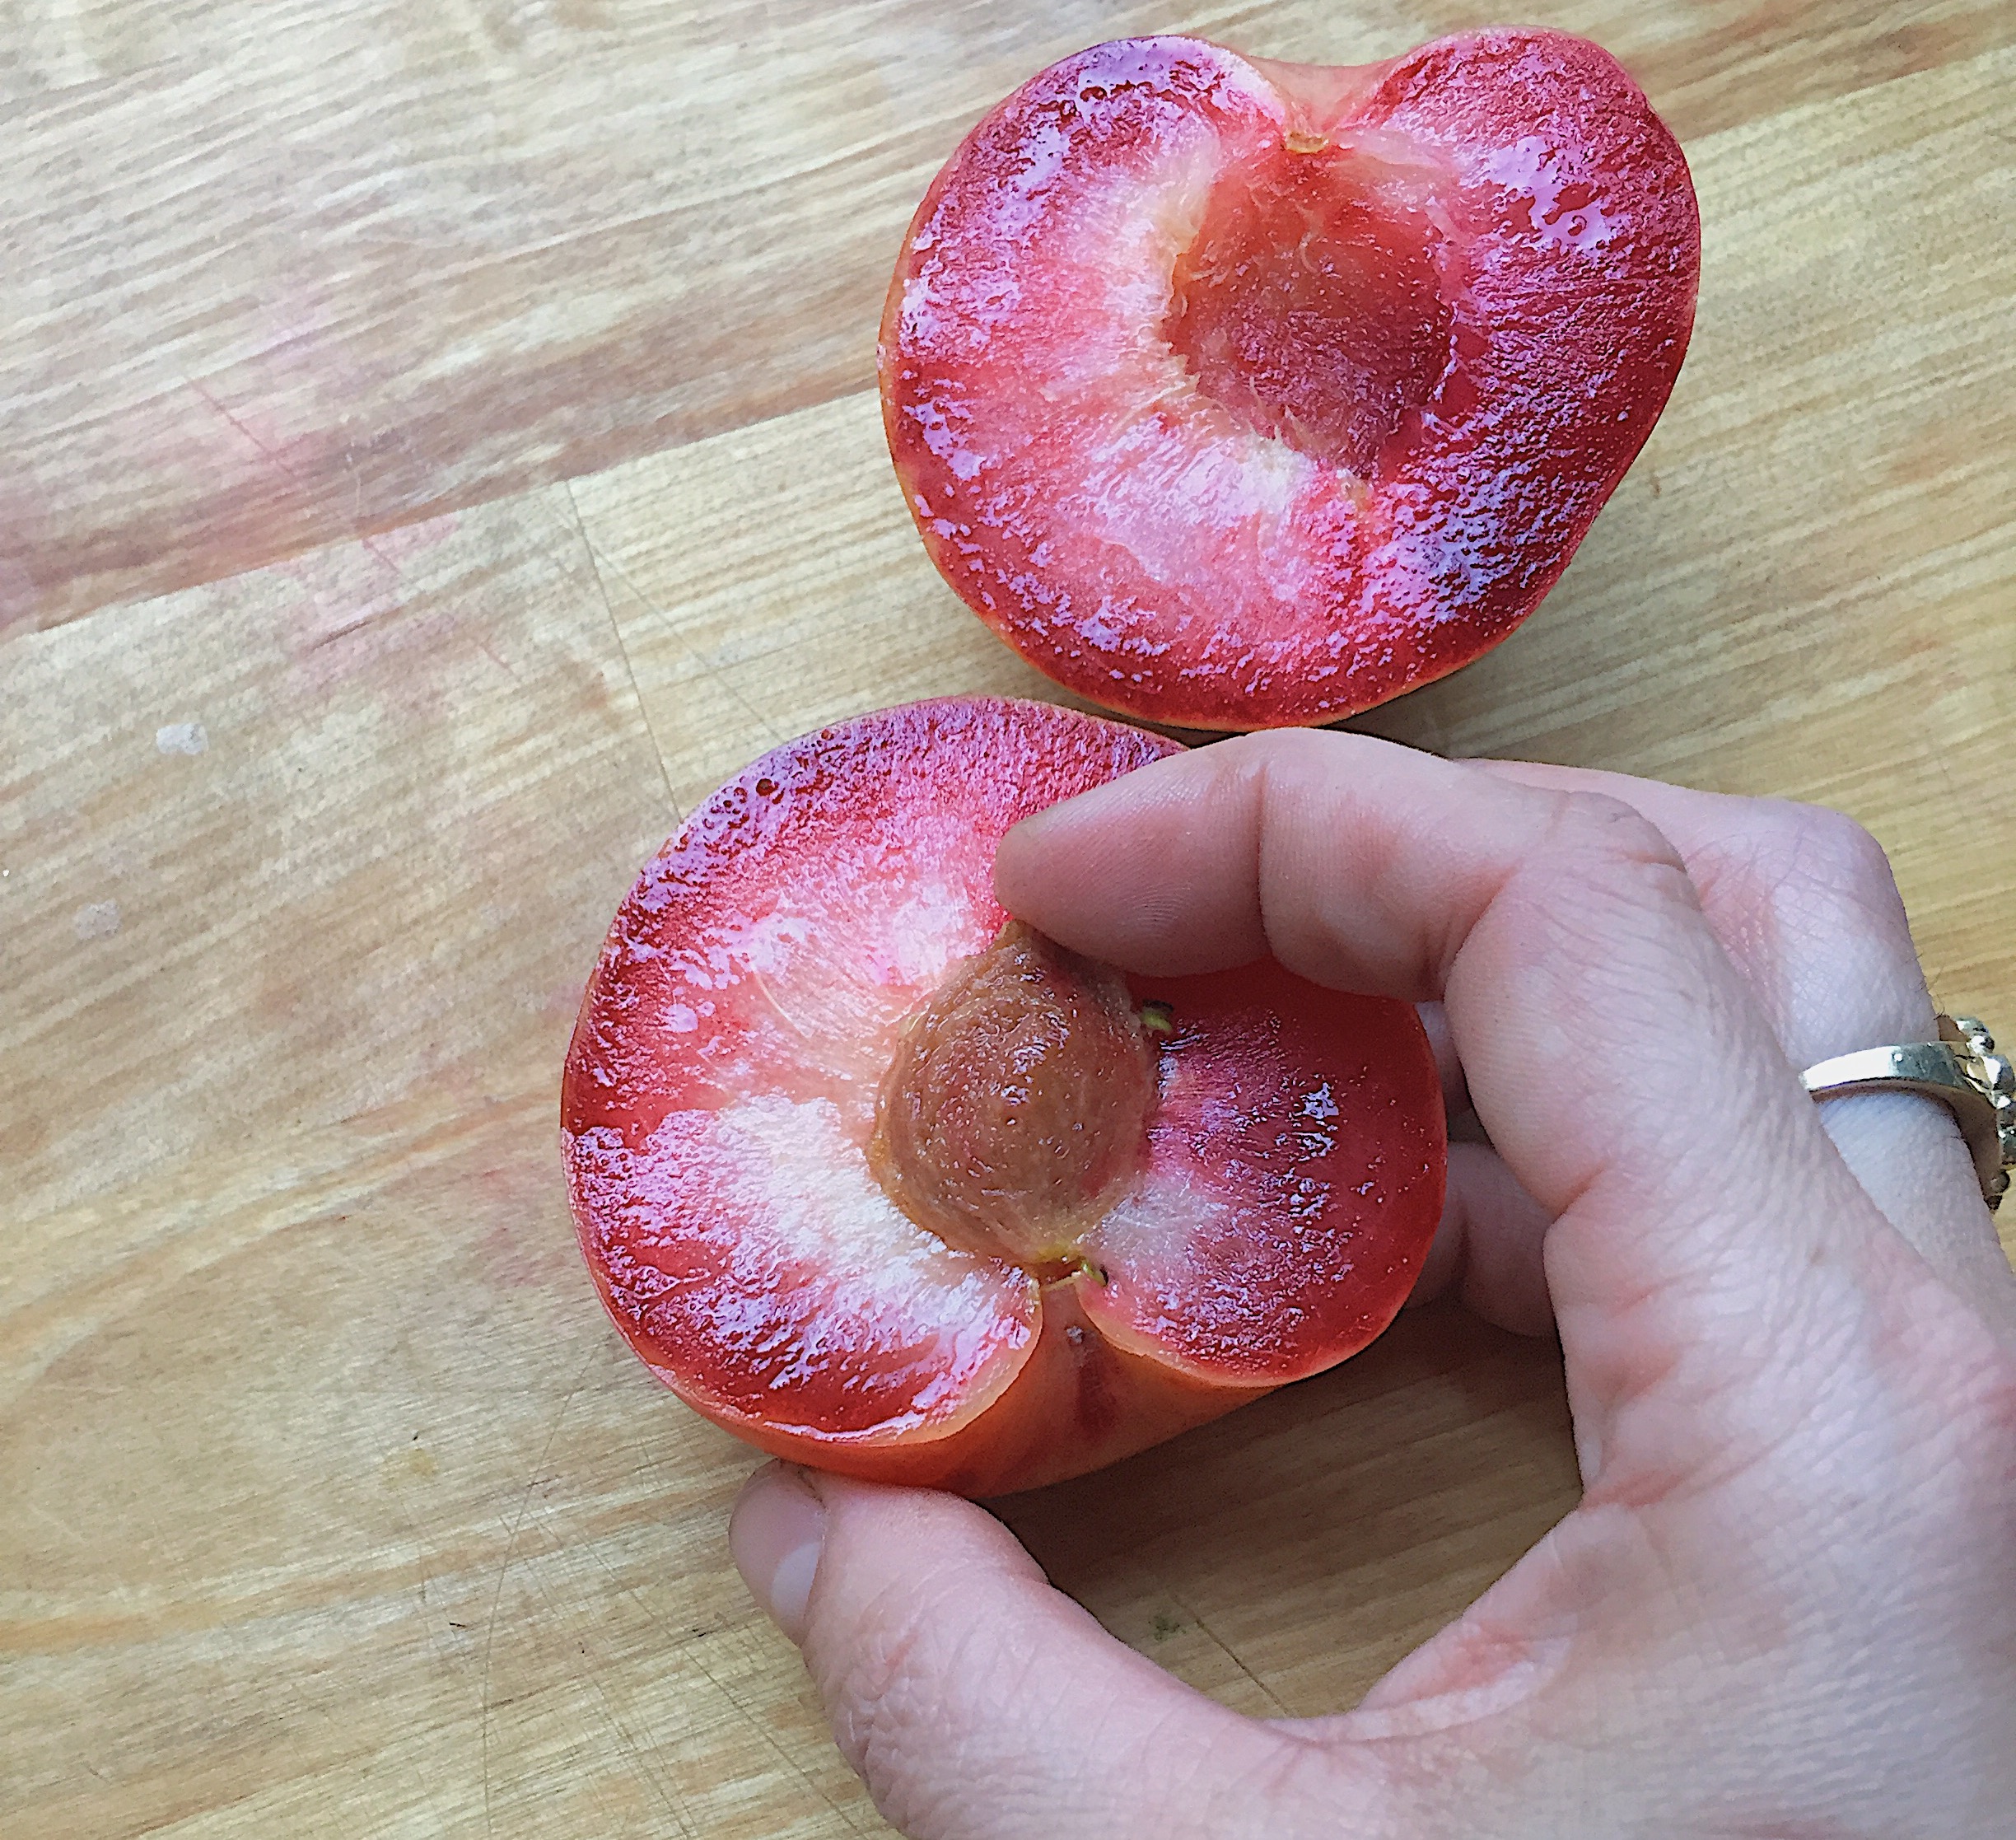
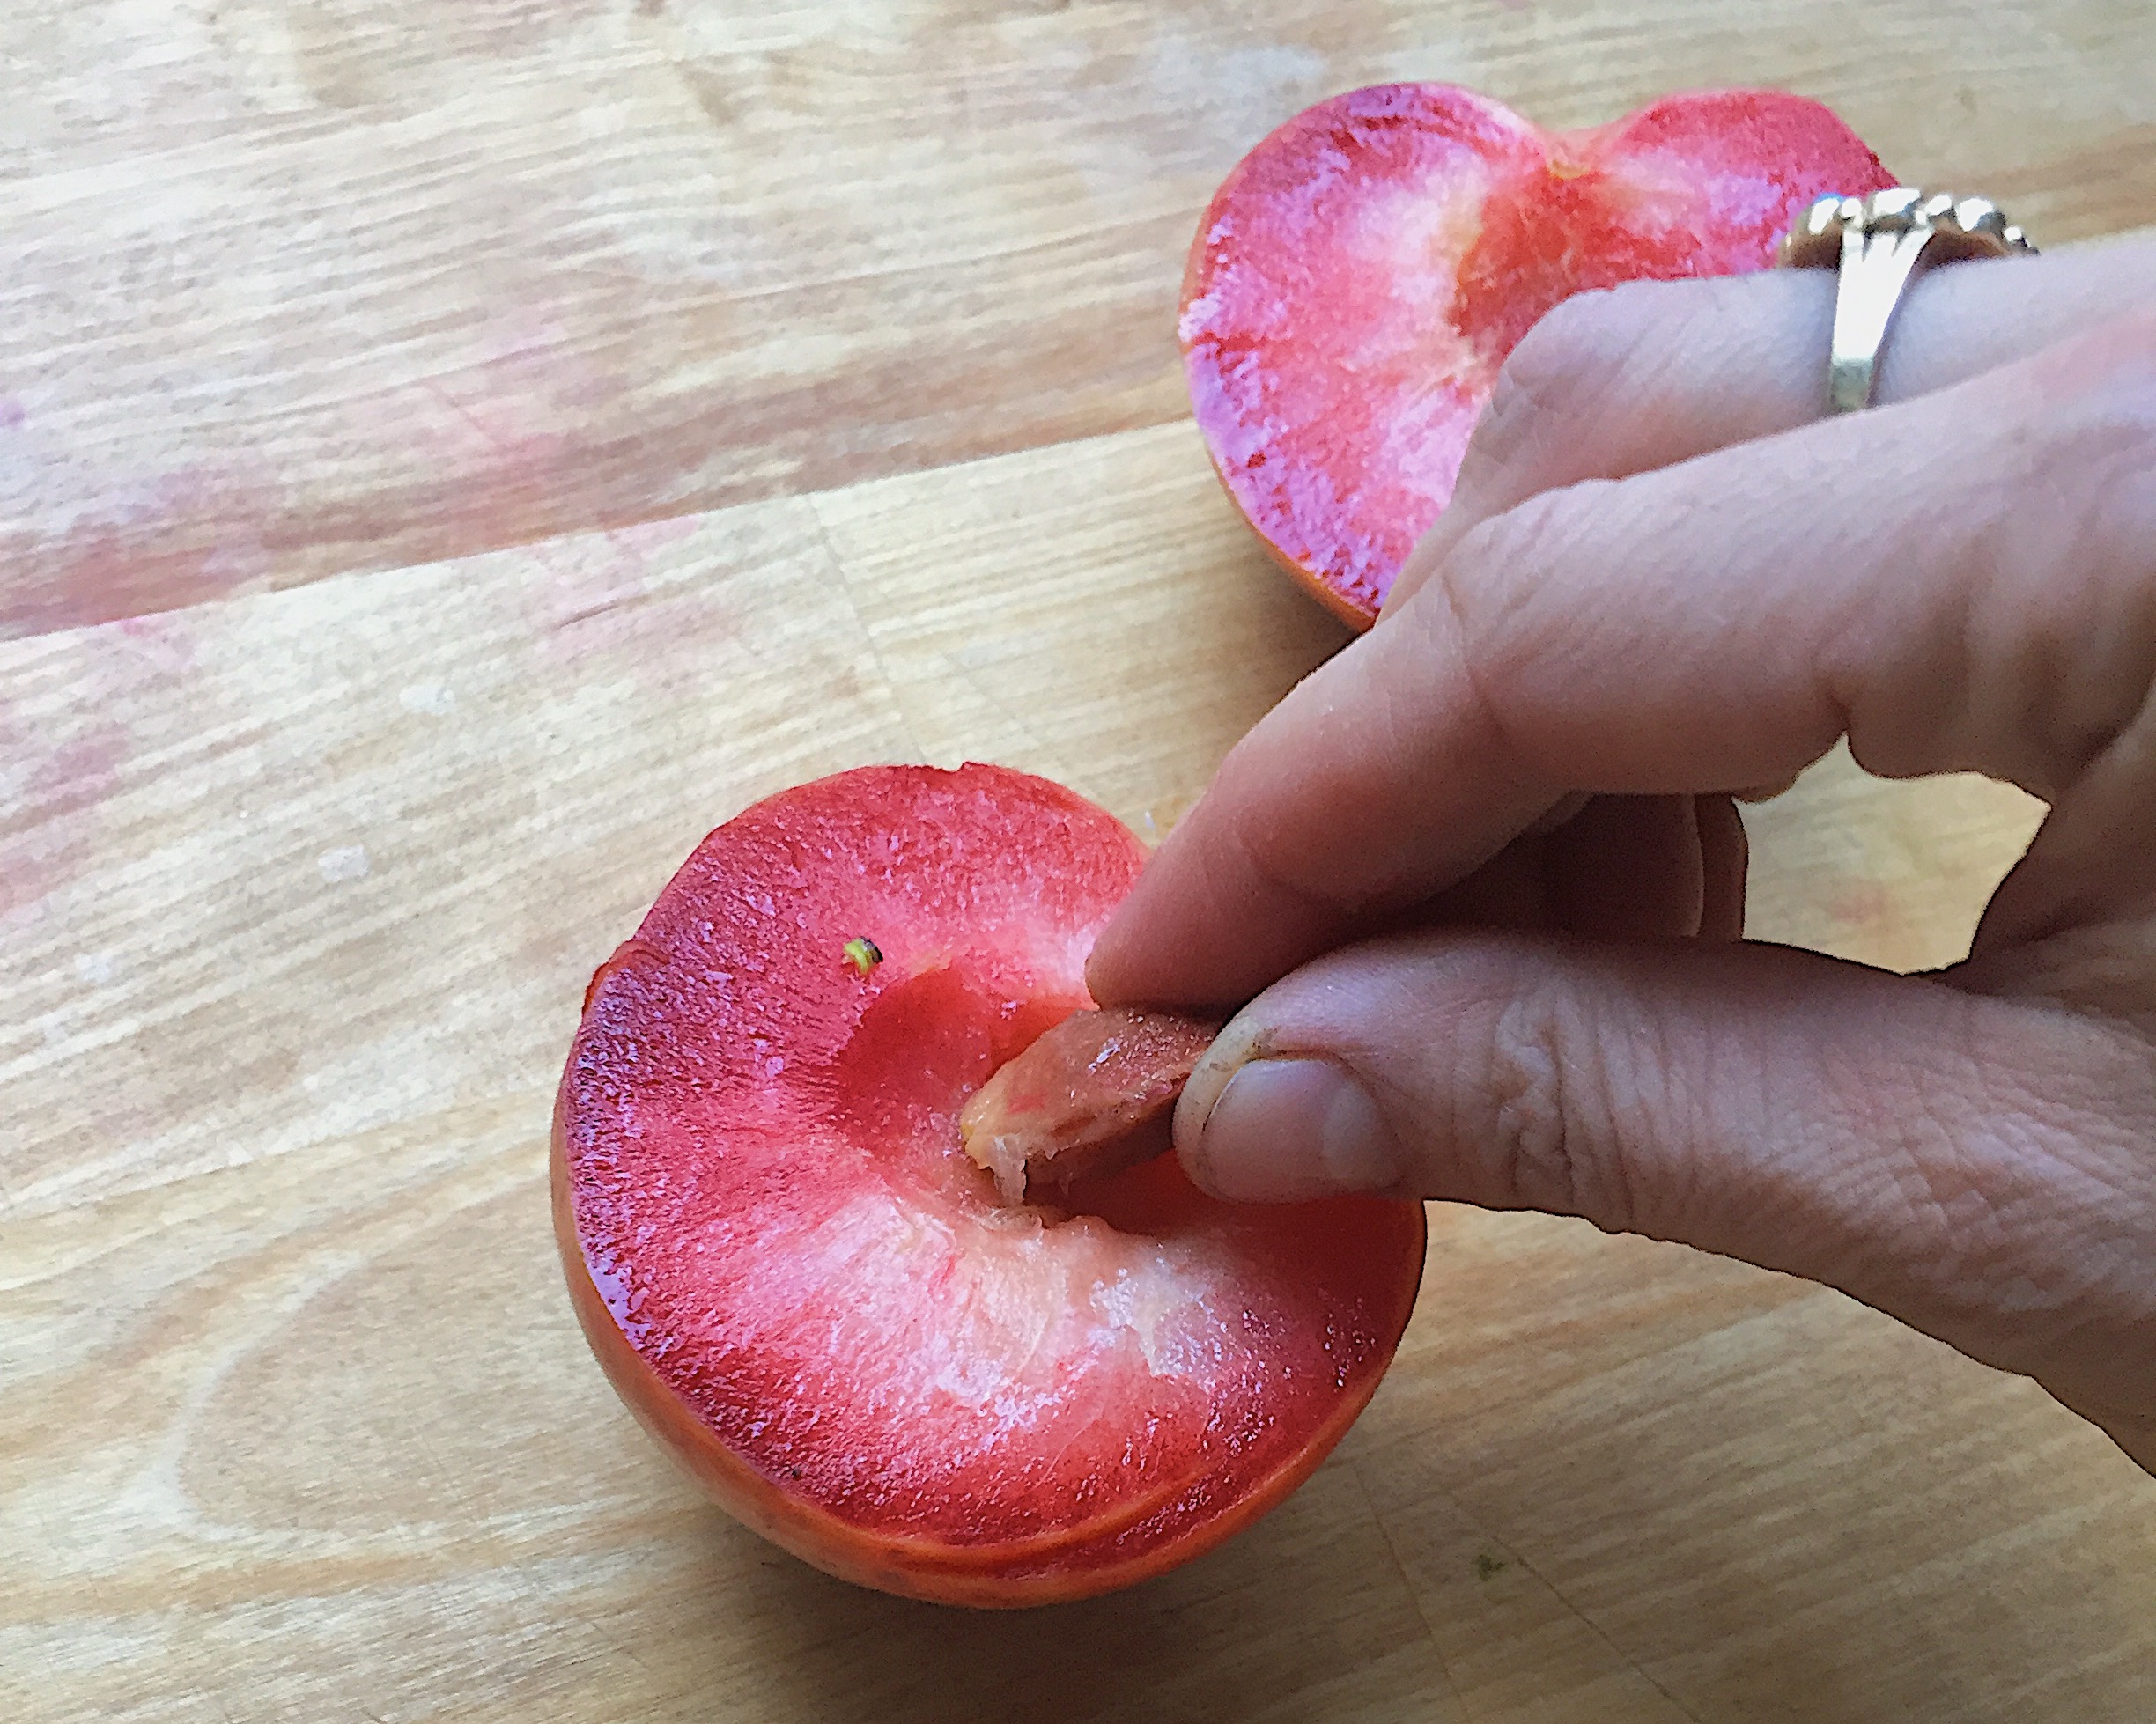
stone fruit galette serves: 8 prep time: 10 minutes bake time: 30-40 minutes total time: 50 minutes ingredients: 1.5 lbs stone fruit (i've used plums and pluots, but you could use your favorite or what you have on hand), sliced 1/2 inch thick. 1/3 cup sugar. 2 tbs corn starch. 1/2 tsp salt. 1 tsp blood orange (or other citrus juice). 1 tsp blood orange zest (or other citrus). 1 pie crust sheet (i used a store bought to save time). 1 egg, whisked. pastry brush. baking sheet. parchment paper. whipped cream or ice cream for serving.
preheat your oven to 425 f.
in a bowl, combine the stone fruit, sugar, corn starch, salt, zest and juice and stir well to combine.
line a baking sheet with parchment paper and lay out your pie crust on the parchment.
gently roll or press out your pie crust till it is in a rectangular shape and about 1/8 inch thick.
pour your stone fruit mixture into the center of the crust and spread it into an even layer leaving an inch or two of space from the fruit to the edges of the crust.
gently, fold the edges of your pie crust over the fruit working your way around the edge of the gallette until it is all tucked in.
brush the crust with your whisked egg.
bake for 30-40 minutes until the crust is golden and the fruit is tender. remove from the oven and
place the parchment and gallette on a cooling rack.
allow to cool a bit and serve warm or at room temp.
stone fruit galette
serves: 8
prep time: 10 minutes
bake time: 30-40 minutes
total time: 50 minutes
ingredients: 1.5 lbs stone fruit, sliced 1/2 inch thick. 1/3 cup sugar. 2 tbs corn starch. 1/2 tsp salt. 1 tsp blood orange (or other citrus juice). 1 tsp blood orange zest (or other citrus). 1 pie crust sheet (i used a store bought to save time). 1 egg, whisked. pastry brush. baking sheet. parchment paper. whipped cream or ice cream for serving.
reheat your oven to 425 f. in a bowl, combine the stone fruit, sugar, corn starch, salt, zest and juice and stir well to combine. line a baking sheet with parchment paper and lay out your pie crust on the parchment. gently roll or press out your pie crust till it is in a rectangular shape and about 1/8 inch thick. pour your stone fruit mixture into the center of the crust and spread it into an even layer leaving an inch or two of space from the fruit to the edges of the crust. gently, fold the edges of your pie crust over the fruit working your way around the edge of the gallette until it is all tucked in. brush the crust with your whisked egg. bake for 30-40 minutes until the crust is golden and the fruit is tender. remove from the oven and place the parchment and gallette on a cooling rack. allow to cool a bit and serve warm or at room temp.


