


it may be early in the season, but spring in california is in full bloom. the heavy (and rare) rain we had this winter created a "super bloom." which in my little secret garden means my marjoram has grown out of control. and i have the perfect solution for extra herbs.
whether you can't possibly use all you are growing in your own garden, or you just purchased an overpriced pack of thyme at the market and you only used three sprigs for your recipe, drying herbs is simple.
start by trimming and washing your herbs well. if you are cutting the herbs fresh from your garden, it is best to do it in the morning before the bright sun has a chance to wilt them.

after washing the herbs well, pat them dry.

remove as many of the leaves as you can from the stems. this could be a quick process for herbs like basil or parsley that are larger. for smaller herbs like thyme, oregano and marjoram it may take you a bit longer. if you have kids, this is a great task for little hands to help with. while you are removing the leaves from the stems, preheat your oven to 200 degrees f.
once all your leaves are removed from the stems, once again pat them dry.

place your leaves on a parchment or silicone mat lined baking sheet.

place your baking sheet in the oven and use a rolled up dish towel an oven mitt to tent the oven (keeping it slightly ajar so air circulates). dry the herbs for 1 hour (might take a bit longer for larger herbs like basil).
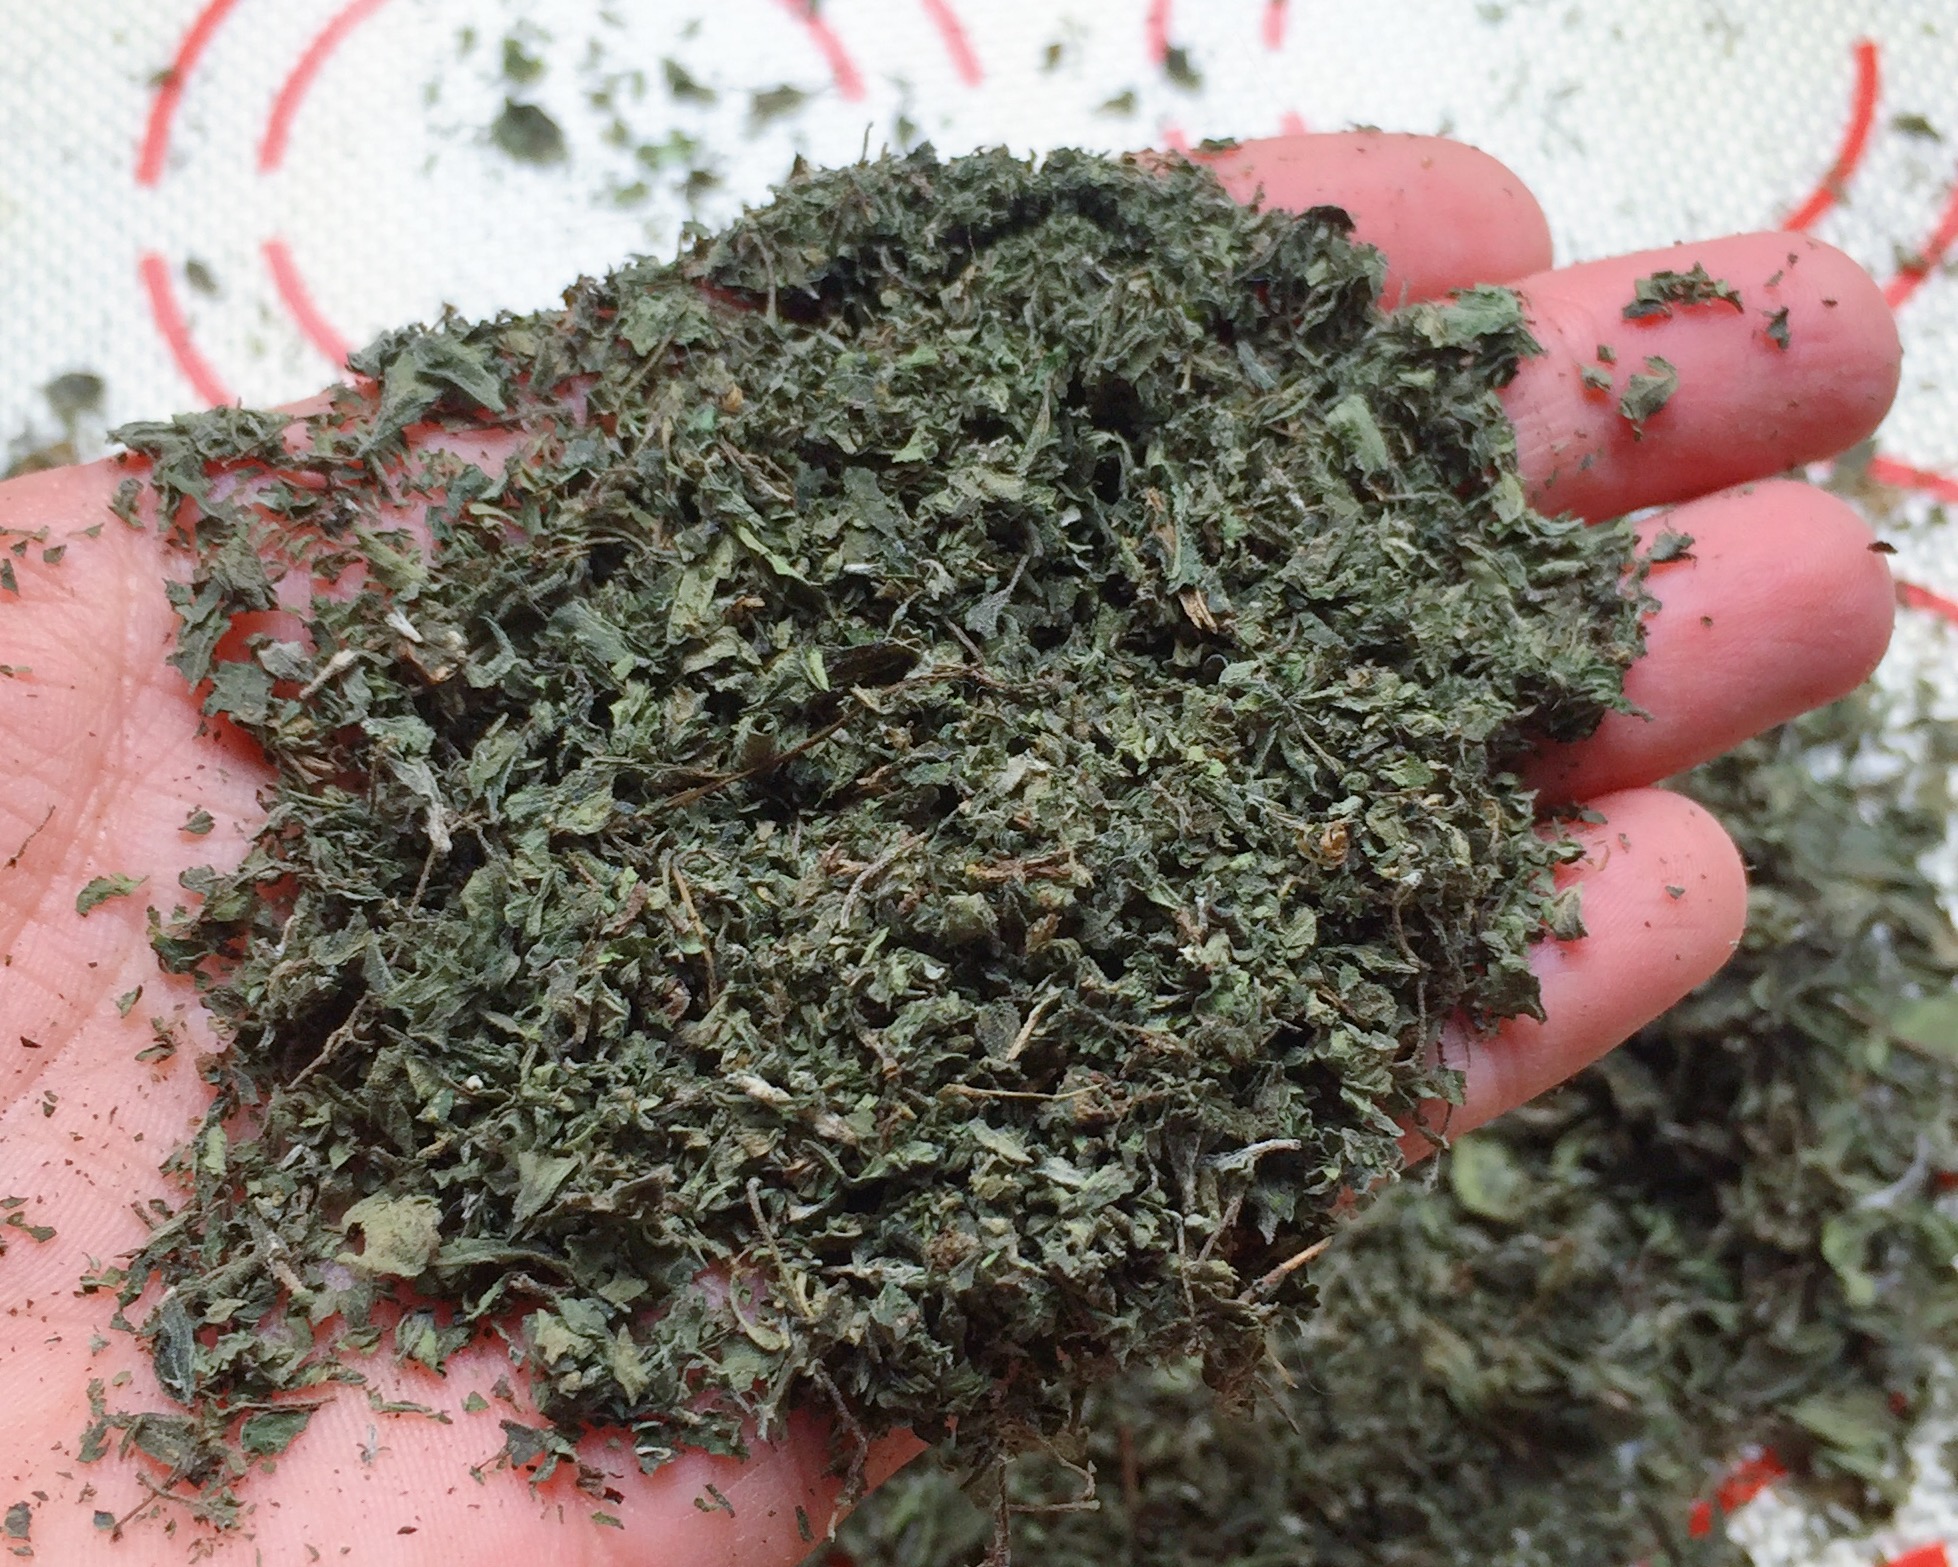
when the herbs have dried, allow them to cool. remove any remaining large stems.

using your hands, a food processor or spice grinder, grind the herbs up into almost a powder.

pour your freshly dried herbs into an airtight container. label and keep on hand for up to six months.

xo, a