Posts in tips & tricks
tips & tricks: dried herbs

it may be early in the season, but spring in california is in full bloom. the heavy (and rare) rain we had this winter created a "super bloom." which in my little secret garden means my marjoram has grown out of control. and i have the perfect solution for extra herbs. 

whether you can't possibly use all you are growing in your own garden, or you just purchased an overpriced pack of thyme at the market and you only used three sprigs for your recipe, drying herbs is simple. 

start by trimming and washing your herbs well. if you are cutting the herbs fresh from your garden, it is best to do it in the morning before the bright sun has a chance to wilt them. 

IMG_0563.JPG

after washing the herbs well, pat them dry. 

IMG_0566.JPG

remove as many of the leaves as you can from the stems. this could be a quick process for herbs like basil or parsley that are larger. for smaller herbs like thyme, oregano and marjoram it may take you a bit longer. if you have kids, this is a great task for little hands to help with. while you are removing the leaves from the stems, preheat your oven to 200 degrees f. 

once all your leaves are removed from the stems, once again pat them dry. 

IMG_0564.JPG

place your leaves on a parchment or silicone mat lined baking sheet. 

IMG_0565.JPG

place your baking sheet in the oven and use a rolled up dish towel an oven mitt to tent the oven (keeping it slightly ajar so air circulates). dry the herbs for 1 hour (might take a bit longer for larger herbs like basil). 

when the herbs have dried, allow them to cool. remove any remaining large stems. 

IMG_0569.JPG

using your hands, a food processor or spice grinder, grind the herbs up into almost a powder. 

IMG_0570.JPG
IMG_0571.JPG

pour your freshly dried herbs into an airtight container. label and keep on hand for up to six months. 

IMG_0572.JPG

xo, a

tips & tricks: the mandolin

as you expand your cooking horizons and get a bit more adventurous in the kitchen, you will want to invest in a few tools that help make things more efficient. as my husband says, "you need the right tool for the right job."

IMG_0430.JPG

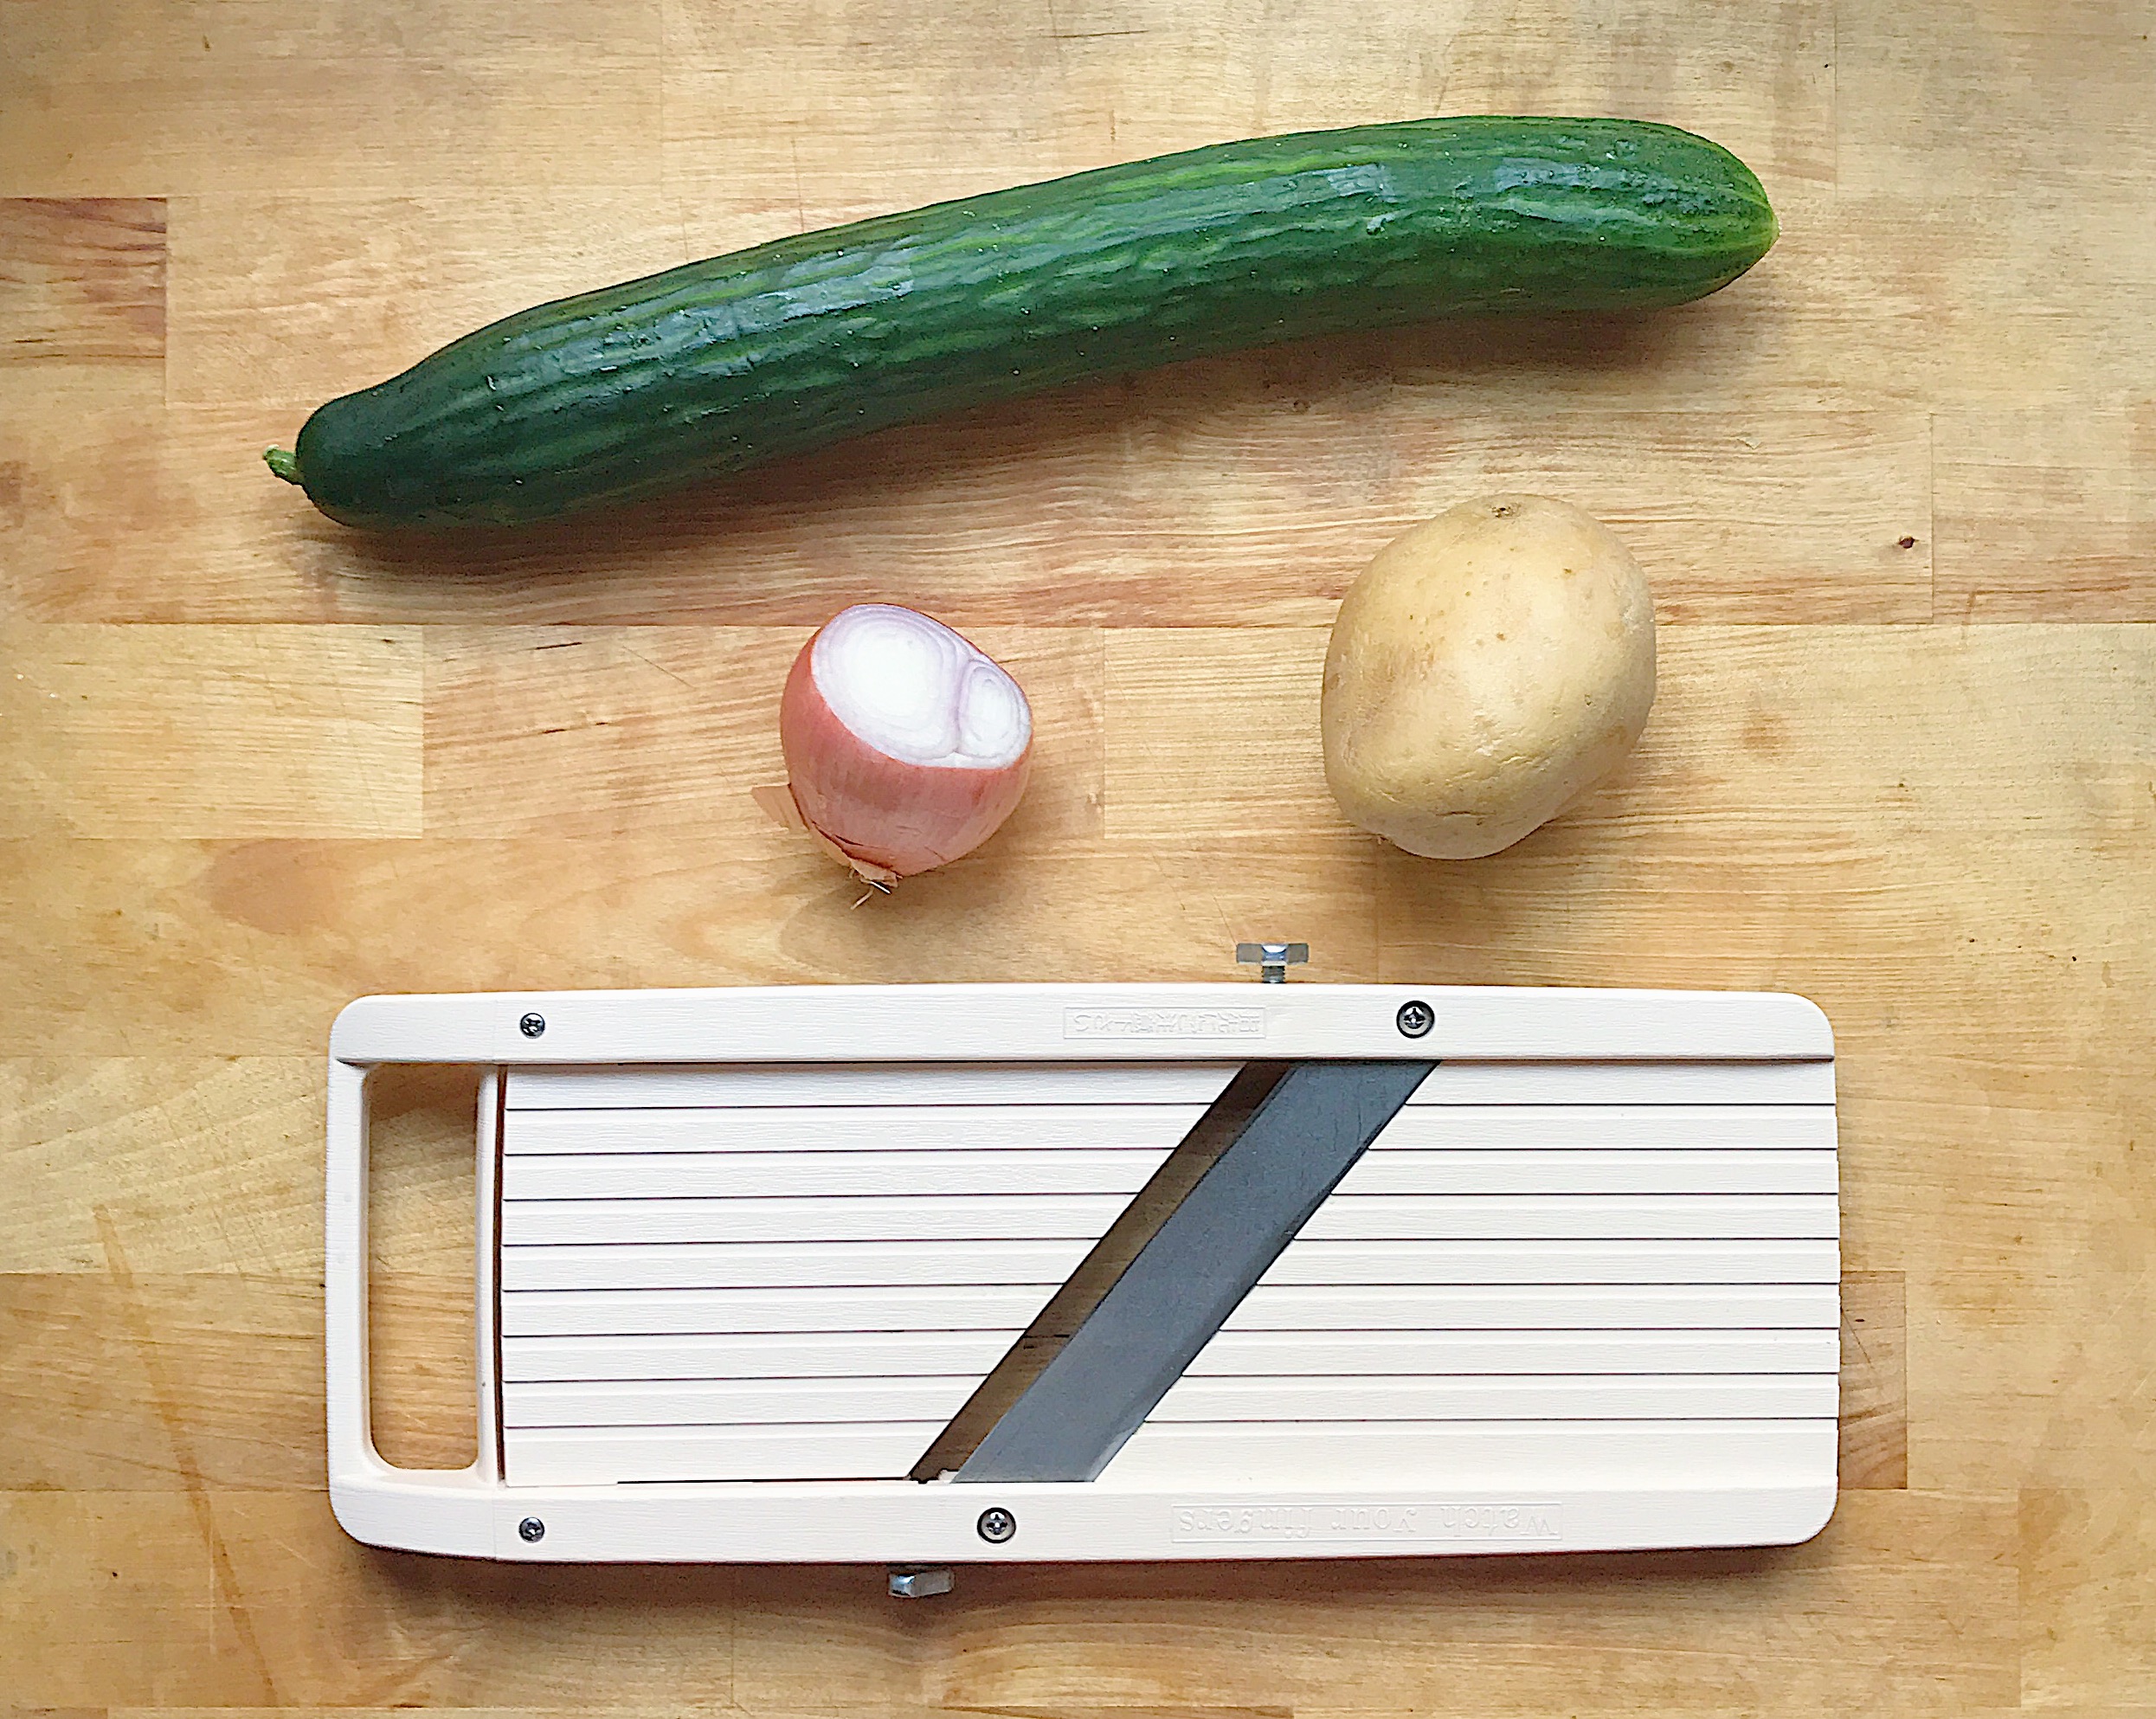
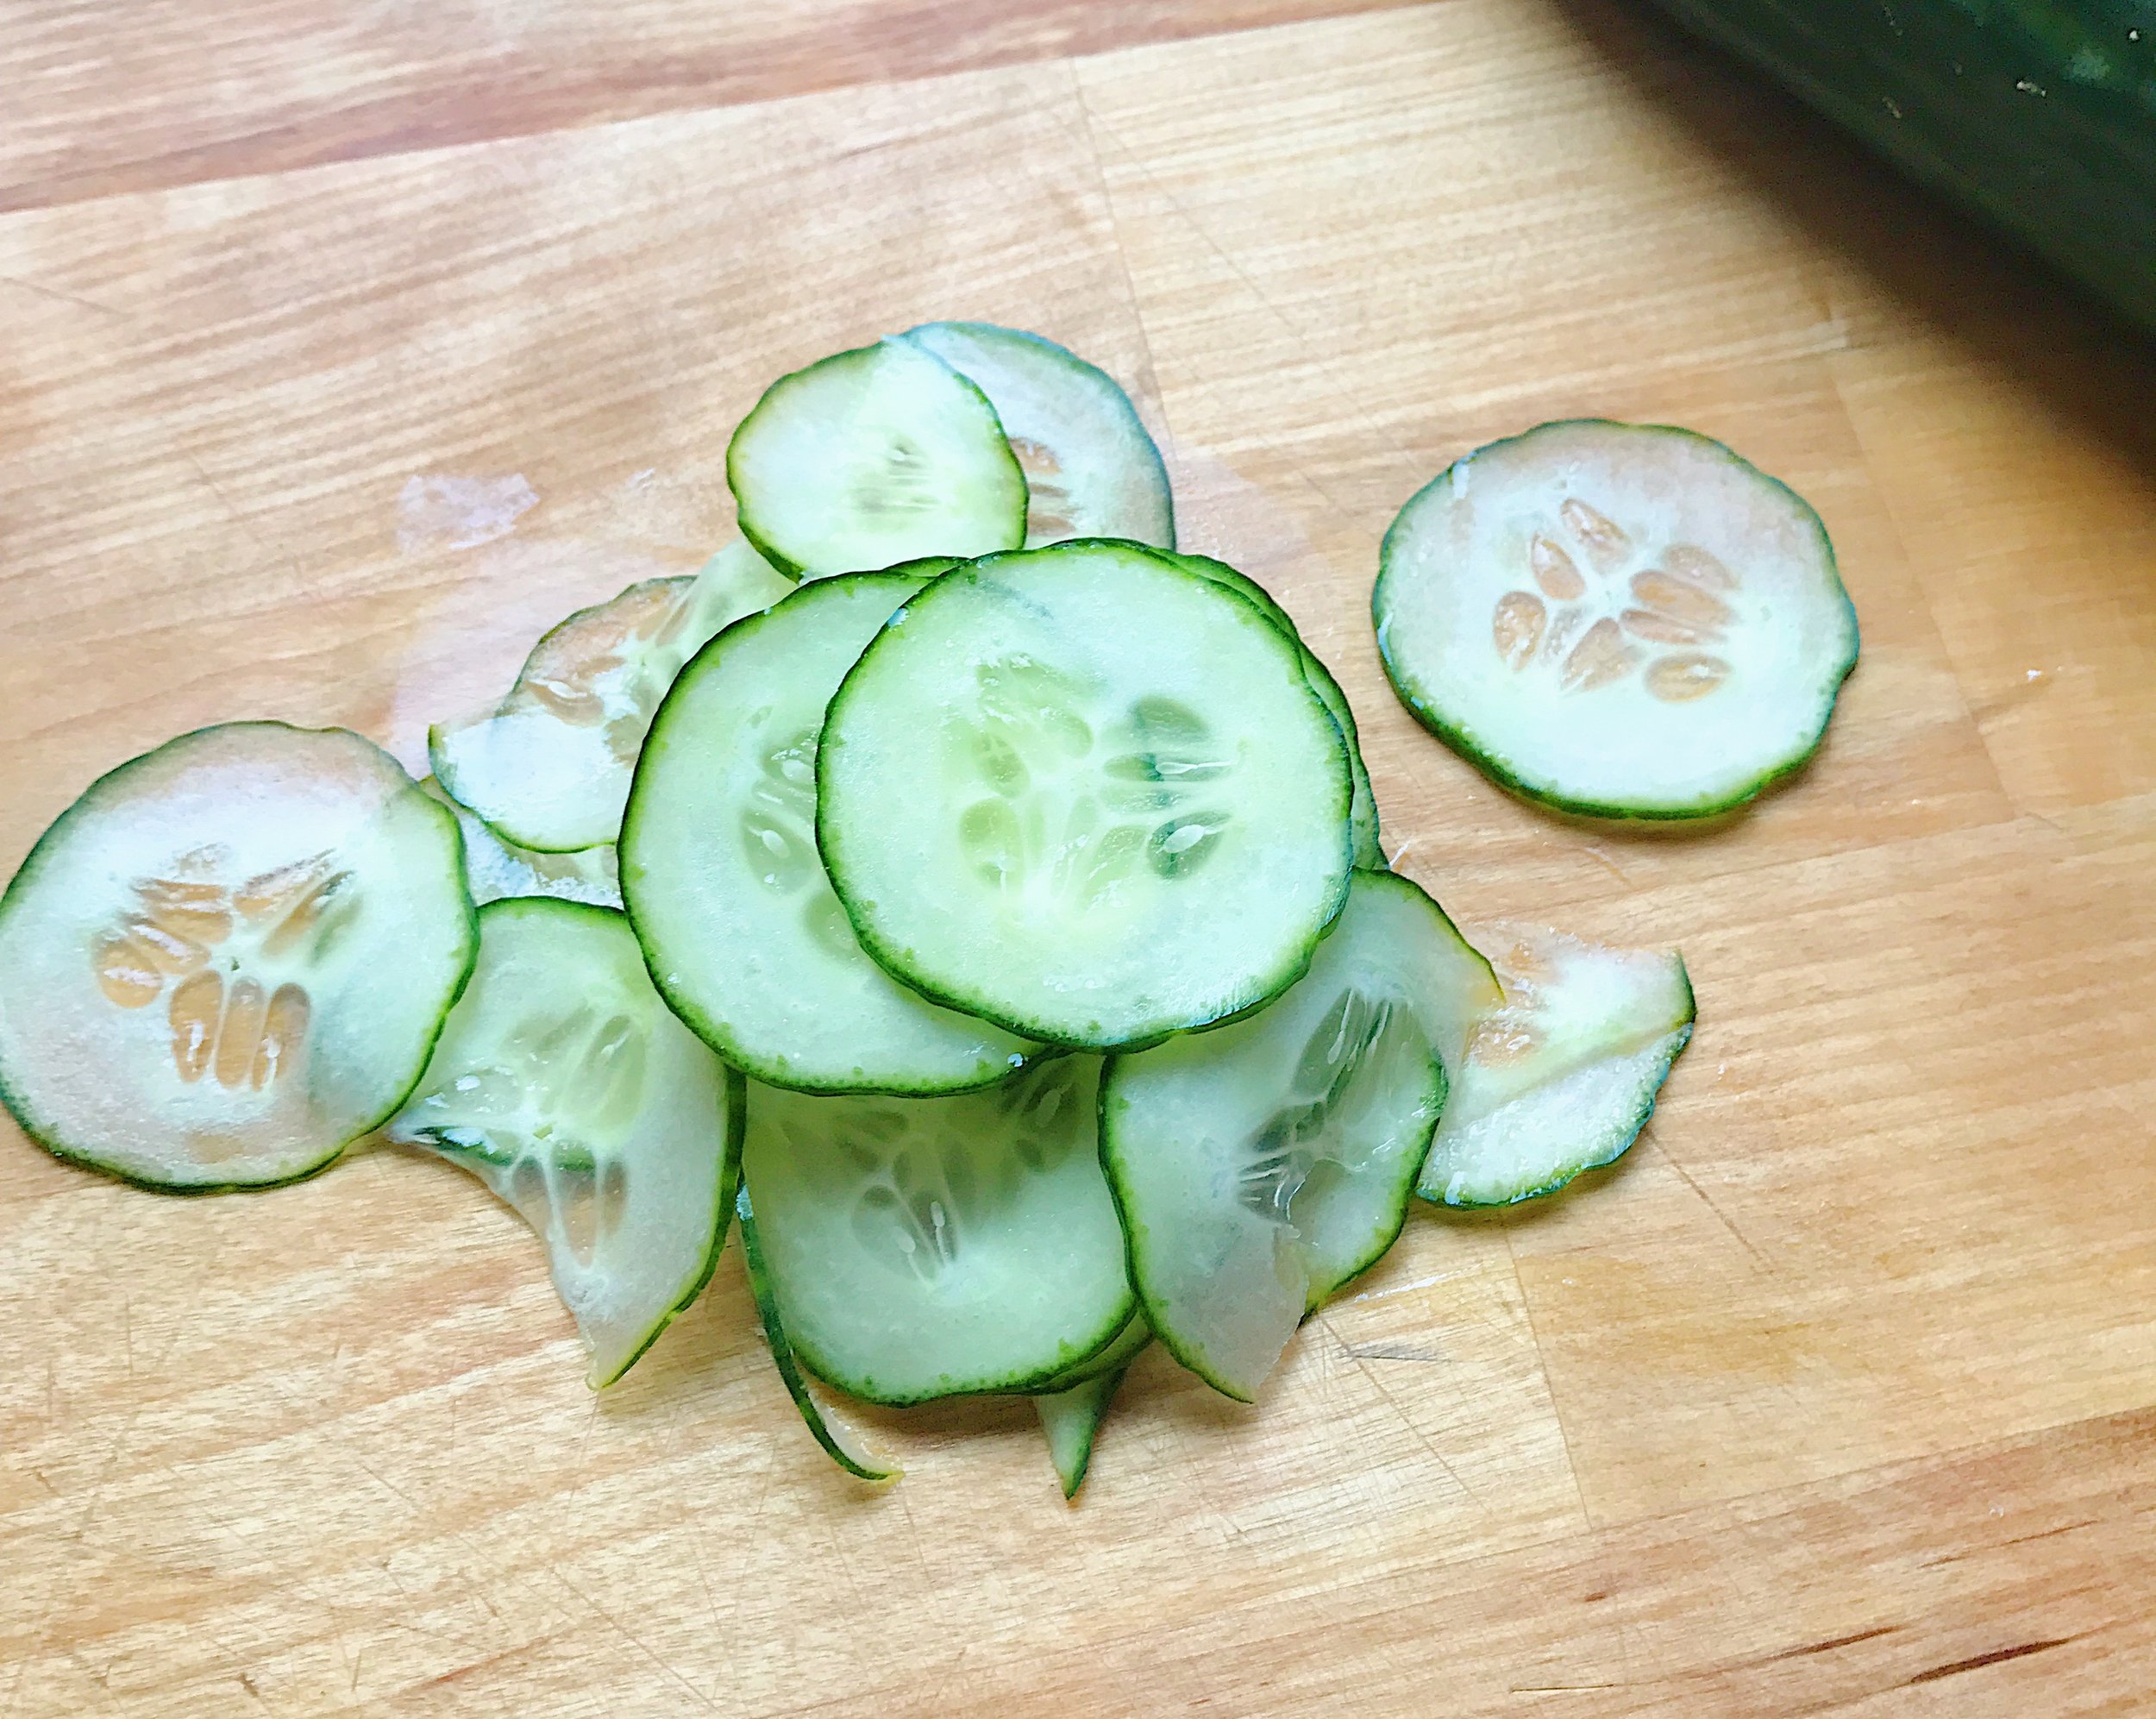
i love making home made potato chips, pickled cucumbers or crispy fried onions. but all three require very thin, precise cuts. and for most of my schooling (which included six years of my own trial and error, and my former prep cook husband's encouragement) i did not have the patience or skill to make the slices necessary. i probably still don't when it comes to potato chips. so one of the first tools i invested in was a mandolin. it comes with adjustable blades for different cuts (slices, julienne, french fry) as well as a handy dandy handle to protect your fingers. i actually have two sizes now. one for our kitchen and one for our catering bag. they are easy to use, easy to clean and can cut the time of a ten minute prep job to just minutes. and of course they have them on amazon. we love amazon. you can find the large on HERE and the smaller one HERE

IMG_0432.JPG

mind all ten fingers when using the mandolin. i don't always use my handle now that i'm comfortable, but i highly recommend it until you are comfortable with your tool. 

IMG_0431.JPG

you can adjust each of the three blade attachments for larger or thinner cuts. the handle is great for steady slicing. 

IMG_0427.JPG

place these bad boys on a parchment lined baking sheet, brush with an oil that has a high smoking temp and bake for 10-15 minutes at 400 f. lightly salt and serve. 

IMG_0426.JPG

if i ever need a bunch of onions or shallots sliced for fried or caramelized shallots, i bust out the mandolin. nothing faster than the swipe of the hand. watch those fingers. this is not a test!

IMG_0429.JPG

perfect slices. every time. 

IMG_0428.JPG

xo, a